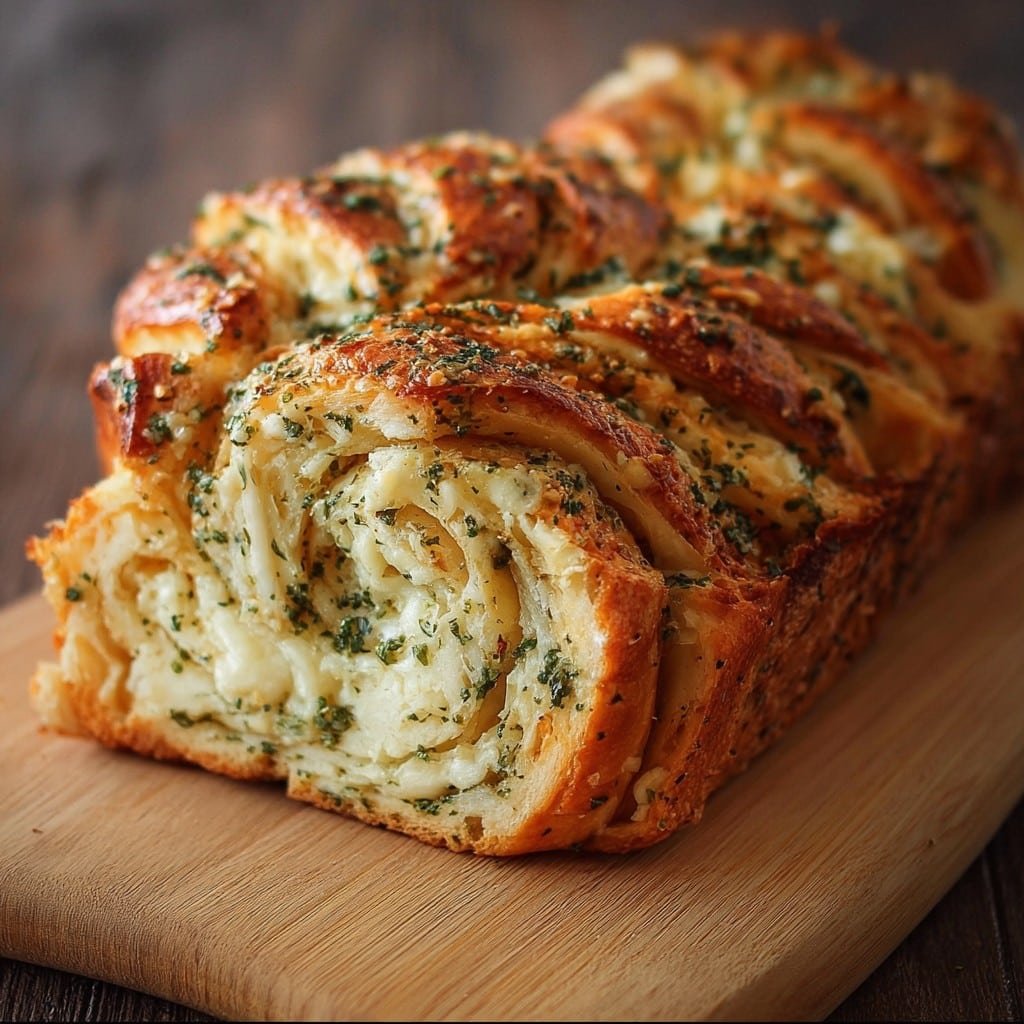
Swirled Garlic Herb And Cheese Bread
So This Swirled Garlic Herb And Cheese Bread? It’s Legendary (in My Kitchen Anyway)
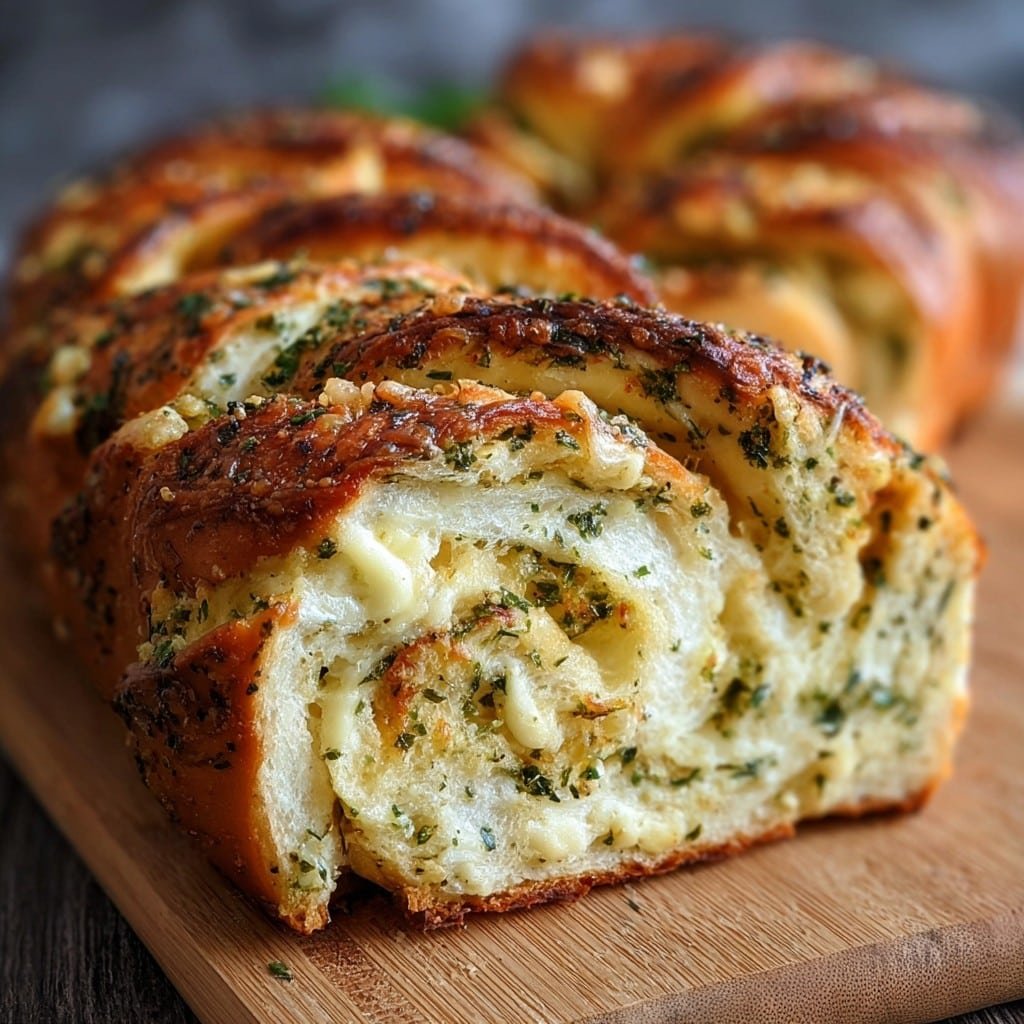
Okay, friend, gather ’round for a wild—and slightly chaotic—journey into the world of gooey, herby, garlicky bread bliss. My first memory of making this loaf is, weirdly, not about the taste; it’s about frantically peeling garlic while my cat tried to steal cheese off the cutting board (she’s got taste, what can I say?). I made it for a potluck, wanting something a little extra and honestly, half expected it to flop. It did not. The cheese swirled all happy-like, herbs smelling like they’d just wandered in form an Italian backyard, and the whole thing disappeared in about five minutes.
Actually, side note: the second time I tried doubling the garlic, my entire apartment smelled like a trattoria for days—no regrets. (My neighbor from 4B still asks about that bread.)
Why You’re Gonna Want to Bake This ASAP
I make this bread when I want to impress—my family goes absolutely bonkers for this (my sister literally hides slices to keep for later). It’s perfect for lazy Sundays or when I’ve got leftover herbs in the fridge that are starting to look, well, sad. Sometimes I just need a carby project to distract from work… bread therapy, right?
I did have one disaster where I put way too much cheese because “there’s no such thing as too much” and, um, there actually is. Oozed everywhere. Still tasty, but 10/10 messy.
Here’s What You’ll Need (And What You Can Fudge)
- 3 cups (about 375g) all-purpose flour (though let me tell you, I’ve made it with half bread flour when I ran out—works in a pinch)
- 2¼ teaspoons (1 standard packet) instant yeast (active dry is fine, just proof it first in the water!)
- 1 teaspoon sugar
- 1 teaspoon table salt or kosher salt (Gran insisted on Maldon, but I’m not posh enough for that every time)
- ¾ cup (180ml) warm water—not hot, you don’t want to zap your yeast
- 2 tablespoons olive oil or melted butter (I switch depending on mood, butter is richer but needs melting)
- 4–6 cloves garlic, minced (I’ve cheated with jarred garlic when the real thing’s run out, but it’s better fresh, no contest)
- 1½ cups shredded cheese: mozzarella is classic, but sharp cheddar or any good melting cheese works (have even done half feta—tangy and fab!)
- 3 tablespoons fresh herbs: parsley and basil are my go-to, but a little oregano, thyme, or chives make appearances when I’m feeling spicy
- A grind of black pepper (or three, live a little)
- Pinch of chili flakes (sometimes I skip, depends who’s eating)
Let’s Get This Swirled Garlic Bread Party Started
- Mix up the dough: In a large-ish bowl, toss together your flour, yeast, sugar, and salt. Make a well; pour in the warm water and olive oil (or melted butter, if you prefer). Mash it all together with a wooden spoon—don’t be precious, use your hands when it gets shaggy. It’s sticky; that’s normal.
- Knead it real good: Dump it onto a lightly floured counter and knead for about 7 minutes—or until it feels bouncy and sorta smooth. If you’re tired, five minutes is probably fine (I switched arms halfway through last time, so no judgment).
- First proof: Pop the dough in an oiled bowl, cover it with a clean towel or plastic wrap (use a shower cap if you’re out, actually!) and let it rise somewhere warm until doubled. This is usually 1 to 1½ hours—enough time to scroll socials or, you know, prep your swirl mix.
- Prepare the filling: In a small bowl, combine your cheese, minced garlic, herbs, pepper, and chili flakes. Sneak a taste—you deserve it.
- Roll it out and swirl: Once the dough has proofed, punch it down (the best part), then roll it into a rectangle about 10×14 inches. Scatter the herby cheesy mix evenly over the top. I press it gently so it stays put when rolling.
- Swirl it up: Roll up the dough from the short side (or long side for more layers—it’s your bread), pinching the edges. Slice the log lengthwise, then twist the two halves together, tuck the ends, and plop it into a greased loaf pan or shape it on a tray for a slightly rustic look. If it looks a little wild, that’s totally fine.
- Second proof: Cover it and let it rise (again) for 30–40 minutes until puffy.
- Pre-heat & bake: While your loaf puffs, preheat the oven to 180°C (350°F). Bake for 30–35 minutes—or until golden and the cheese is bubbling. If it starts browning too fast, lightly tent with foil.
- Cool and devour: Try to wait 10 minutes so you don’t scald your mouth. But honestly, good luck with that.
Notes From the Land of Imperfect Bakers
You can absolutely knead this dough in a stand mixer (I sometimes do, especially after a long day), but the texture feels different—lighter by hand, maybe that’s just in my head? Oh, and don’t panic if your swirl looks uneven; it tastes the same.
If your bread’s underbaked in the middle, slice, toast it in the oven, and call it crostini. No shame. Last time, I forgot the salt—still edible, just… bland vibes.
Things I’ve Tried (Some… Regrettable)
Once I tossed sun-dried tomatoes in the filling; fantastic, but a bit oily, so go easy. Tried adding caramelized onions—delightful, but kinda a mess to swirl. One time I thought I’d be clever and use blue cheese. Wouldn’t recommend unless your whole crew is into that strong funky punch.
You can even shape it into rolls or twisty buns (makes them perfect for dunking in soup—find my current favorite at Half Baked Harvest’s tomato basil soup).
Tools, or “What If I Don’t Have That?”
A loaf pan gives a tidy result, but honestly, a baking sheet works fine if you don’t care about symmetry. No rolling pin? Wine bottle, mate. A bench scraper makes slicing and twisting easier, but a big knife just works. I refuse to buy single-use gadgets these days (my kitchen drawer is an archaeological dig…) but a good cheese grater is a must.
How to Store—If You Even Need To
Best eaten fresh, warm, and maybe with a bit of soft butter melting in the swirl. If you must save some, wrap it in foil or pop it in an airtight container for up to two days. Reheat slices in the oven—it perks up the cheese. Freezes okay, though honestly, in my house it never lasts more than a day! (I actually found a crust hiding in the bread bin a week later. Still edible. Not peak, but not tragic either.)
What to Eat It With (Other Than Straight Up)
Works a treat alongside soup, especially tomato or creamy mushroom. We sometimes slice it thick and make crazy grilled cheese sandwiches (if you haven’t tried a grilled cheese with cheese bread… you’re missing out). Or it’s perfect for soaking up last bits of bolognese sauce—my cousin calls it the ultimate sauce mop.
Sometimes I just pull chunks off and dip straight into oil and vinegar. No regrets.
Pro Tips (Aka: How I’ve Screwed Up)
Don’t rush the rising time—seriously, I did once and my loaf was dense as a brick. Also, don’t skimp on the garlic unless you want bland bread (says the person who doubled it once and lived to tell the tale). Let it cool a bit before slicing. Otherwise, you may end up with cheese lava and sad, squished bread.
Use a sharp knife to swirl. I’ve tried with a dull one and just ended up mushing everything together. Also, check your oven—mine runs hot, so bread gets a foil cap halfway through. If you want even more bread confidence, there’s a helpful video on shaping swirled breads at King Arthur Baking’s tutorials.
FAQ (Because Friends Keep Asking Me…)
Can you use pre-shredded cheese?
You can, but it doesn’t melt as well, though I do in a rush. Block cheese is ideal for those pretty melty pockets.
How do you keep the herbs bright?
Fresh is best. Sometimes, I’ll mix in a teaspoon of lemon zest if the herbs are on their last legs—brings them back to life!
Can I do this gluten-free?
I tried once, using a 1:1 GF blend—texture was okay, but more crumbly. Worth a shot, not my absolute favorite though.
Is this a good make-ahead?
Yes! I think this tastes even better the next day (if it survives). Let it cool, wrap it well, and reheat before serving for max melt-factor.
My swirl unraveled. Is it ruined?
Nah. Call it “rustic.” Looks aren’t everything. Still gonna taste dreamy.
Could I stuff it with other stuff?
Absolutely. Go wild. Just watch for fillings that are too wet or heavy, or the bread won’t hold up.
Why do I need two rises?
Honestly, flavour and texture. I did skip once; bread was gummy and sad.
Is it okay if my dough is sticky?
Yep, sticky dough means soft bread. Oil or flour your hands as needed, but don’t overdo the flour or it dries out.
Right, that’s all my not-so-secrets. If you give this Swirled Garlic Herb And Cheese Bread a whirl, let me know. Or bring a slice over. I’ll put the kettle on, promise.
Ingredients
- 3 cups all-purpose flour
- 2 teaspoons instant yeast
- 1 teaspoon salt
- 1 cup warm milk
- 3 tablespoons unsalted butter, melted (plus more for brushing)
- 2 cloves garlic, minced
- 1/4 cup fresh parsley, finely chopped
- 1 tablespoon fresh basil, chopped
- 1 1/2 cups shredded mozzarella cheese
- 1/3 cup grated Parmesan cheese
Instructions
-
1In a large bowl, combine flour, instant yeast, and salt. Mix well.
-
2Add warm milk and melted butter to the dry ingredients. Mix until a soft dough forms. Knead for 6-8 minutes until smooth and elastic.
-
3Place dough in an oiled bowl, cover, and let rise for 1 hour or until doubled in size.
-
4Combine minced garlic, chopped parsley, basil, mozzarella cheese, and Parmesan cheese in a small bowl.
-
5Punch down the dough and roll it into a rectangle. Spread the garlic herb cheese mixture evenly over the dough. Roll up tightly from the long side and place in a greased loaf pan.
-
6Cover and let rise for 20 minutes. Brush with melted butter and bake in a preheated oven at 350°F (175°C) for 30-35 minutes or until golden brown. Cool slightly before slicing and serving.
Approximate Information for One Serving
Nutrition Disclaimers
Number of total servings shown is approximate. Actual number of servings will depend on your preferred portion sizes.
Nutritional values shown are general guidelines and reflect information for 1 serving using the ingredients listed, not including any optional ingredients. Actual macros may vary slightly depending on specific brands and types of ingredients used.
To determine the weight of one serving, prepare the recipe as instructed. Weigh the finished recipe, then divide the weight of the finished recipe (not including the weight of the container the food is in) by the desired number of servings. Result will be the weight of one serving.
Did you make this recipe?
Please consider Pinning it!!

