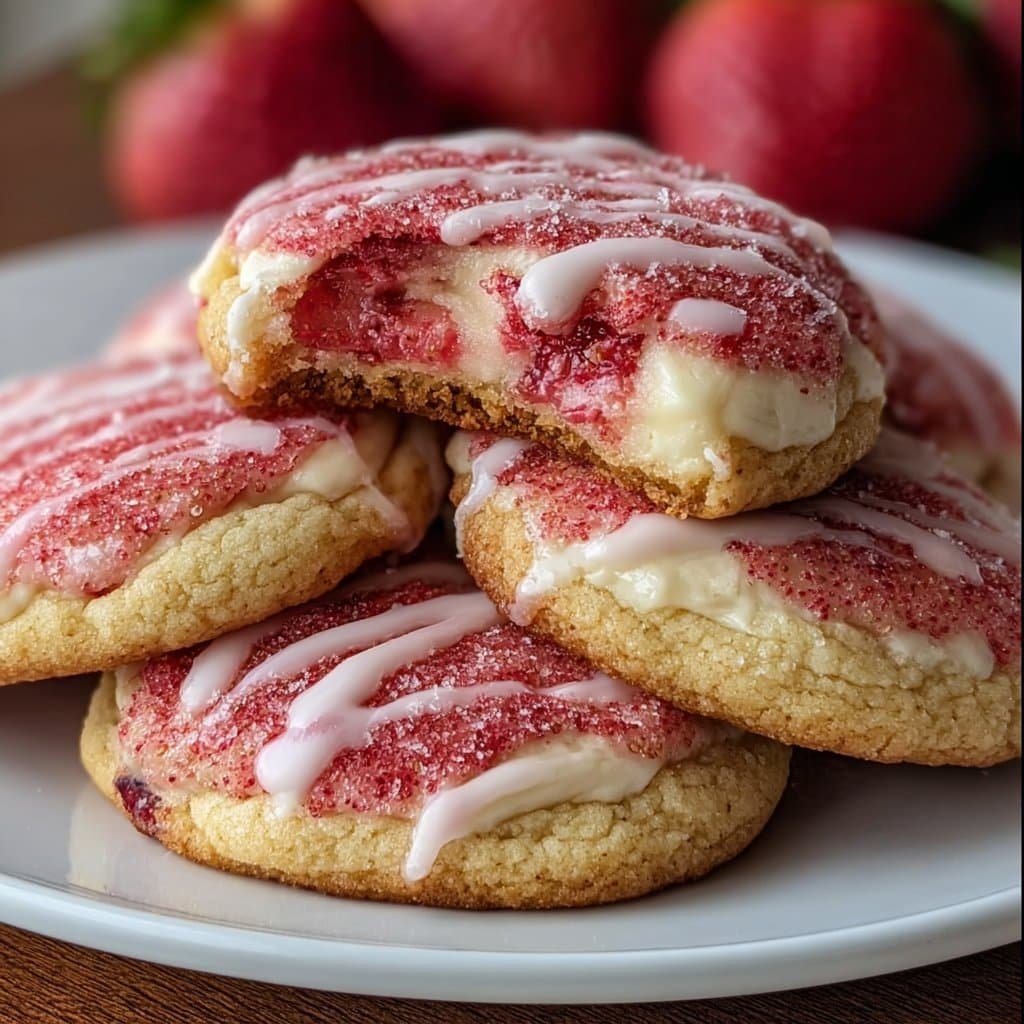
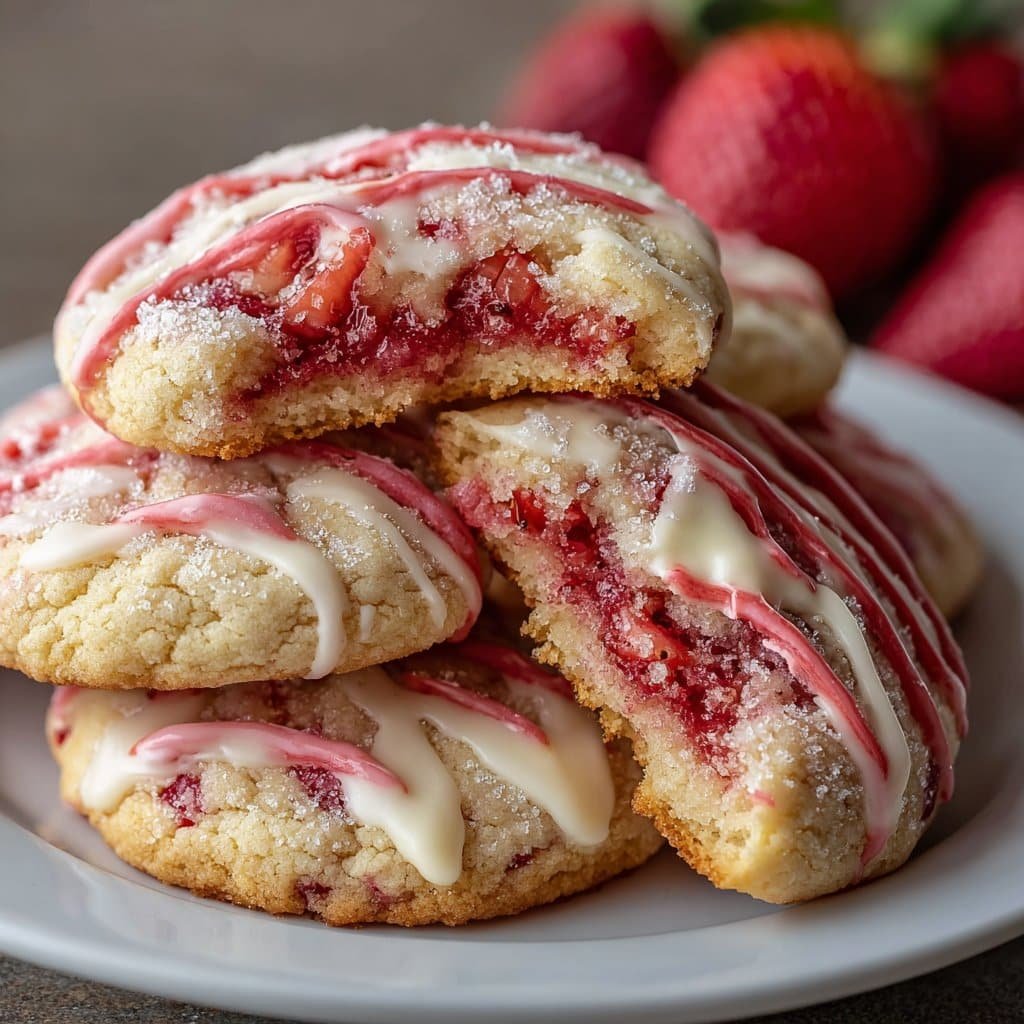
Strawberry Cheesecake Cookies
First Things First: Strawberry Cheesecake Cookies and My Slightly Messy Kitchen
Alright, so if we’re being honest, the very first time I made these strawberry cheesecake cookies, I’d intended to impress this neighbor who always baked those glorious pecan things (never did get that recipe, actually). But instead, my cookies fused into a single sheet on the tray, and I spent way too long chipping them off with a spatula that I later realized was meant for pancakes. Still tasted pretty great though, so I kept at it. And, after about a dozen tries (not counting the one when I somehow baked the parchment paper), these finally turned into something the kids not only eat but actually request by name.
Now, full disclosure: there’s a reason I don’t host a TV cooking show.
Why I Keep Coming Back to This Recipe
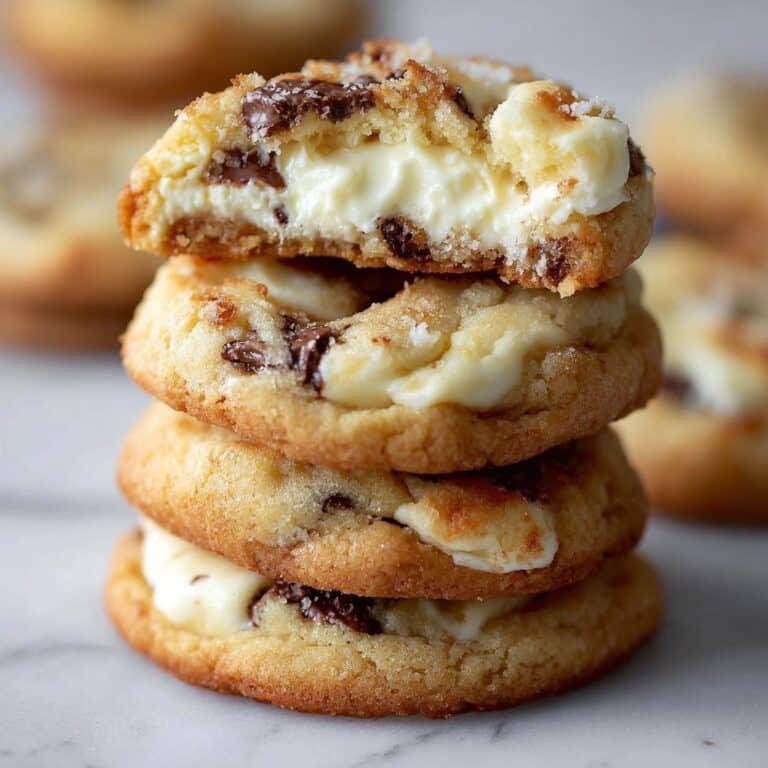
I make these strawberry cheesecake cookies when I need a pick-me-up or when someone at work looks like they could use a bit of kitchen therapy in the form of sweets. My family pretty much inhales them anytime I remember to actually chill the dough before baking (if you’re as impatient as me, just stick the bowl in the fridge, stare at it for fifteen minutes, then give up and bake anyway). The combo of creamy bits and strawberry zing is a ton of fun—plus, they’re way easier than tackling a from-scratch cheesecake. Not gonna lie, sometimes it feels like cheating.
What You’ll Need (Ingredients, But With Some Wiggle Room)
- 100g (about 1/2 cup) unsalted butter (Though, salted’s fine if that’s what you’ve got. I sometimes even mix brands if I’m using up odds and ends.)
- 150g (3/4 cup) white sugar
- 1 large egg (Room temp, unless you forgot. Don’t sweat it.)
- 100g (about 1/2 cup) cream cheese, softened (My gran swore by Philadelphia, but actually, store-brand is totally decent.)
- 1 tsp vanilla extract (Add a little extra if you love it, I won’t tell anyone.)
- 230g (just about 2 cups) plain flour
- 1 tsp baking powder
- 1/4 tsp salt
- 80g (about 1/2 cup) freeze-dried strawberries, roughly crushed (Fresh works in a pinch, but you’ll fight more moisture. If you’re in the UK, check out Healthy Supplies for legit berries.)
- 60g (2 oz) white chocolate chips (Optional, but I love the creamy contrast.)
How I Do It (Because There’s No Single ‘Right’ Way)
- Cream the butter and sugar together. You can use a fancy stand mixer, but truth be told, I usually grab a wooden spoon and arm muscle. Beat until it’s nice and fluffy. (Don’t panic if you’re a little lazy with this—it won’t ruin anything.)
- Mix in the cream cheese. Add it in dollops. I like to beat until just smooth, but don’t stress about a lump here or there. Sometimes I sneak a spoonful of the mixture. Yup.
- Add the egg and vanilla. Scrape down the sides, unless you’re feeling wild today. It’ll look slightly runny, maybe odd, but trust me, it all comes together soon.
- Stir in flour, baking powder, and salt. Sometimes I sift, sometimes I dump and pray. Just don’t over-mix, or cookies go tough faster than you’d think.
- Fold in strawberries and chocolate chips. This is my favorite bit—might want to use your hands. It’s messy, but who cares?
- Chill the dough. Ideally, 30 minutes in the fridge. Actually, I find it works better if it goes in for an hour, but ha, who’s got that kind of willpower?
- Scoop & bake. Preheat your oven to 175°C (350°F). Scoop tablespoon-size balls onto a lined tray (if no parchment, just grease and cross your fingers). Bake 10–13 minutes, until just golden at the edges. Don’t overbake—seriously, they dry out quick. If they look a bit too soft, that’s good! They’ll firm up.
- Cool. Wait a smidge before moving them. Burnt baby fingers are not a good look in anyone’s book.
What I’ve Noticed After Making These A Dozen Times
- Using full-fat cream cheese tastes better—sorry, it just does.
- If you use fresh strawberries, give them a good squeeze in a tea towel first to ditch some water. Or, you’ll get sad, soggy dough (ask me how I know).
- You can freeze the dough! But good luck waiting long enough to bake it later.
How I’ve Experimented, For Better (And Worse)
- Lemon zest in the dough was a massive hit in summer. Adds zing.
- Dark chocolate chips instead of white were fine. Not amazing.
- Blitzed oat flour made them weirdly dense. Don’t recommend (unless you really love oats, I guess).
The Stuff to Grab—Or Improvise!
- Mixing bowl(s)
- Electric mixer or wooden spoon (either works—you call)
- Baking tray (flat, hopefully. But I used a pizza tray once. It was…fine?)
- Parchment paper or greased foil (I’ve even gone old school and used a butter wrapper in a pinch)
- Cookie scoop or two spoons (I once used an ice cream scoop, but those cookies were as big as my head.)
How to Store (But Honestly, Do You Need To?)
So, in theory, these keep in an airtight box on the counter for 2–3 days, or up to a week chilled. But in my house, they’re usually gone before anyone’s loaded the dishwasher. Pro tip: fudge the numbers if anyone asks how many you made. Freezing, as I said, works. Don’t forget to thaw — I once bit into a frozen cookie thinking it had ‘cheesecake crunch’. Nope.
How We Actually Serve Them
We sometimes make a pot of tea and pretend we’re at some fancy high tea. My youngest adds sprinkles to theirs—honestly, tastes just as good. If it’s warm, we eat ‘em with a scoop of vanilla ice cream. Not quite traditional, but who’s judging?
Some Pro Tips (Learned the Hard Way)
- If you don’t chill the dough at all, you get spread-city. I once tried to just bake straightaway and ended up with cookie islands instead of cookies.
- Don’t sub all butter for the cream cheese. You might think it’s smart, but it’s not. They turn into glorified shortbread (which isn’t terrible, but you lose the whole cheesecake part).
- Actually, give the dough time to come to room temp for a couple mins before scooping if you chilled overnight; it gets rock solid!
Oh, here’s a totally unnecessary but related link: someone makes a version using jam—I tried it and it’s fun but more like thumbprints, if you ask me.
Got Questions? Here’s What Friends Actually Ask Me
- Can I use frozen strawberries?
- Mmm, kinda. If you thaw and pat them dry well enough, maybe, but the flavor gets lost a bit. Freeze-dried is more bang for your buck.
- Do I really need to chill the dough?
- See ‘pro tips’ above. If you want cookies not pancakes, yes! But if you’re in a hurry, make peace with more spread (and bigger cookies, honestly, so maybe not all bad?).
- Can I make these gluten-free?
- Sure! Sub your fave GF all-purpose blend—one friend swears by Bob’s Red Mill. They turn out a bit crumblier, though. Not a dealbreaker.
- Where do I find freeze-dried strawberries?
- Big supermarkets or online. I’ve seen them at Tesco, Amazon, and that health shop down the road—pricy, but a little goes a long way.
Okay, that’s it. Shout if you want my failed attempt at turning these into a cake base (spoiler: don’t bother). Otherwise, happy baking! If you end up with a kitchen covered in flour, looks like you’re doing it right.
Ingredients
- 1 3/4 cups all-purpose flour
- 1/2 teaspoon baking soda
- 1/4 teaspoon salt
- 1/2 cup unsalted butter, softened
- 3/4 cup granulated sugar
- 1 large egg
- 1 teaspoon vanilla extract
- 4 ounces cream cheese, softened
- 1/4 cup powdered sugar
- 1 cup fresh strawberries, diced
Instructions
-
1Preheat oven to 350°F (175°C) and line a baking sheet with parchment paper.
-
2In a bowl, whisk together the flour, baking soda, and salt.
-
3In a separate large bowl, cream together the softened butter and granulated sugar until light and fluffy. Beat in the egg and vanilla extract.
-
4Gradually add the dry ingredients to the wet mixture until just combined. Gently fold in the diced strawberries.
-
5In a small bowl, blend the cream cheese and powdered sugar until smooth. Scoop a tablespoon of cookie dough onto the baking sheet, flatten slightly, and add a small spoonful of the cream cheese mixture in the center. Top with another tablespoon of dough and seal the edges.
-
6Bake for 10-12 minutes, or until the edges are slightly golden. Let cookies cool on the baking sheet for 5 minutes before transferring to a wire rack.
Approximate Information for One Serving
Nutrition Disclaimers
Number of total servings shown is approximate. Actual number of servings will depend on your preferred portion sizes.
Nutritional values shown are general guidelines and reflect information for 1 serving using the ingredients listed, not including any optional ingredients. Actual macros may vary slightly depending on specific brands and types of ingredients used.
To determine the weight of one serving, prepare the recipe as instructed. Weigh the finished recipe, then divide the weight of the finished recipe (not including the weight of the container the food is in) by the desired number of servings. Result will be the weight of one serving.
Did you make this recipe?
Please consider Pinning it!!

