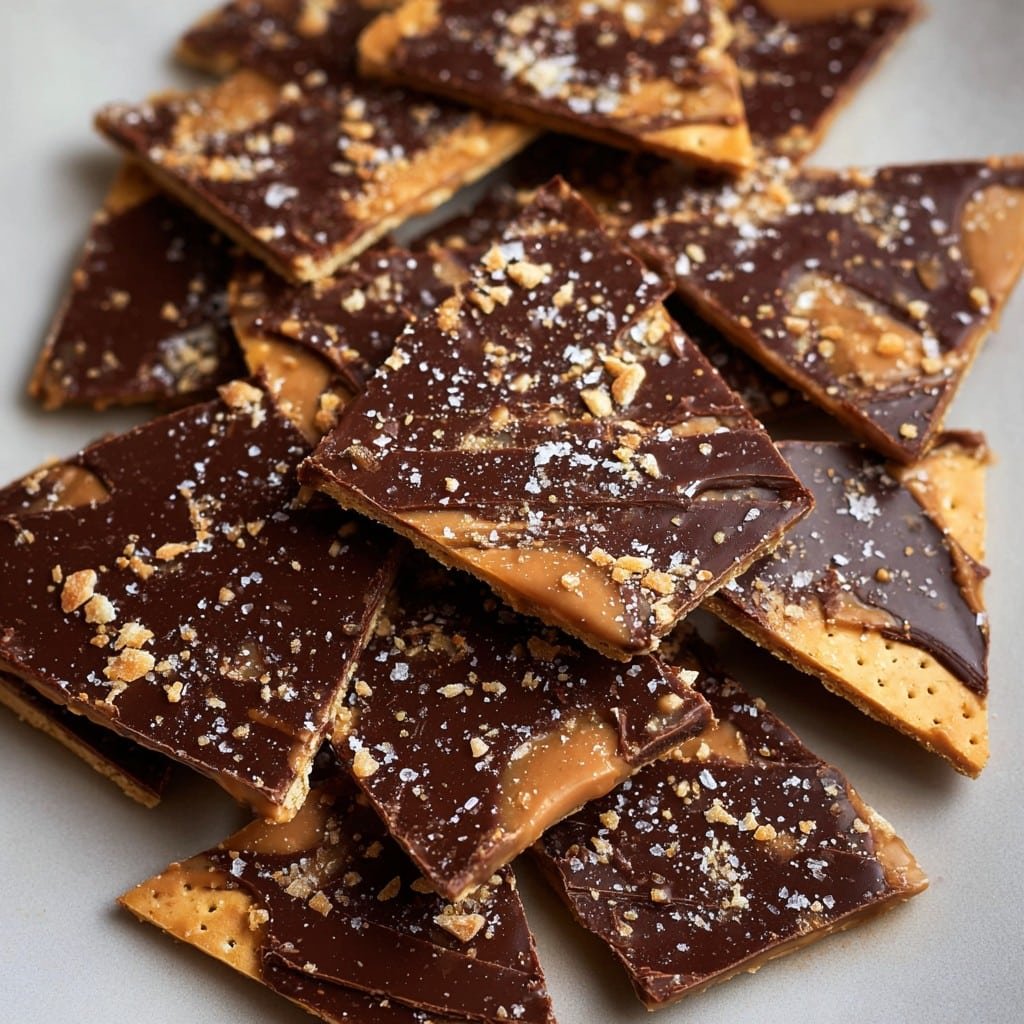
You ever find yourself desperately craving that salty-sweet-crunchy fix and just staring into your pantry like, “Please, inspiration, strike me”? That’s basically how I discovered saltine toffee the first time—except, my friend Betsy brought it to our book club and I couldn’t stop picking at the tray (honestly, I think everyone else barely got a piece!). To this day, if I need to bribe my kids into cleaning their rooms, or I’m just having one of those days where I want to snack endlessly but don’t want a ton of fuss, saltine toffee is my trusty ally. And, okay, full disclosure: it was my attempt at “making candy” without needing a candy thermometer or, you know, actual candy skills.
Why I Always Come Back to This Recipe
I make this when I’ve promised to bring something to a family potluck and—true story—forgot until an hour before. My family goes crazy for saltine toffee because it’s sweet but not tooth-achingly so, and that little salty hit? Addictive. Sometimes I make it just because I want the house to smell like melted butter. (And yeah, I’ve totally burned the caramel once or twice. The smoke alarm still reminds me.)
Ingredients with a Few of My Back-Pocket Swaps
- 1 sleeve saltine crackers (about 40–ish; any brand, honestly)
- 1 cup unsalted butter (I’ve used margarine in a pinch; it’s fine but not as rich)
- 1 cup brown sugar (light or dark works—my grandmother swore by Imperial but store brand has never failed me)
- ~2 cups semi-sweet chocolate chips (use milk chocolate if you want it sweeter; dark is great if you’re feeling fancy)
- Flaky sea salt (optional; I sometimes skip this and don’t miss it, but people love the look)
- Pecans, walnuts, or even sprinkles for topping (my favorite is actually chopped pretzels; trust me!)
How I Actually Make Saltine Toffee (with Honest Commentary)
- Preheat your oven to 400°F (200°C). Line a baking pan—13×9 inches works— with foil and a sheet of parchment. (You’ll thank me when it’s time to clean up). Lay the saltines flat, covering the base. It’s fine if they overlap a little, but try to keep things mostly single-layerish. A few gaps? Eh, who cares.
- In a saucepan, melt your butter and brown sugar over medium heat. Stir, and stir some more. I set a timer for 3 minutes once it’s bubbling, aiming for a sort of smooth caramel. If it’s separated or looks a bit oily at this stage, don’t panic—it fixes itself in the oven.
- Pour that caramel over your crackers, getting as even as you can (don’t stress if you miss a corner; just patch it with a spoon). Bake for about 5 minutes—until the whole pan is bubbling away. This is where I sometimes sneak a quick sniff and regret not prepping a second batch.
- Take the pan out and immediately sprinkle chocolate chips all across the hot caramel. Give it a minute or two. You’ll notice them melting (sometimes they’re stubborn, so I cover the pan loosely with a baking sheet for a minute to help things along—works for me). Spread that gooey chocolate with a spatula or even the back of a spoon, as someone who can never find their actual offset spatula at the crucial moment.
- Now throw on your toppings—pressed-in nuts, sea salt, sprinkles, whatever keeps you excited. Press them in a bit so they stick. Let it all cool for a while—on the counter if you’re patient, or fridge/freezer if you’re not. I never make it past the fridge stage.
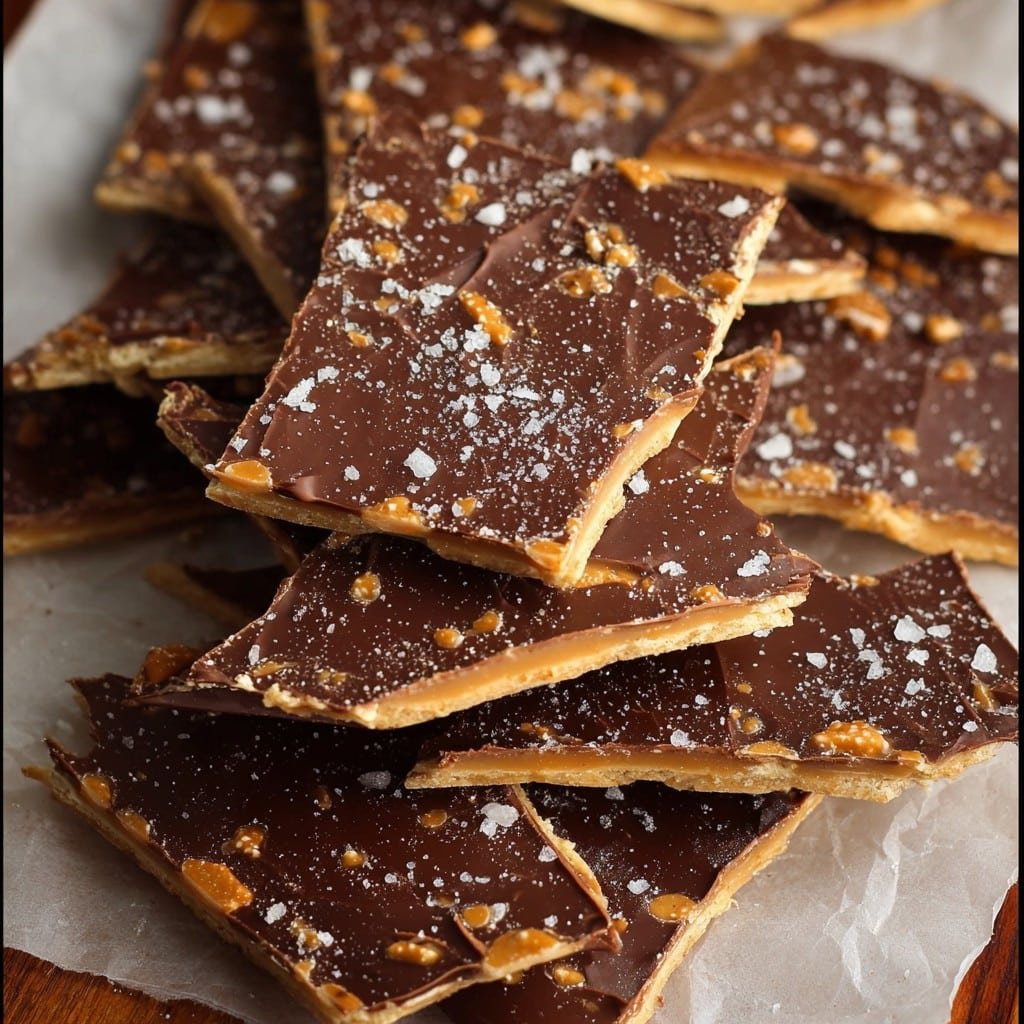
- Once it’s set (an hour? 90 minutes? Depends how sneaky your family is), break apart into pieces. This is the most satisfying step; you can’t mess it up. Odd pieces are the cook’s treat.
Some Things I Learned the Hard (and Sticky) Way
- If you undercook the caramel, it turns a bit gritty; overcooked, and it’s like chewing a tree root. But even my ‘oops’ batches disappear. So, honestly, don’t fret.
- Parchment really is your friend—one time I skipped it and I basically welded my toffee to the foil. Not fun.
- If you get impatient and try to spread the chocolate before it’s melty, it drags up bits of toffee. I’ve learned to wait (mostly).
Variations (and a Few Disasters Along the Way)
I’ve swapped graham crackers for saltines—good, but somehow less punchy. White chocolate plus dried cranberries makes for a fancy holiday thing. Once, on a whim, I tried peanut butter chips instead of chocolate; honestly, it was way too sweet for my taste. Live and learn!
Do You Really Need Special Equipment? (Nah, Probably Not)
Technically, a heavy saucepan and a baking sheet are helpful—I say, use whatever pan you have that fits the crackers. I’ve even used the bottom of a broiler pan from my oven when every baking dish was occupied. If you’re missing a spatula, the back of a big spoon is fine. Or yes, even your fingers in a last-ditch scenario (wash them, please!).
How Long Will It Last? (Not That You’ll Need This Info)
Stored in an airtight container, you’ll get a good week out of it—maybe even longer, but honestly, in my house it never lasts more than a day! I’ve heard people freeze it, but mine only ever makes it to the fridge.
How I Like to Serve This (But You Do You)
I pile the pieces onto a giant platter and let everyone dive in. For birthdays, sometimes I mix in colored sprinkles for a confetti effect. At Christmas, I add a dash of cinnamon just for fun. My cousin swears by crumbling it onto ice cream (I begrudgingly admit she’s onto something).
Lessons Learned—AKA My Hard-Earned Pro Tips
- I tried rushing the caramel one time and regretted it, because it stayed grainy; patience really does pay off here.
- Actually, letting it sit before breaking up makes it less messy, but who am I kidding? Sometimes I can’t wait.
- And if you use salted butter, maybe skip the sea salt on top—or don’t, if you like things extra salty. I kinda do.
Saltine Toffee Questions I Actually Get Asked
- Can I use Ritz?
Honestly, yes; just keep in mind they’re richer, so the final result’s a bit “shortbreadier.” Good, though. - What if I only have white sugar?
Give it a crack—I think brown sugar gives more depth, but white works in a pinch. The texture’s slightly different, a smidge more crispy. - Does the toffee stick to the foil?
Yup, sometimes—especially if you skip parchment. Get some here: parchment paper really does help. - How do you avoid chocolate seizing?
Good question! If the pan is too hot or has water droplets, chocolate gets cranky. I stick to dry utensils (mostly). - Do I really need to let it cool first?
Technically, yes; but honestly, have I waited every time? Nope. Just don’t burn your mouth—it’s not worth a trip to the hospital. (Here’s a fun read on why sugar burns so much—I learned the hard way!)
One Last Little Digression
Okay, another thing—I once tried making saltine toffee at a campsite over a fire. The caramel went harder than a car windshield in a Minnesota winter. I wouldn’t recommend open flames. But hey, if you’re feeling adventurous… let me know how it goes.
Ingredients
- 1 sleeve (about 40) saltine crackers
- 1 cup unsalted butter
- 1 cup packed light brown sugar
- 2 cups semisweet chocolate chips
- 1/2 cup chopped pecans or walnuts
- 1/2 teaspoon vanilla extract
- 1/4 teaspoon sea salt
- Nonstick spray or parchment paper
Instructions
-
1Preheat the oven to 400°F (200°C). Line a rimmed baking sheet with parchment paper or foil and spray with nonstick spray.
-
2Arrange the saltine crackers in a single layer on the prepared baking sheet, covering the entire surface.
-
3In a saucepan over medium heat, melt the butter and brown sugar together, stirring constantly. Bring the mixture to a boil and cook for 3-4 minutes until thickened, then remove from heat and stir in vanilla extract.
-
4Pour the hot toffee mixture evenly over the saltine crackers and spread with a spatula to cover all crackers.
-
5Bake for 5 minutes. Remove from the oven and immediately sprinkle chocolate chips over the hot toffee. Let stand for 2 minutes to melt, then spread melted chocolate evenly.
-
6Sprinkle chopped nuts and sea salt over the melted chocolate. Cool completely, then break into pieces to serve.
Approximate Information for One Serving
Nutrition Disclaimers
Number of total servings shown is approximate. Actual number of servings will depend on your preferred portion sizes.
Nutritional values shown are general guidelines and reflect information for 1 serving using the ingredients listed, not including any optional ingredients. Actual macros may vary slightly depending on specific brands and types of ingredients used.
To determine the weight of one serving, prepare the recipe as instructed. Weigh the finished recipe, then divide the weight of the finished recipe (not including the weight of the container the food is in) by the desired number of servings. Result will be the weight of one serving.
Did you make this recipe?
Please consider Pinning it!!

