Let me tell you about the time I tried (and failed) to sneak cottage cheese into mac and cheese…
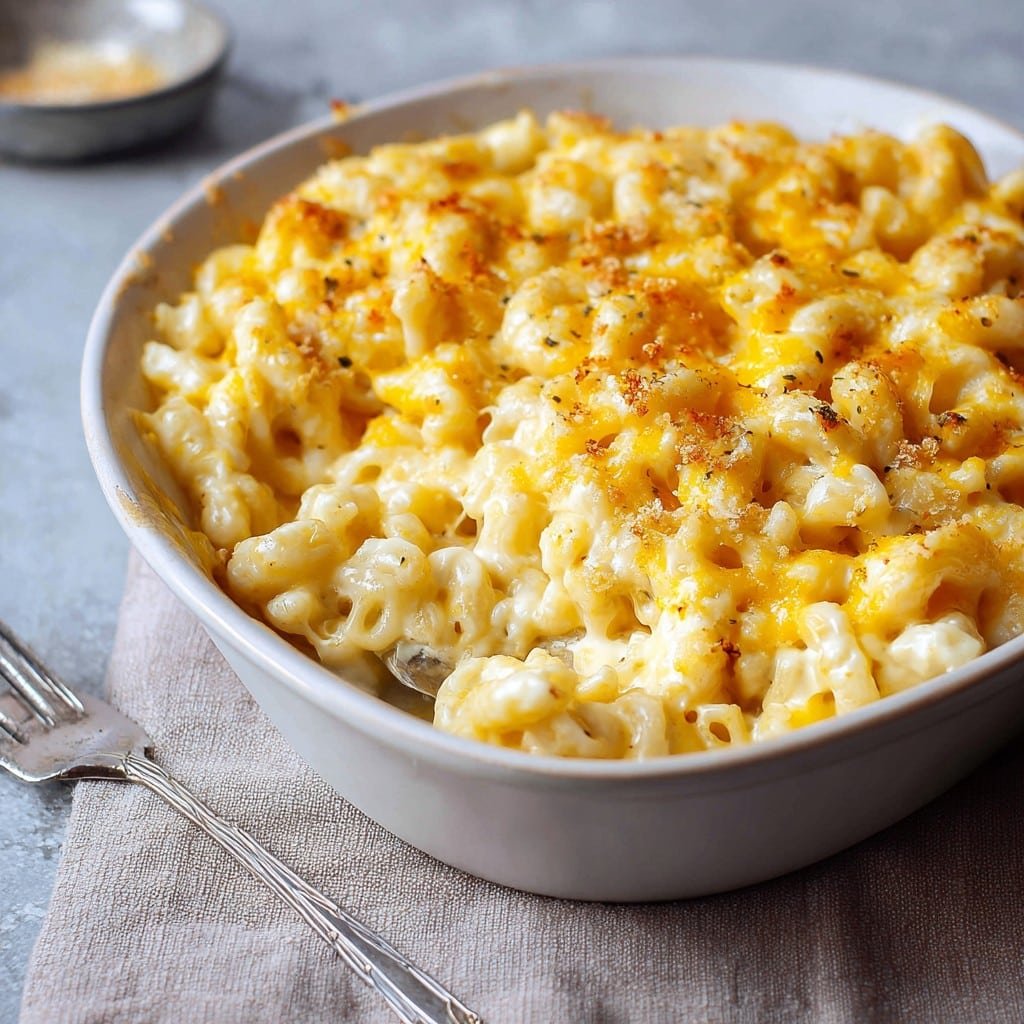
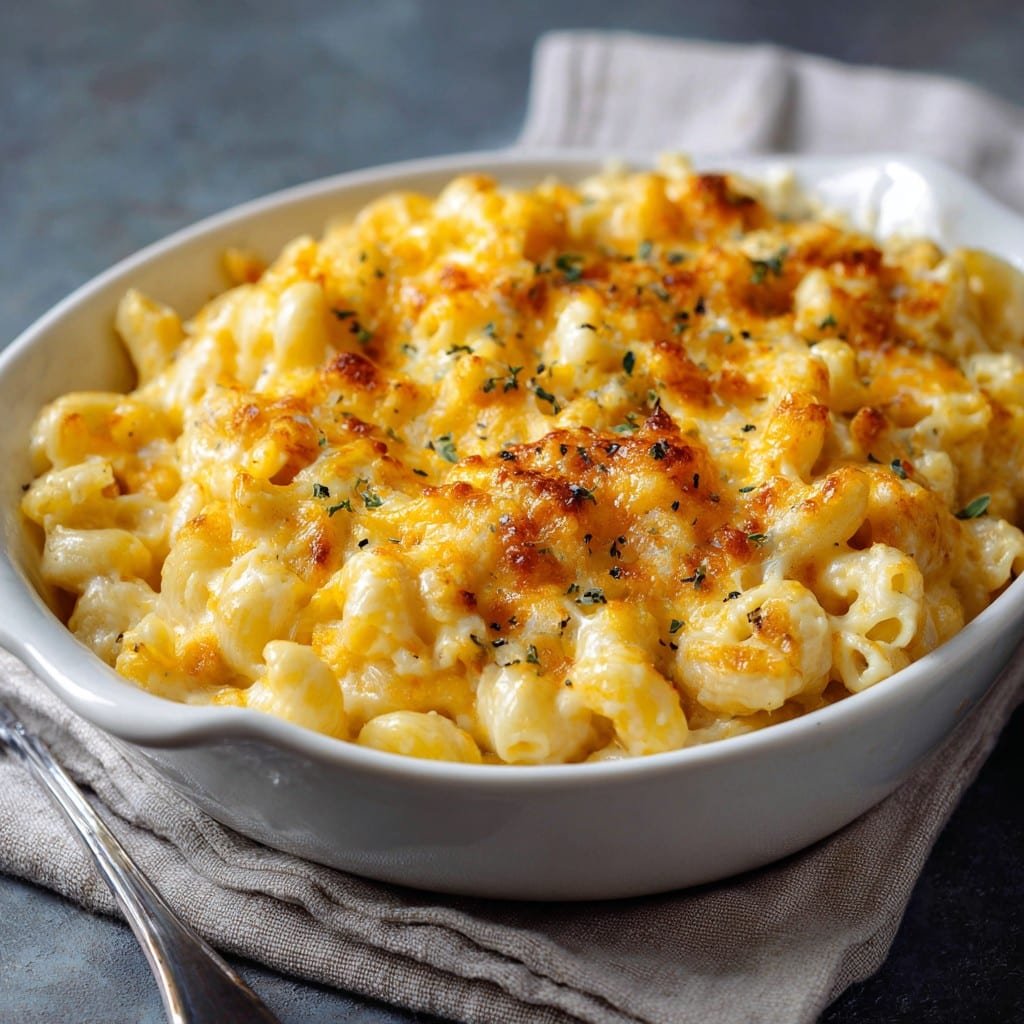
Alright, friend, gather ’round. So: macaroni and cheese has basically been my kryptonite since forever. When I started trying to eat healthier—and, let’s face it, fit into my jeans without doing lunges to get them zipped—I became a woman on a mission. My first attempt at making it “light” was, um, not my proudest moment (ever tried using only vegetables? Didn’t fool anyone—least of all my cheese-obsessed cousin Jamie who, bless him, tried to be polite but just couldn’t fake it). After many soggy noodles and a kitchen that looked like a dairy exploded, I finally found the low-calorie high-protein mac and cheese recipe that’s both comforting and not a total calorie bomb. Now it’s basically on repeat, especially after a run when the kids are clamoring for something cheesy but I’m also trying to sneak in extra protein. And look, if you call it “healthier” mac and cheese, my dad will roll his eyes—so I just serve it, keep quiet, and watch the bowl disappear.
Why I Keep Coming Back to This (It’s Become a Weeknight ‘Win’)
I make this when I need the comfort of mac and cheese but don’t want my waistband regretting things later. My family goes a little bananas for it, honestly—I think it’s the ultra-creamy sauce (plus, the protein keeps everyone full till at least dessert time). Just between us, I battled the clumpy-sauce plague for ages until I started blending the cottage cheese (genius-level discovery, even if it was by accident when my immersion blender fell out of a cupboard and I figured I might as well try it).
Sometimes, I’ve made it just because I was “hungry and cold and needed carbs & cheese right now” (which, for me, is about three times a week in winter). Anyway, don’t fret if your sauce looks a bit weird mid-way; the end result is totally worth the minor panic.
Here’s What You’ll Need (and What You Absolutely Don’t)
- 200g (about 2 cups) high-protein pasta (I use chickpea pasta when I’m feeling fancy; regular elbows are fine too!)
- 1 cup low-fat cottage cheese (I know, I know—but trust me, blend it up!)
- 1/2 cup plain Greek yogurt (whole-milk is creamier, but nonfat works)
- 1 cup shredded reduced-fat cheddar (my gran swore by Tillamook, but any cheddar works—I’ve even used colby-jack in a pinch)
- 1/4 cup grated parmesan (sometimes I cheat and use the kind in the green shaker, don’t tell)
- 1/4 cup protein powder (unflavored—you can skip if you want, but it bumps up the protein nicely)
- 1 tsp Dijon mustard (gives it a sneaky kick)
- 1/4 tsp garlic powder (more if you love a little drama)
- Salt and pepper, to taste
- Optional: pinch of smoked paprika or chili flakes (honestly, I change it up depending on what’s in the cupboard)
Optional swaps: courgette noodles instead of pasta if you’re feeling virtuous (my kids are, let’s say, less enthusiastic). Or swap in vegan cheese if dairy’s not your thing—I tried it with Violife and it was solid, if not quite as melty.
How I Actually Put This All Together
(with Some Side Commentary, Sorry!)
- Boil a big pot of salted water (I do “enough salt to taste like the ocean” but that’s likely an exaggeration). Cook your pasta according to the packet directions. I always taste a noodle at the 7 minute mark because overdone pasta in mac and cheese is a crime.
- While your pasta’s bubbling, pop the cottage cheese and Greek yogurt into a blender. Add mustard, garlic powder, protein powder, and a pinch of salt. Blitz it until super smooth (seriously, do NOT skip this step—lumpy sauce is the enemy)! If you don’t have a blender, I once just used a fork with extra elbow grease, but it took ages and was less creamy.
- Drain the cooked pasta—but save about half a cup of the starchy water. This is your insurance policy for silky-smooth sauce. (I always forget until I’m pouring the water out, honestly.)
- Pour your blended sauce mixture into the warm pan with the hot pasta—then add in all the cheese and parm. Stir like you mean it. If it looks too thick or sticky, gradually add the pasta water back in till it’s creamy. Don’t panic if it looks a bit strange, it always comes together—you have to trust the process a bit here.
- Sneak a little taste right now (chef’s perks!). Then add black pepper and any of those optional spices you like. If it’s a little dry, a splash more yogurt or a sprinkle of milk can help.
- Bonus move: I throw mine under the broiler (grill) for a couple of minutes, just until the top gets all bubbly and golden, but that’s more effort and not strictly required.
Notes (or, Mistakes I’ve Made So You Don’t Have To)
- Don’t use sweetened yogurt by accident—it’s, um, super weird in mac and cheese. Learned that the hard way.
- With protein pasta, you might need a touch extra pasta water—sometimes I just eyeball it and hope for the best.
- Actually, I find it tastes even better the next day (if you can manage to save leftovers).
- And, erm, one time I grated up the wrong cheese (pepper jack)—honestly, not bad if you like a surprise but maybe not everyone’s cup of tea.
Variations: Tried, Tested, or (Regretfully) Tossed
- Bacon bits: Once, I added turkey bacon—made it extra tasty but did push the calories up a bit. Worth it sometimes.
- Spinach & peas: Probably my favorite trick for sneaking in veg (steam and toss in at the end). Kids usually don’t notice if you chop them plenty small.
- Cauliflower cheese sauce: One time, I blended in cooked cauliflower—decent, but it went oddly grainy the next day. Not my best work, but some folks might love it.
- No cheese experiment: Okay, so I tried a “no cheese” version with just nutritional yeast… yeah, not for me. Kind of like eating cheesy-tasting air. Pass.
The Kitchen Gear I Use (But You’ll Be Fine Without Half of It)
- Medium saucepan (or any big ol’ pot, I’ve even used my Dutch oven for a massive batch)
- Colander (draining pasta with the pan lid works in a pinch, just go slowly and don’t burn your hands—ask me how I know)
- Blender or food processor—if you lack one, a whisk or fork can do the trick, just takes more elbow grease
- Baking dish for the crispy broiled top (sometimes I just use an oven-safe bowl, no judgment)
Storing Your Leftovers (…If You Ever Have Any)
Technically, this keeps fine in the fridge for 3 days in a tightly sealed container, but honestly, in my house it never lasts past breakfast the next day (someone always nicks the last spoonful). If you do manage to save some, a splash of milk when reheating works wonders for reviving creaminess.
How I Serve It (Aka: Dinner Table Rituals)
We usually eat this straight out of bowls while watching “Bake Off” reruns, but sometimes—if I’m putting on airs—I’ll serve with a green salad (always with a lemony dressing, goes down a storm). Also, there’s a minor family war about who gets the crispy bits from the top, so I just say the cook gets dibs. (Fair is fair?)
These Are the Tips I Wish I’d Known (Before I Messed Up)
- I once tried to speed up the blending, and the sauce came out lumpy—regretted it instantly. Let the blender work its magic, even if it feels like an extra step.
- Rushing the broiler step? Crispy turns to charcoal fast. Keep an eye on it or you’ll be scraping black bits off, like me that one time.
- Oh, and don’t skimp on the pasta water. It’s honestly the difference between creamy and gluey.
Real-Life FAQ (People Actually Ask Me These!)
Can I use regular pasta instead of high-protein?
Honestly, yes—sometimes I do when I can’t be bothered to go to the fancy shop. The macros are different, but the taste is just as ace.
What’s the deal with protein powder in cheese sauce?
So, I was skeptical too! But unflavored whey (like the one I use here) just vanishes into the sauce, so you barely notice it—except the sauce gets oddly satisfying and not gritty (promise!)
Can you freeze this?
Yeah, and no. You can freeze it if you’re desperate, but I find the sauce texture gets a bit weird (grainy, sometimes separatey?) after thawing. If you don’t mind that, go for it.
What if I don’t have Greek yogurt?
No worries! I’ve used regular plain yogurt, and once even quark (look it up here: Bon Appetit explains it pretty well). Actually, sour cream can even work in a pinch, but I recommend dialing down the tang with a bit of milk.
Got more questions? Ping me on Instagram (@maccheesemaven) or shout at me in the comments—I genuinely love troubleshooting these weird food swaps.
(If you’re looking for more comfort food switch-ups, wellplated.com always has some great inspiration. I get ideas there all the time when I’ve run out of steam.)
Ingredients
- 8 oz high-protein elbow macaroni
- 1 cup low-fat cottage cheese
- 1 cup unsweetened almond milk
- 1 cup shredded reduced-fat cheddar cheese
- 1/4 cup plain nonfat Greek yogurt
- 1 tbsp nutritional yeast
- 1/2 tsp garlic powder
- 1/4 tsp black pepper
- 1/2 tsp salt
- Nonstick cooking spray
Instructions
-
1Bring a large pot of salted water to a boil. Cook high-protein elbow macaroni according to the package instructions until al dente. Drain and set aside.
-
2In a blender, combine low-fat cottage cheese, unsweetened almond milk, and plain nonfat Greek yogurt. Blend until completely smooth.
-
3Spray a medium saucepan with nonstick cooking spray. Pour the blended mixture into the pan and heat over medium-low heat.
-
4Add shredded reduced-fat cheddar cheese, nutritional yeast, garlic powder, salt, and black pepper. Stir constantly until the cheese has melted and the sauce is creamy.
-
5Add drained macaroni to the sauce and stir until all pasta is coated evenly. Heat for 2-3 more minutes. Serve immediately.
Approximate Information for One Serving
Nutrition Disclaimers
Number of total servings shown is approximate. Actual number of servings will depend on your preferred portion sizes.
Nutritional values shown are general guidelines and reflect information for 1 serving using the ingredients listed, not including any optional ingredients. Actual macros may vary slightly depending on specific brands and types of ingredients used.
To determine the weight of one serving, prepare the recipe as instructed. Weigh the finished recipe, then divide the weight of the finished recipe (not including the weight of the container the food is in) by the desired number of servings. Result will be the weight of one serving.
Did you make this recipe?
Please consider Pinning it!!

