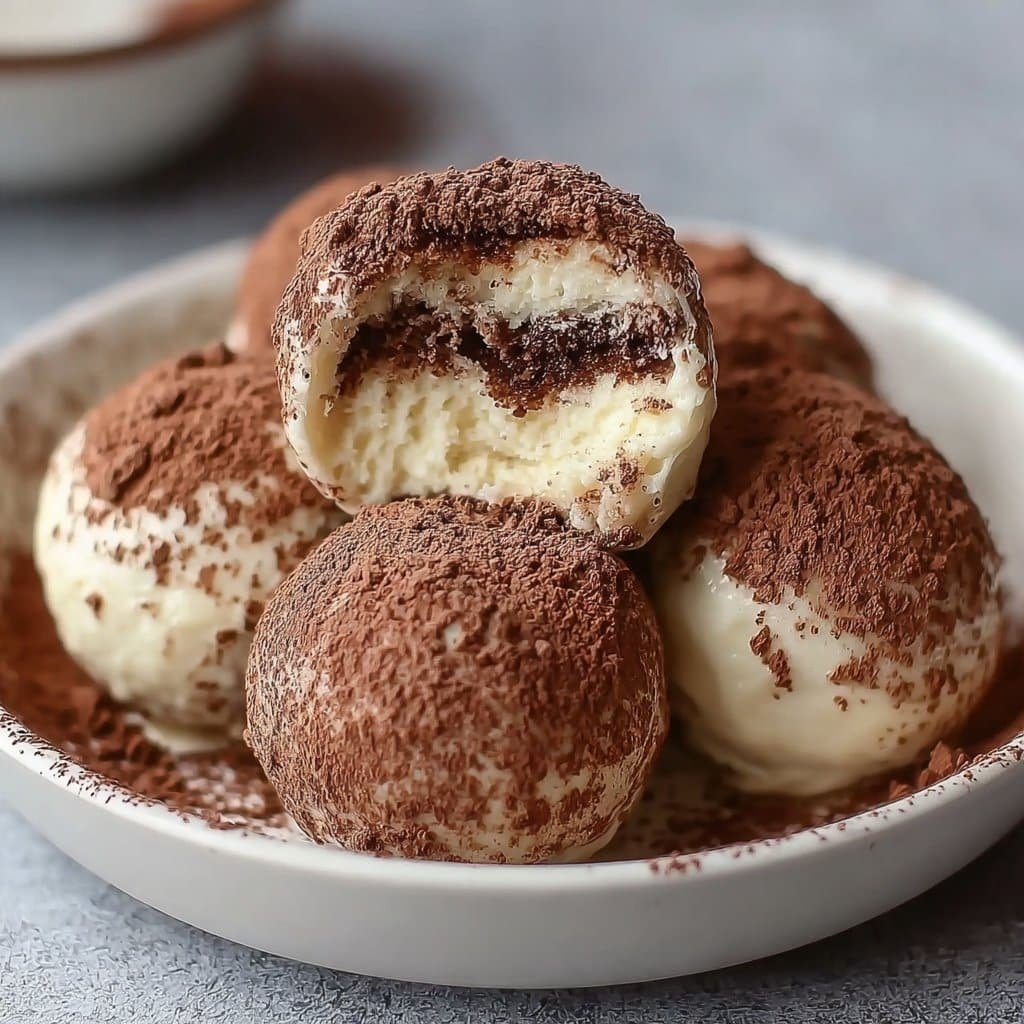
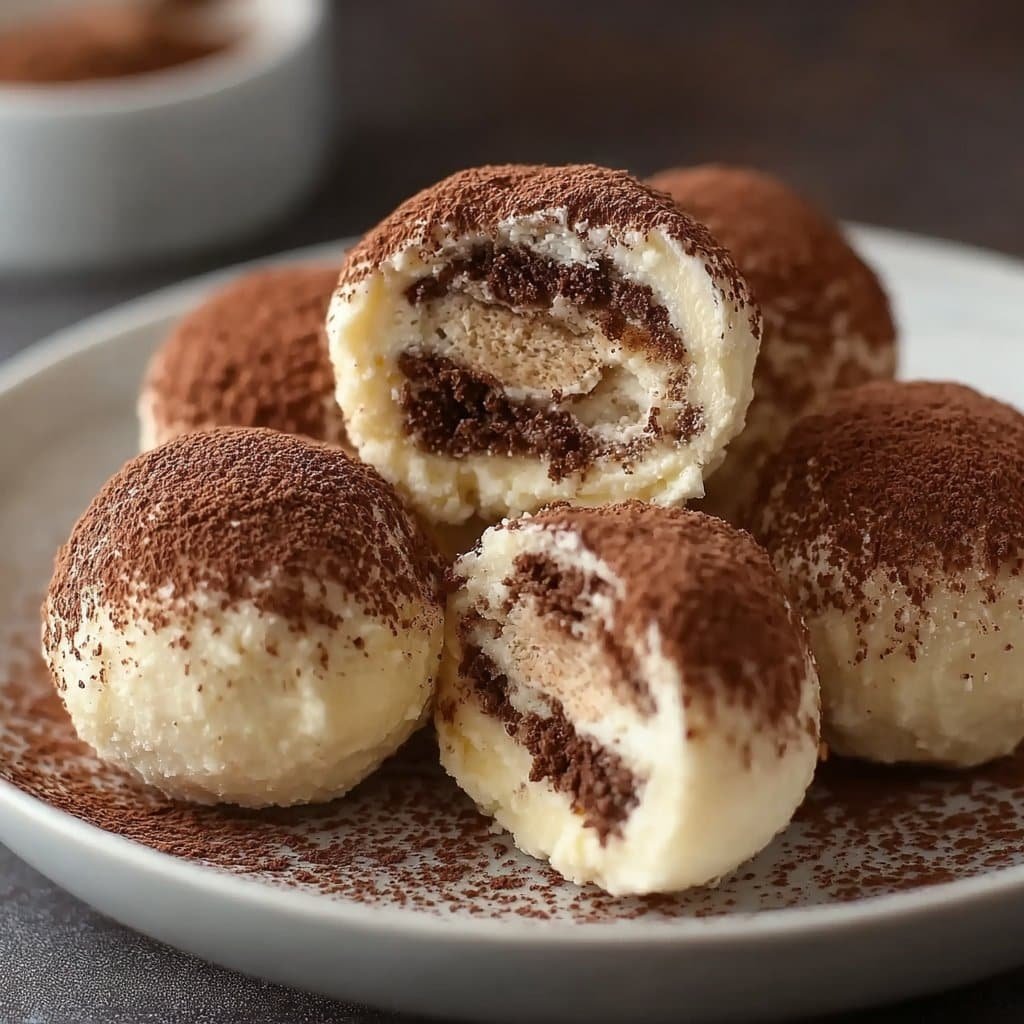
Easy 10 Minute Tiramisu Balls
Coffee & Chaos: How I Found My Go-To Easy 10 Minute Tiramisu Balls
So you know that sad moment when you open the fridge, and absolutely nothing in there soothes your craving for something sweet, but you can’t be bothered with an oven? Yeah, that’s how I stumbled onto these Easy 10 Minute Tiramisu Balls. One Friday, my cousin drops by—unexpected, classic Becky—and demands “something fancy but fast, you know, like cafe dessert but I wanna eat it now.” No pressure. Anyway, after a bit of panicking and haphazardly combining bits and bobs I had lying around, these little tiramisu balls were born (and, weirdly, now my friends basically expect them every time someone visits). They hit all the good notes – creamy, coffee-rich, a little boozy if you want – and zero baking! Which, let’s be honest, saves my kitchen from its usual apocalypse.
Why You’ll Love These Balls (Trust Me!)
I make this when I’m short on time, caffeine-deprived, and desperate for dessert (which is, frankly, most Thursdays). My family goes absolutely bonkers for this because it’s like the flavors of classic tiramisu but easier to eat while yelling at the telly. Honestly, I’m not always patient enough for layers and chilling—so balls are my solution. Plus, if the mood strikes, you pop ’em in your mouth straight while hiding from the kids. Or, like once, I accidentally dropped a tray but hey, they still tasted brilliant (that’s the magic!). Oh, and no eggs—so you can sneak the dough with wild abandon.
What You’ll Need (Substitutey Bits in Brackets)
- 200g plain ladyfingers (I sometimes use leftover sponge cake if that’s lurking—my gran swore by her own homemade biscuits, but store-bought is absolutely fine, honestly!)
- 120g mascarpone (cream cheese does the trick if your shop’s out. Actually, I think it’s slightly tangier and I like it.)
- 3 tablespoons strong coffee, cold (no espresso? Just double up the instant—the flavor is what matters, not the method.)
- 2 tablespoons sugar (I’ve sometimes swapped in honey or maple syrup when the sugar jar is down to sad clumps)
- 1-2 tablespoons coffee liqueur (Kahlua’s the classic, but I’ve even used Irish cream once—bit cheeky, but yum; just skip or up the coffee if you don’t do booze)
- Cocoa powder, for rolling (sometimes I go wild and use chocolate shavings or even drinking chocolate powder)
- (Totally optional: pinch of cinnamon, chocolate chips, or orange zest—only if you like faffing about)
Let’s Throw It All Together (Honestly, It’s Easy)
- Crumble the ladyfingers into a mixing bowl—really, just bash ‘em up with your hands or, in a pinch, the bottom of a mug. No need to be precious. I love this messy bit.
- Add your mascarpone, sugar, coffee, and liqueur. Mix it up with a spoon or just dive in with your hands (less washing up, mate). Looks a bit odd at first—don’t stress, it’ll come together.
- If you’re adding extra bits—like cinnamon, orange zest, choc bits—now’s the time. Sometimes I skip this because, well, I can’t be bothered.
- Grab little handfuls and squish them into balls, about walnut-sized. (Here’s where I tend to taste one—purely for quality control, of course!) If the mix is super sticky, just pop it in the fridge for a few mins; it firms up nicely.
- Roll each ball in cocoa powder, or really whatever chocolatey stuff you fancy. Plonk them on a plate. Admire your handiwork or just eat three while pretending to tidy up.
- Chill for a bit if you can wait—I think 30 mins makes ‘em extra special, but truth be told, I’ve served them straight away and no one’s ever complained.
What I’ve Learned the Hard (but tasty) Way
- If you use too much liquid, the mix turns to mush; add more biscuit and soldier on.
- I used to overdo the cocoa—don’t. Trust me, or you’ll be coughing up a dust cloud.
- It’s better to make the coffee strong, otherwise the flavor gets lost. But instant works in a pinch (no snobbery here).
Variations I’ve Toyed With (Plus a Fail…)
- Added mini choc chips once—got rave reviews (from myself).
- Tried rolling in toasted coconut—oddly tropical, not quite my style but someone might love it.
- Did a gluten-free version with those super-dry GF biscuits—came out a bit… sandy? Maybe I did it wrong. Worth another go one day.
- Actually, one time I threw in pistachios. Not bad—like, fancy cafe vibes?
Got The Right Gear? (Or Not!)
Bowl and spoon are the basics. Don’t own a food processor? No biggie—your hands work just fine for this. I say a cookie scoop is handy for even sizes, but fingers are quicker. Oh, and if you’ve only got a tiny fridge, I just chill on the window sill sometimes (unless it’s a scorcher out).

How To Store ‘Em (If They Last That Long)
Airtight container in the fridge for a couple days—though honestly, in my house, they never make it past the first night, so… this may be theoretical advice.
How I Serve (and Sometimes Don’t Even Bother)
On a platter with coffee, of course, if feeling posh. Sometimes a swirl of whipped cream or a dust of extra cocoa if you’re trying to impress Auntie Maureen. Personally, I just hand folks the container and a few napkins. Family tradition? Slight squabble over the last one (I’m not proud, but I’ve hidden a few).
The Things I Wish I’d Known (Aka Pro Tips!)
- Once I tried to rush forming the balls, and half of them splatted. Now I leave the mix to sit a minute before shaping.
- Underestimating the power of fresh coffee. Seriously, the bolder the brew, the better they taste.
- I sometimes get lazy and don’t chill them—they’re fine, but stickier. Next day, though (if you manage any leftovers), the flavor is even more epic.
Questions I’ve Actually Gotten (and How I Answered While Elbow-Deep in Mascarpone)
- Can I freeze these? Ooh, good one! Yes, they freeze pretty well, just put some parchment between layers so they don’t become one mega-ball. Thaw in the fridge so they don’t go mushy.
- Is it ok to leave out the booze? Yup! Just use more coffee or a teensy splash of vanilla extract. They’re just as tasty (my little niece loves them this way).
- Can I make these vegan? You’d have to swap in vegan cream cheese and use dairy-free cookies—personally, I haven’t tried, but my mate Jamie swears by this vegan recipe. Worth a look!
- Do you have to sift the cocoa? Honestly, I only bother if guests are over. Regular spoonful works fine (who am I, Mary Berry?).
- What coffee do you use? Whatever’s closest! If I plan ahead, I make a pot of this proper brew, otherwise my trusty instant. Life’s too short.
Oh, final thing (promise): if you want a step-by-step visual, this video guide shows the idea—even though I totally skip the fancy bits. Anyway, good luck, don’t stress the crumbs, and let me know if your family fights over the last one like mine. Cheers!
Ingredients
- 1 cup ladyfinger biscuits, crushed
- 4 oz cream cheese, softened
- 2 tablespoons instant coffee, dissolved in 1 tablespoon water
- 3 tablespoons powdered sugar
- 2 tablespoons cocoa powder, for dusting
- 1/2 teaspoon vanilla extract
- 2 tablespoons mascarpone cheese
- 2 tablespoons dark chocolate, finely chopped
Instructions
-
1In a mixing bowl, combine the crushed ladyfinger biscuits, cream cheese, mascarpone cheese, powdered sugar, dissolved coffee, and vanilla extract.
-
2Mix well until a soft, uniform dough forms. Fold in the chopped dark chocolate.
-
3Using your hands, roll small portions of the mixture into balls about 1 inch in diameter.
-
4Roll each tiramisu ball in cocoa powder to coat all over.
-
5Place the finished tiramisu balls on a tray and refrigerate for at least 10 minutes before serving.
Approximate Information for One Serving
Nutrition Disclaimers
Number of total servings shown is approximate. Actual number of servings will depend on your preferred portion sizes.
Nutritional values shown are general guidelines and reflect information for 1 serving using the ingredients listed, not including any optional ingredients. Actual macros may vary slightly depending on specific brands and types of ingredients used.
To determine the weight of one serving, prepare the recipe as instructed. Weigh the finished recipe, then divide the weight of the finished recipe (not including the weight of the container the food is in) by the desired number of servings. Result will be the weight of one serving.
Did you make this recipe?
Please consider Pinning it!!


