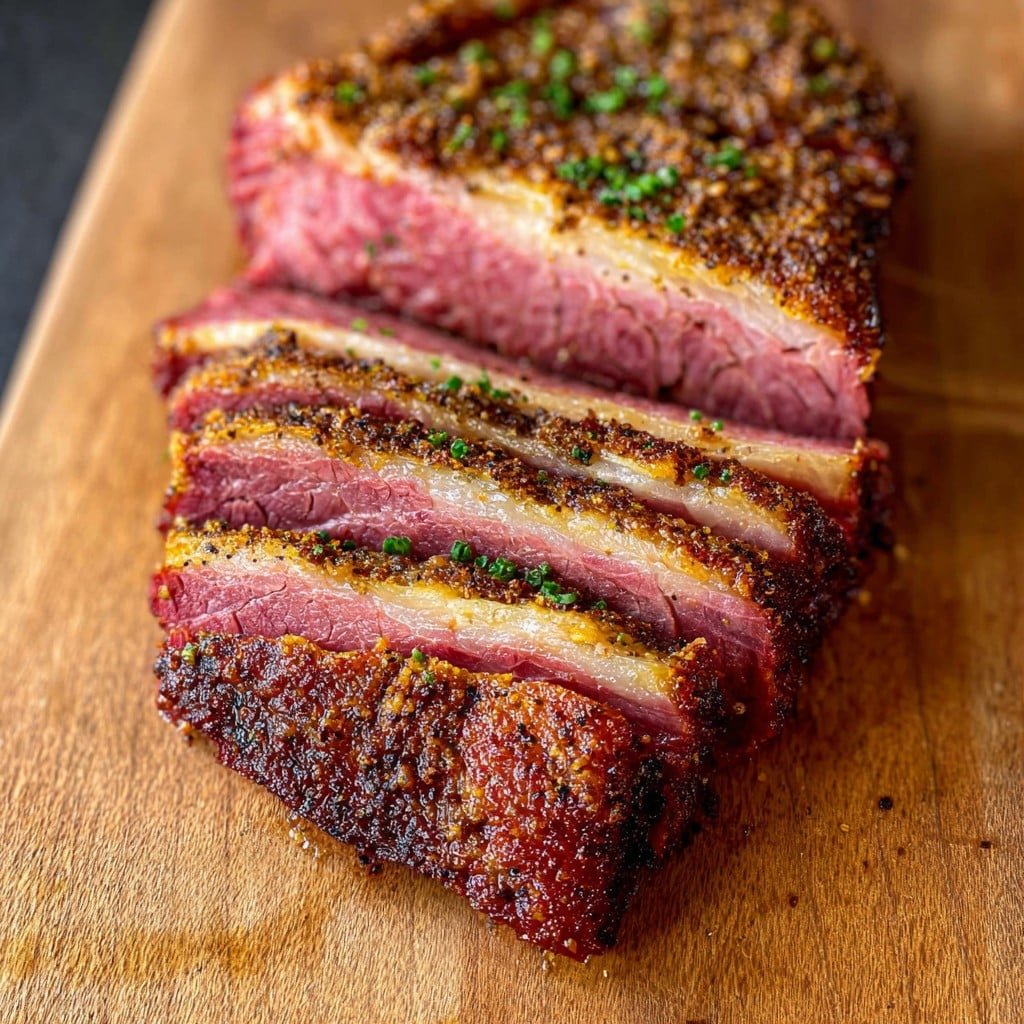
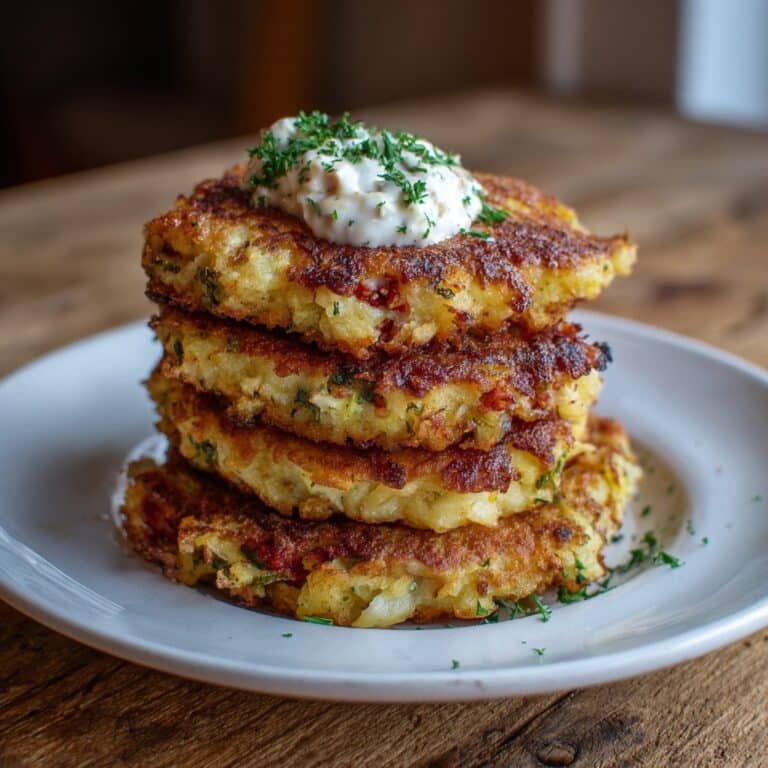
Let Me Tell You Why Crispy Corned Beef Is My Rainy Day Hero
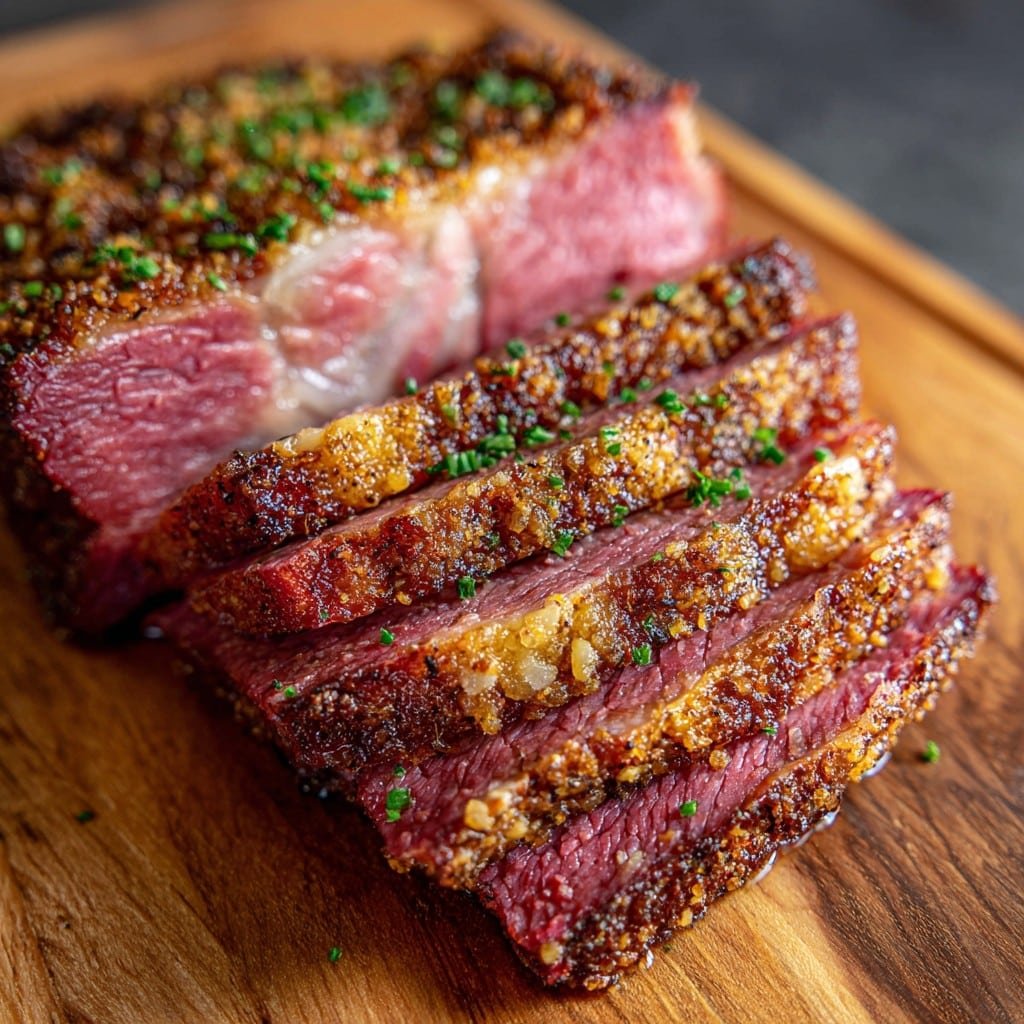
Okay, before I say another word — have you ever had one of those weeks where you just want to eat something ridiculously comforting and not even think about calories? Yup, that’s when I turn to crispy corned beef. My dad used to fry up slabs of the stuff on ancient cast iron after long Sunday mornings, and if I’m being honest, he burned it sometimes. But I swear that sorta made it better. There’s just something amazing about those salty, crunchy bits (even though cleaning the pan after is, well, let’s call it “character building”).
There was this one time I forgot to drain the can properly and ended up with a near-explosion of corned beef hash on the stove. Dog loved it; me, not so much. Still, the whole house smelled like what I imagine an old school Irish pub does (minus the spilled Guinness).
Why You’ll Fall Hard for This (Like My Family Does)
I make crispy corned beef when I want to avoid big grocery trips (or hide from the weather). My bunch goes mad for it because, I mean, who doesn’t like anything that’s both crispy and salty, right? It’s one of those meals you can slap together with cupboard bits and bobs. Sometimes, when I’m feeling fancy or fed up with the same old, I’ll jazz it up with a runny egg on top. And for what it’s worth, making it crispy used to drive me mad — the timing can be a bit like finding your car keys in the dark. But with a couple of tweaks (see below), now it’s mostly just relaxing… unless I forget and walk away during the crunchy part, which, erm, let’s move along.
Here’s What You’ll Need (or Not, Honestly)
- 1 can of corned beef (I use Princes when I’ve got it, but the cheapo tins work just fine—Grandma swore by Libby’s for “the real stuff”)
- 1 medium onion, diced (or shallots, if you’re feeling posh — I nicked my neighbor’s once, she never noticed)
- 2 cloves garlic, minced (or a fat pinch of garlic powder, which is what I reach for when I’m wiped after work)
- 2 tablespoons neutral oil — I just glug in whatever, sunflower or veg; have used butter, and oof, good but rich
- Optional extras: diced potatoes (if you want that hash vibe), bell peppers, or even a splash of Worcestershire (that bottle you bought in 2017, yeah, that one!)
- Salt and pepper — but honestly taste it first, it’s already plenty salty
So How Do You Actually Make This Stuff?
- Heat your biggest frying pan over medium-high. Add the oil and let it shimmer (not smoke. If it smokes, just pretend you meant to add a smokey flavor!)
- Toss in the onions. Stir around for a good 3 minutes till they’re floppy but not completely melted. I usually chuck the garlic in right after, but sometimes I forget and add it a bit later — no disaster.
- Corned beef time. Open the can (the little key thing is a menace, just use a can opener or a pair of pliers — yes, I’ve been there). Tip it into the pan, then break it up with a wooden spoon or spatula. Don’t stress if it stays in odd chunky shapes for a bit — it’ll sort itself out.
- Spread out the beef in an even-ish layer, then let it just sit — don’t poke it too much. Come back after 4–5 minutes and peek underneath. Where it’s golden and crispy, flip in big scruffy clumps. This is where I always steal a bite, even though it’s too hot.
- If you’re jazzing it up with diced potato, I’d recommend microwaving or parboiling them first. Learned that the hard way after trying to fry raw cubes and ending up with crunchy on the outside, crunchy on the inside potatoes. Just, no.
- Keep crisping, flipping every few minutes. When it looks good and dark on most sides, you’re basically done. Let’s call it 10–12 minutes total, but I never actually time it properly.
- Season at the end, if needed. Most times it’s salty enough already, but a grind or two of pepper is ace.
Some Notes (Learnt the Long Way Round)
- If you use cheap pans, it will stick. Should’ve seen my first attempt at uni — it was basically welded on. Non-stick is your mate here, honestly.
- Actually, I find if I let it sit longer before flipping, the crust is waaay better. Patience pays off, surprisingly.
- Adding a splash of Worcestershire at the end is my not-so-secret move for extra oomph.
Variations (or, What Happened When I Got Bored)
- Tossed in leftover cabbage once (like a poor man’s bubble and squeak) — delicious.
- Tried mixing in tinned tomatoes — somehow managed to make both soggy and burnt. Wouldn’t rush back to that, not gonna lie.
- Swap out half the corned beef for cooked bacon bits. Wow, that goes quick at the table but, blimey, salty!
Side note: I once grated cheddar on top and stuck the pan under the grill for a cheesy crust. It was unholy in the best way. Give it a bash if you love cheese.
Do You Need Fancy Gear?
Honestly, a frying pan does the trick. I tried a griddle pan once (don’t ask), but a solid non-stick is king. No spatula? I used two spoons once — bit clumsy but it works. I bet some folks would even try this in an air fryer, but I can’t vouch for it (if you do, let me know!). Honestly, you can find decent pans and gadgets for almost nothing at charity shops — BBC Good Food does some reviews here.
Storing Leftovers (If You Happen To Have Any…)
Technically you can cool and pop leftovers in an airtight box in the fridge for up to 2 days. Give ’em a blast in the pan again to get the crisp back (microwave makes it soggy, like, a weathered rugby pitch in February…) But honestly, in my house, it somehow disappears before I even reach for a Tupperware. Someone’s always “helping themselves.” If you do want to meal prep, you can freeze in a pinch, just the texture gets a tad odd — more like hash than crispy slices. Serious Eats has a good freezer guide which probably says the same but more politely: check it out here.
How We Like to Serve It (And a Mini Rant)
Always with runny fried eggs, loads of black pepper. My uncle eats his with baked beans — I’m not judging, but… why? A slice of sourdough or just a pile of buttered toast soldiers, and you’re laughing. Oh, and for some reason, whenever my cousin visits, she insists on ketchup — apparently, that’s “the only right way.” Probably not, but to each their own.
Pro Tips I Learnt the Messy (And Slightly Embarrassing) Way
- I once tried to speed it up on super high heat — ended up with carbonized corned beef frisbees. Go medium-high. Trust me; patience really does help here.
- Don’t crowd the pan. I got greedy and thought I could double it. Well, it steamed instead of crisping — one solid, floppy mass. Split your batch if you need more.
- Don’t skimp on oil unless you like dental work. Dry pan = concrete corned beef. Learned that the hard way.
- Forget the fork thing for flipping — use something broad (or two spoons, just be careful you don’t send half onto the floor… like me last Easter).
FAQ: Real Questions, Real Answers
- Do I need to use canned corned beef? I mean, that’s what makes it quick. If you’ve got leftover brisket, go wild, but it’s a whole other dish then. Plus, who ever has leftover brisket lying about…?
- Can I make this in advance? You can — but I reckon it tastes better fresh from the pan, when it’s loud and crispy. I keep nibbling the bits right from the skillet, honestly.
- What if I want less salt? Give it a rinse before frying and skip extra salt. Or try half corned beef, half cooked potato for balance. Actually, sometimes I mix in peas just to trick myself into thinking it’s healthy.
- How do you stop it sticking? Oil and no touching till the crust forms. Also, don’t use a battered old tin pan (speaking form bitter experience).
- Can you add spice? Oh yes, add a pinch of smoked paprika or chili flakes — that’s what my mate Zoe does, and it’s brilliant for a chilly day.
- What do you serve with it? See above — eggs, beans, toast. Or just eat from the pan, we’ve all been there. (Honestly, I have been known to scoff it standing at the stove with a fork. Don’t judge me!)
Alright, that’s everything. If you have another bright idea or success (or tragic disaster), let me know — we’ll swap kitchen war stories!
Ingredients
- 2 cups cooked corned beef, diced or chopped
- 2 medium russet potatoes, peeled and diced
- 1 small onion, finely chopped
- 2 tablespoons unsalted butter
- 1 tablespoon vegetable oil
- 1/2 teaspoon black pepper
- 1/2 teaspoon salt
- 2 tablespoons chopped fresh parsley (optional)
Instructions
-
1In a large skillet, heat butter and oil over medium heat until hot.
-
2Add the diced potatoes and cook until lightly browned and tender, about 10-12 minutes, stirring occasionally.
-
3Stir in the chopped onion and cook for another 3-4 minutes until softened.
-
4Add the diced corned beef, salt, and black pepper. Cook undisturbed for 4-5 minutes to allow the mixture to crisp up on the bottom.
-
5Flip sections of the hash and allow the other side to crisp for an additional 3-5 minutes.
-
6Garnish with chopped fresh parsley if desired and serve hot.
Approximate Information for One Serving
Nutrition Disclaimers
Number of total servings shown is approximate. Actual number of servings will depend on your preferred portion sizes.
Nutritional values shown are general guidelines and reflect information for 1 serving using the ingredients listed, not including any optional ingredients. Actual macros may vary slightly depending on specific brands and types of ingredients used.
To determine the weight of one serving, prepare the recipe as instructed. Weigh the finished recipe, then divide the weight of the finished recipe (not including the weight of the container the food is in) by the desired number of servings. Result will be the weight of one serving.
Did you make this recipe?
Please consider Pinning it!!

