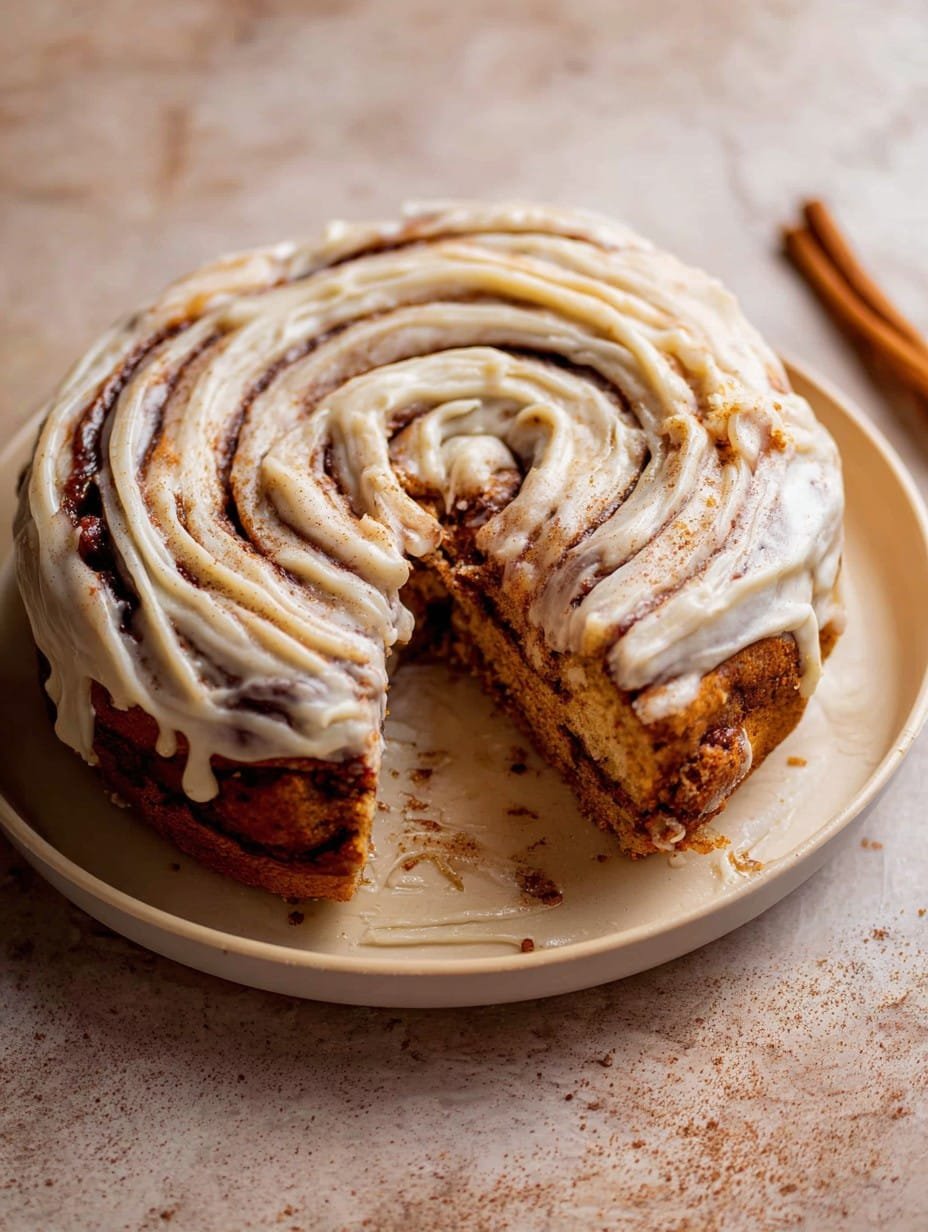
Let Me Tell You, This Cinnabon Cake Means Comfort Food
I have this weird habit of making Cinnabon Cinnamon Roll Cake when the weather gets moody, or, you know, when I’ve had a shocker of a week. This isn’t the exact Cinnabon from the mall (not that I haven’t stalked their ovens), but it’s the next best thing to inhaling that sugary, spicy aroma at home. The first time I made this, I accidentally tripled the cinnamon and wow, was my kitchen *pungent*. But honestly? Still got eaten. There’s just something about ooey-gooey cinnamon and melty icing that brings everyone running—kids, neighbors, possibly your dog’s nose.
Why You’ll Love This (Or: Why My Family Begs For It)
I make this cake when I’m in the sort of mood that says “I don’t want to knead dough for an hour, thanks!” My family basically starts hovering as soon as the cinnamon smell escapes the oven. (My partner says it’s the only cake that actually disappears by breakfast.) Honestly, it’s like a cinnamon roll and a vanilla cake had a gloriously sticky baby. And if you’ve ever wrestled with rolling out dough on a sticky countertop—well, this is the shortcut you’ve been looking for. Pro tip: don’t walk away when it’s almost done unless you want a slightly…chewier top (ask me how I know).
Grab These Ingredients (Swaps Welcome)
- 2 cups all-purpose flour (but I sometimes sub a cup with cake flour when I’m feeling fancy)
- 1 1/2 cups granulated sugar (brown sugar for a caramel twist—it works!)
- 1/2 cup unsalted butter, softened (honestly, margarine totally works, don’t @ me)
- 1 cup milk (whole is richest, though skim will do if you must)
- 2 large eggs
- 1 tbsp baking powder (grandma swore by Rumford, but use what you have)
- 1 tbsp vanilla extract (real, fake, it’s all magic)
- 1/2 tsp salt
- For the filling:
- 1 cup packed light brown sugar (dark brown will give it more depth—sometimes almost too much)
- 2 tbsp all-purpose flour
- 1 tbsp ground cinnamon (I prescribe heavy-handedness here)
- 2/3 cup unsalted butter, melted
- For the glaze:
- 2 cups powdered sugar
- 5-6 tbsp milk
- 1 tsp vanilla extract
This Is How I Throw It Together
- Heat up the oven: Preheat it to 350°F (175°C). Grease a 9×13-inch baking dish. Or use a smaller one if you love thicker cake (I do, but it takes longer.).
- Batter time! Grab a big bowl, cream your softened butter and granulated sugar. I once skipped softening the butter and had to chase lumps—don’t be me. Add eggs, vanilla, and milk. Mix and dance a bit (optional).
- Dry stuff: Stir in the flour, baking powder, and salt. Mix until just combined; don’t overdo it or it goes ‘rubbery’ (I learned the hard way).
- Batter into the pan: Pour it in. It feels thick, but that’s normal! Smooth it out (an offset spatula is nice—back of a spoon works too).
- Make the cinnamon swirl: Mix your brown sugar, flour, cinnamon, and melted butter in a bowl. Should look like sugary sand or, well, brown goo. Plop this all over the batter in the pan and swirl with a knife. It’ll look wild, but that’s perfect.
- Into the oven it goes for 28-33 minutes. Check by poking a toothpick in—moist crumbs = done. But don’t let it dry out; if you wait for it to look totally solid, it’ll be overbaked (personal tragedy I’ve repeated more than once).
- Mix the glaze: While it bakes, whisk together powdered sugar, milk, and vanilla until it’s about as thick as maple syrup.
- Remove cake and glaze: Pour the glaze all over the hot cake; don’t be shy. It sinks in for that magic stickiness.
- Try to wait for it to cool a bit – but, let’s be honest, I usually cut a ‘test’ square right away and burn my tongue. Worth it!
Some Notes Form the Trenches
- If you only have salted butter—just skip the salt in the batter. It’s fine.
- The swirl might totally sink. It happens. Still delicious.
- I tried mixing white and brown sugar once, and it was tasty, but a bit bland. Stick with mostly brown for the swirl, at least.
- Making this gluten free? I used King Arthur’s gluten free flour and it worked surprisingly well—texture changes, tho.
When I’ve Gone Off Script (Tried-and-True Variations)
- Apple chunks: Toss in a handful of chopped apple with the cinnamon swirl. That became an autumn staple at my house.
- Cream cheese swirl: Swirl in a few dollops—tastes almost like cheesecake plus cinnamon rolls. But don’t use low-fat cream cheese. Just… don’t.
- Once? I tried swapping all the flour for almond meal. Let’s just say, the cake was very, very crumbly and that’s all I have to say about THAT.
What You Need (But You Probably Have Most Already)
- 9×13-inch baking dish (I’ve used two loaf pans in a pinch—works!)
- Mixing bowls
- Electric mixer or a sturdy whisk (work those arms!)
- If ‘offset spatula’ is Greek to you? Just use a butter knife.
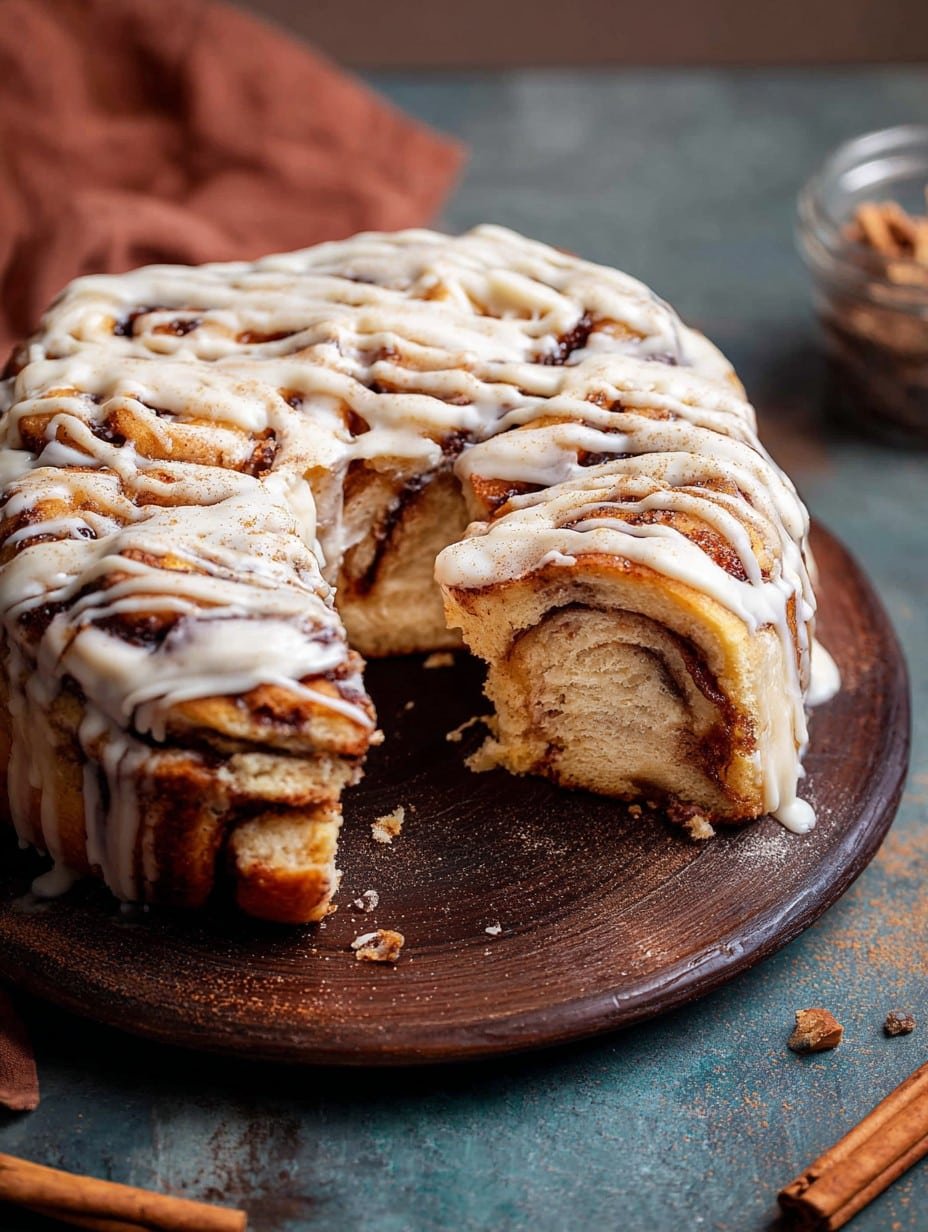
How To Store This (But Honestly, Will There Be Leftovers?)
Supposedly this keeps in an airtight container at room temperature for 2-3 days, but in my house, it’s usually gone before the next sunrise. You can refrigerate if you want (the glaze gets a bit more set). Freezes fine too, though it loses its pillowy, warm-from-the-oven vibe.
Ways I Like To Serve It
We always eat big squares still warm, with extra glaze spooned on. Sometimes I plop a scoop of vanilla ice cream on the side (highly recommended for Sunday brunches). Every winter, my cousin dips her cake in coffee. Not mad at that.
Things I’ve Learned (A.K.A. Don’t Do What I Did)
- One time I underbaked it, thinking it’d ‘set as it cooled.’ Big mistake. Slightly gooey is good. Raw batter? Not so much.
- Patience is a virtue for letting the glaze really sink in.
- Mixing the batter for way too long makes it tough like an old boot. Just combine and walk away.
Questions I Get All The Time (And My Real Answers)
- Can I make this ahead? Oh for sure! It’s good the next day (maybe even better?)—just keep it covered so it doesn’t go stale.
- What kind of cinnamon? Whatever you’ve got—sometimes I use Saigon cinnamon, which is punchier. No need to get fancy.
- Can I double this recipe? Yep! Use a big roasting pan (and maybe invite the neighbours, eh?). Or just eat more yourself, I’ve done both.
- How do I get the swirl to look perfect? Honestly, perfection’s overrated. It always comes out looking slightly different for me—rustic is the goal! For swirl inspo, check out Sally’s Baking Addiction here.
And finally, if you want to check the science behind baking powder (I fell into this rabbit hole during lockdown), there’s an excellent explainer on Serious Eats.
Let me know if you try it and tweak it—goodness knows, every time I make it I change something and it’s still dreamy!
Ingredients
- 2 cups all-purpose flour
- 1 cup granulated sugar
- 1/2 cup unsalted butter, melted
- 1 cup milk
- 2 large eggs
- 1 tablespoon baking powder
- 1 tablespoon ground cinnamon
- 1/2 cup brown sugar, packed
- 4 oz cream cheese, softened
- 1 cup powdered sugar
- 2 tablespoons milk (for icing)
- 1 teaspoon vanilla extract
Instructions
-
1Preheat the oven to 350°F (175°C) and grease a 9×13-inch baking dish.
-
2In a large bowl, whisk together flour, granulated sugar, baking powder, milk, eggs, and melted butter until smooth. Pour batter into the prepared baking dish.
-
3In a small bowl, mix brown sugar and ground cinnamon. Sprinkle this mixture evenly over the cake batter, then swirl gently with a knife.
-
4Bake for 28-32 minutes, or until a toothpick inserted in the center comes out clean.
-
5While the cake bakes, prepare the icing: beat softened cream cheese with powdered sugar, 2 tablespoons milk, and vanilla extract until creamy.
-
6Remove cake from oven and let cool slightly. Drizzle cream cheese icing over the warm cake before serving.
Approximate Information for One Serving
Nutrition Disclaimers
Number of total servings shown is approximate. Actual number of servings will depend on your preferred portion sizes.
Nutritional values shown are general guidelines and reflect information for 1 serving using the ingredients listed, not including any optional ingredients. Actual macros may vary slightly depending on specific brands and types of ingredients used.
To determine the weight of one serving, prepare the recipe as instructed. Weigh the finished recipe, then divide the weight of the finished recipe (not including the weight of the container the food is in) by the desired number of servings. Result will be the weight of one serving.
Did you make this recipe?
Please consider Pinning it!!

