So I Swore I’d Never Share This, But Here We Go…
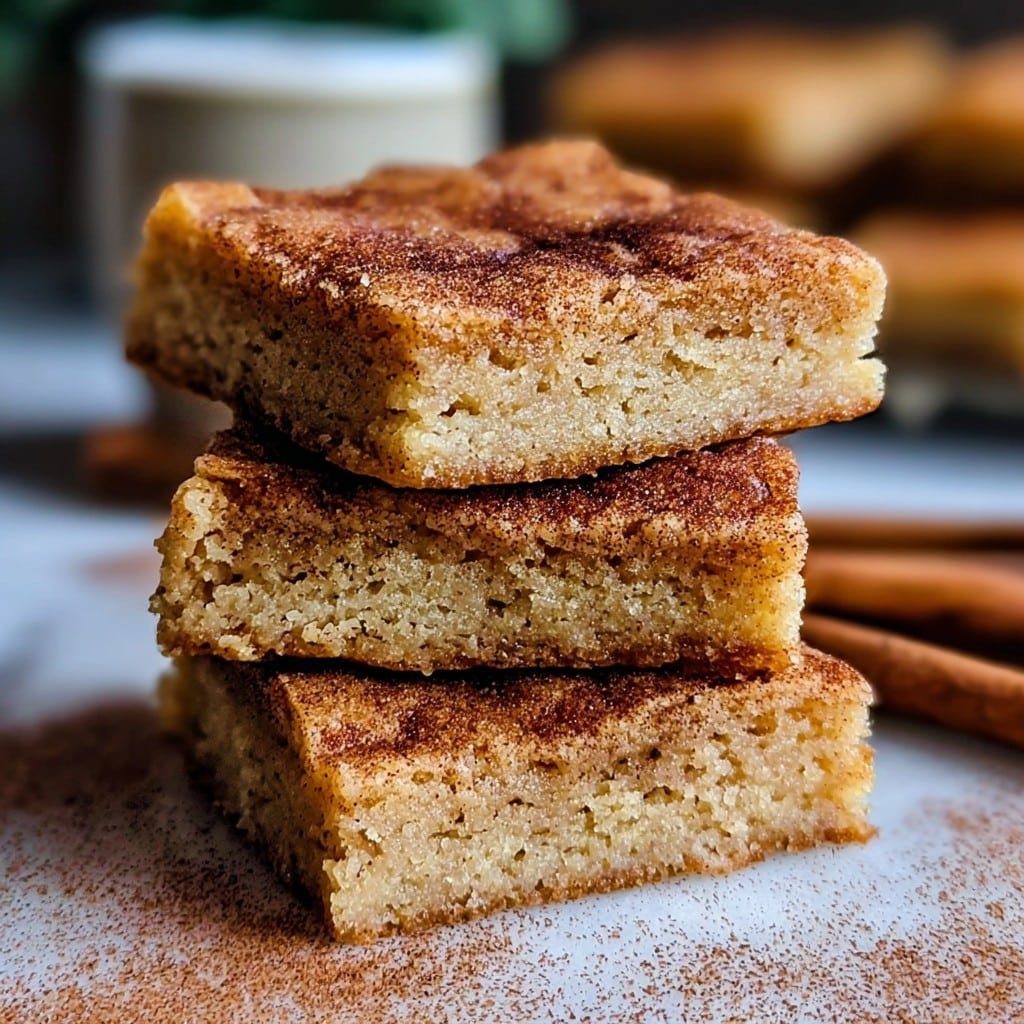
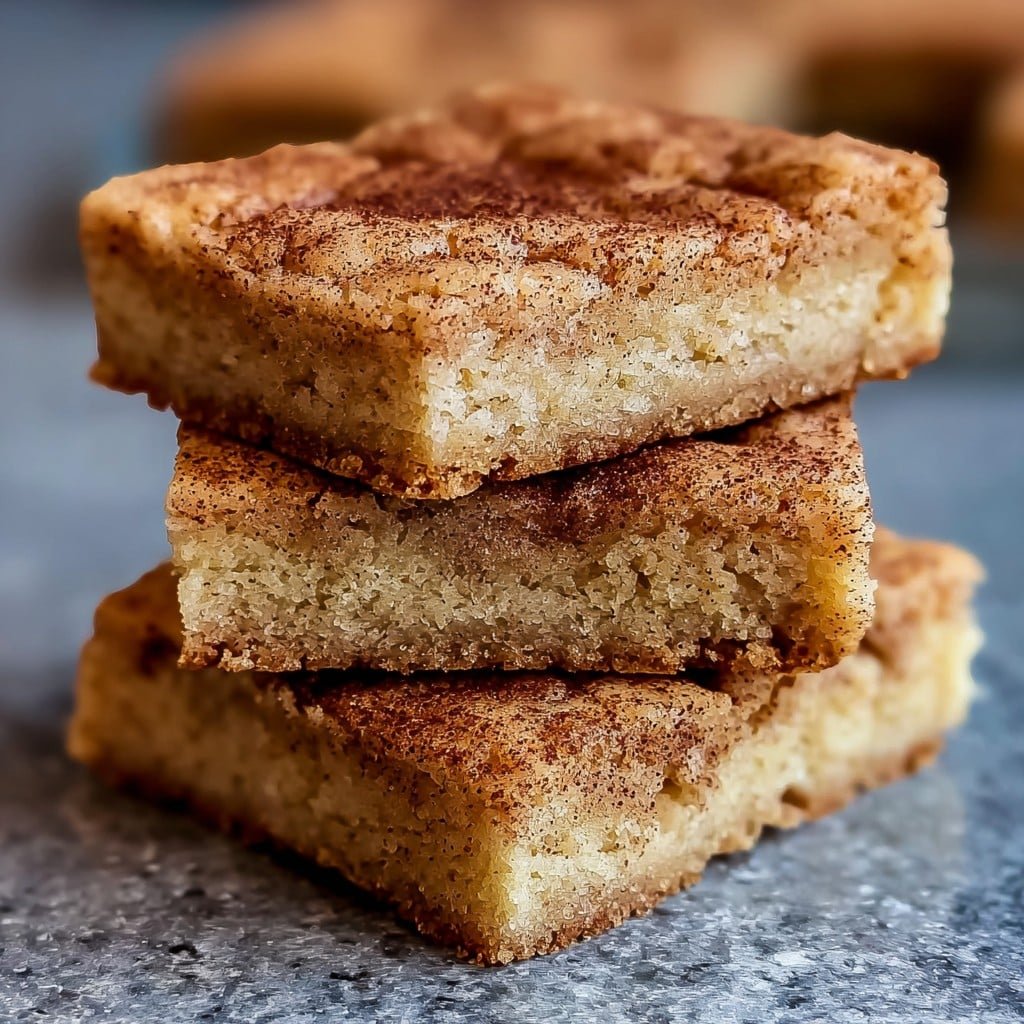
Look, I never thought I’d be the type to become evangelical about cookie bars—especially since, let’s face it, I grew up where snickerdoodles were made into pillowy cookies by people who measured flour by the cup and not the handful. But here we are. My infamous chewy snickerdoodle cookie bars have shown up at more last-minute birthday parties, late-night study sessions, and “uh-oh, forgot we signed up for dessert” moments than I can count. And you know what? I still get a kick out of the warm, cinnamon-y smell that fills up my kitchen. One time I even brought a pan to a potluck, intending to just leave quietly, but somehow I left with two new friends and zero bars. Go figure.
Why You’ll Love This (At Least I Hope You Do)
I make this whenever I barely have time and the cookie craving’s real—plus, there’s no chilling dough or rolling out perfect balls (oh, the stress of it!). My family basically goes a bit weird for these; last winter I caught my brother sneaking a square out of the freezer, half-frozen, with zero shame. It’s got that gooey but not too gooey thing—unless you underbake it… which sometimes is amazing. Anyway, if you love cinnamon sugar and like the chewy middle bits best (who doesn’t?), this is for you.
What You’ll Need (And What I Substitute When I Must)
- 2 3/4 cups all-purpose flour (sometimes I mix in a bit of white whole wheat if I’m feeling smug)
- 2 teaspoons cream of tartar (Gran swore by McCormick’s but honestly… the store brand? It’s totally fine)
- 1 teaspoon baking soda
- 1/2 teaspoon salt (I use flaky sea salt sometimes; makes it feel fancy, but table salt is fine!)
- 1 cup (226g) unsalted butter, melted or just very soft (salted works too, just use less extra salt)
- 1 1/2 cups granulated sugar
(or try half brown sugar if you want deeper flavor—I’ve done that when my white sugar ran out) - 2 large eggs (frankly I’ve even used a flax egg once… it didn’t rise much, but still tasted dreamy)
- 1 teaspoon vanilla extract (the real stuff absolutely shines here, but use whatever’s in the cupboard)
- 1/4 cup granulated sugar + 1 tablespoon ground cinnamon (for the top—sometimes I make extra because, why not?)
How I Actually Make These (Sometimes While Juggling Six Other Things)
- Prep: Oven at 350°F (175°C). I use a 9×13-inch pan, lined with parchment mostly for easy lifting, but you can wrangle the bars out with a spatula if you have to. Spray if you want. (Foil? Sure, if you’re desperate!)
- Whisk: Mix flour, cream of tartar, baking soda, and salt in a bowl. (This step looks boring, but it helps prevent those weird flour clumps later—nothing ruins a good bite like a dry patch.)
- Mix the wet bits: In a big-ish bowl, beat your melted butter and sugar together till kinda creamy. Crack in the eggs, add vanilla, and beat again. (FYI: If you see little butter blobs, don’t panic, the flour will sort it out. This is where I usually sneak a spoonful and justify it as “testing consistency.”)
- Combine: Dump the dry into the wet and stir until just barely combined. Overmixing = tough bars, which nobody wants (except maybe my uncle, but that’s another tale). If it’s thick, you’re on the right track. Don’t stress if it looks sticky.
- Spread: Scrape/spread dough into prepared pan. It’s sticky—wet your hands or a spatula to smoosh it out evenly. Don’t fuss about perfect smoothness.
- Cinnamon Sugar: Mix your 1/4 cup sugar + 1 Tbsp cinnamon. Rain it all over the top. I use nearly all of it—more is merrier.
- Bake: Pop in the oven for about 22-26 minutes. The edges get nice and golden (but watch closely that last minute, since ovens love to keep us humble). It’s ready when the middle barely jiggles but a toothpick shows moist crumbs, not straight-up batter.
- Cool a Bit: Resist temptation to hack it up straight away (it needs to set, and I have the scars to prove impatience). 15-20 mins is my rule, but I’ve honestly cut them too soon more than once; it’s still delicious.
Notes From Someone Who’s Made These, Uh, A Lot
- If you want super-firm bars, let them cool completely before cutting. I say that, but my kids just don’t listen and I don’t always stop them. (Hot, gooey, still counts as a win.)
- You can totally double this and use a rimmed sheet tray—just add an extra 5ish minutes to the bake time and watch for doneness.
- Actually, I find it works better if you mix cinnamon sugar with your fingers—better coverage and slightly messy fun.
- Once tried using all brown sugar… it tasted like caramel, but it was pretty dense. Not sure I’d recommend unless you like a heavier crumb.
Experiments (Not All Winners, But Hey)
Okay, so I’ve swapped the vanilla for almond extract—delish, a little marzipan vibe. Tried adding white chocolate chips once; my cousin called it “breakfast blondies,” which… wasn’t a complaint? On second thought, when I tried swirling apple butter on top it just sort of disappeared into the dough, so maybe don’t bother unless you like mystery flavors.
What If I Don’t Own The Right Pan?
I once made these in two 8×8 pans—it was fine, really. And if you don’t have parchment, just grease well and run a thin spatula around the edges after baking. Don’t have a mixer? Good old-fashioned elbow grease with a sturdy spoon works too; consider it an arm workout!

Keeping Them Fresh (Sort Of Irrelevant In My Place)
Techincally, you can store these in a tightly sealed container at room temp for 3-4 days. If you fridge them, they stay chewier, but honestly, in my house it never lasts more than a day (once, two if I hide them behind the pickles).
How We Serve (And Bicker Over The End Pieces)
I like them slightly warm, with a scoop of vanilla ice cream on top (especially if it’s raining outside—total comfort vibes). My family? They eat them cold, straight from the pan, arguing over corner pieces. Sometimes I bring out a tiny jug of caramel sauce for folks to pour—maybe a little over-the-top, but who’s judging? If you need a good caramel recipe, Sally’s Baking Addiction’s one has never done me dirty.
Five Pro Tips That Only Took Me Seven Batches To Figure Out
- Don’t skimp on the cinnamon sugar topping; once I tried, and the whole thing just tasted sad. (Learned my lesson)
- Use room temp eggs—one time I cracked cold ones in, and the butter seized. Not tragic, but the bars were a bit off.
- Letting the bars set before cutting actually makes them easier to lift, unless you want a crumb avalanche.
- Ovens fluctuate! Sometimes 22 minutes is too short. Sometimes, it’s too long (why?!). Trust your nose—it’ll smell amazing when ready.
- I once used dark brown sugar thinking it’d be ‘more caramel-y’—no, just heavier and a little funky. Go easy on swaps until you know what you like.
Questions People Actually Ask Me (Or Text Me At 10pm)
- “Can I make these gluten-free?” Yeah, I’ve tried it with Bob’s Red Mill 1:1 blend. They were good—maybe a bit more crumbly, but honestly no one noticed (unless you’re picky). Haven’t tried almond flour; let me know if you do!
- “Why cream of tartar?” It gives that classic tang. Without it, you basically have sugar cookie bars (still good, just less ‘snickerdoodley’ if that’s a word).
- “Can I freeze them?” Totally—wrap tight. Thaw at room temp. My trick: nuke them for 10 seconds for fresh-from-the-oven feels. Here’s a guide I trust from The Kitchn.
- “Is it okay to use margarine?” Hmm. I’ve done it. Not my favorite, but doable if that’s what you’ve got—maybe add a splash extra vanilla.
- “Why are mine cakey?” Usually, it’s just too much flour. Try spooning flour into your measuring cup, rather than scooping straight from the bag. Old trick form my grandma!
Okay, now I’m hungry again. If you do make these, let me know how yours turned out—or if you figure out a swap that blows my mind! (Also, if you want to compare notes on old-school recipes, King Arthur’s take is different but worth a browse.)
Ingredients
- 2 3/4 cups all-purpose flour
- 2 teaspoons cream of tartar
- 1 teaspoon baking soda
- 1/2 teaspoon salt
- 1 cup unsalted butter, softened
- 1 1/2 cups granulated sugar
- 2 large eggs
- 1 teaspoon vanilla extract
- 3 tablespoons granulated sugar (for topping)
- 1 1/2 teaspoons ground cinnamon (for topping)
Instructions
-
1Preheat the oven to 350°F (175°C). Grease a 9×13-inch baking pan or line with parchment paper.
-
2In a medium bowl, whisk together the flour, cream of tartar, baking soda, and salt.
-
3In a large bowl, beat the softened butter and 1 1/2 cups sugar together until light and fluffy. Mix in the eggs, one at a time, then add vanilla extract.
-
4Gradually add the dry ingredients to the wet ingredients, mixing just until combined.
-
5Spread the dough evenly into the prepared baking pan. In a small bowl, mix 3 tablespoons sugar with 1 1/2 teaspoons cinnamon and sprinkle the mixture evenly over the dough.
-
6Bake for 22–25 minutes, or until the bars are just set and lightly golden. Cool completely in the pan before slicing into bars.
Approximate Information for One Serving
Nutrition Disclaimers
Number of total servings shown is approximate. Actual number of servings will depend on your preferred portion sizes.
Nutritional values shown are general guidelines and reflect information for 1 serving using the ingredients listed, not including any optional ingredients. Actual macros may vary slightly depending on specific brands and types of ingredients used.
To determine the weight of one serving, prepare the recipe as instructed. Weigh the finished recipe, then divide the weight of the finished recipe (not including the weight of the container the food is in) by the desired number of servings. Result will be the weight of one serving.
Did you make this recipe?
Please consider Pinning it!!


