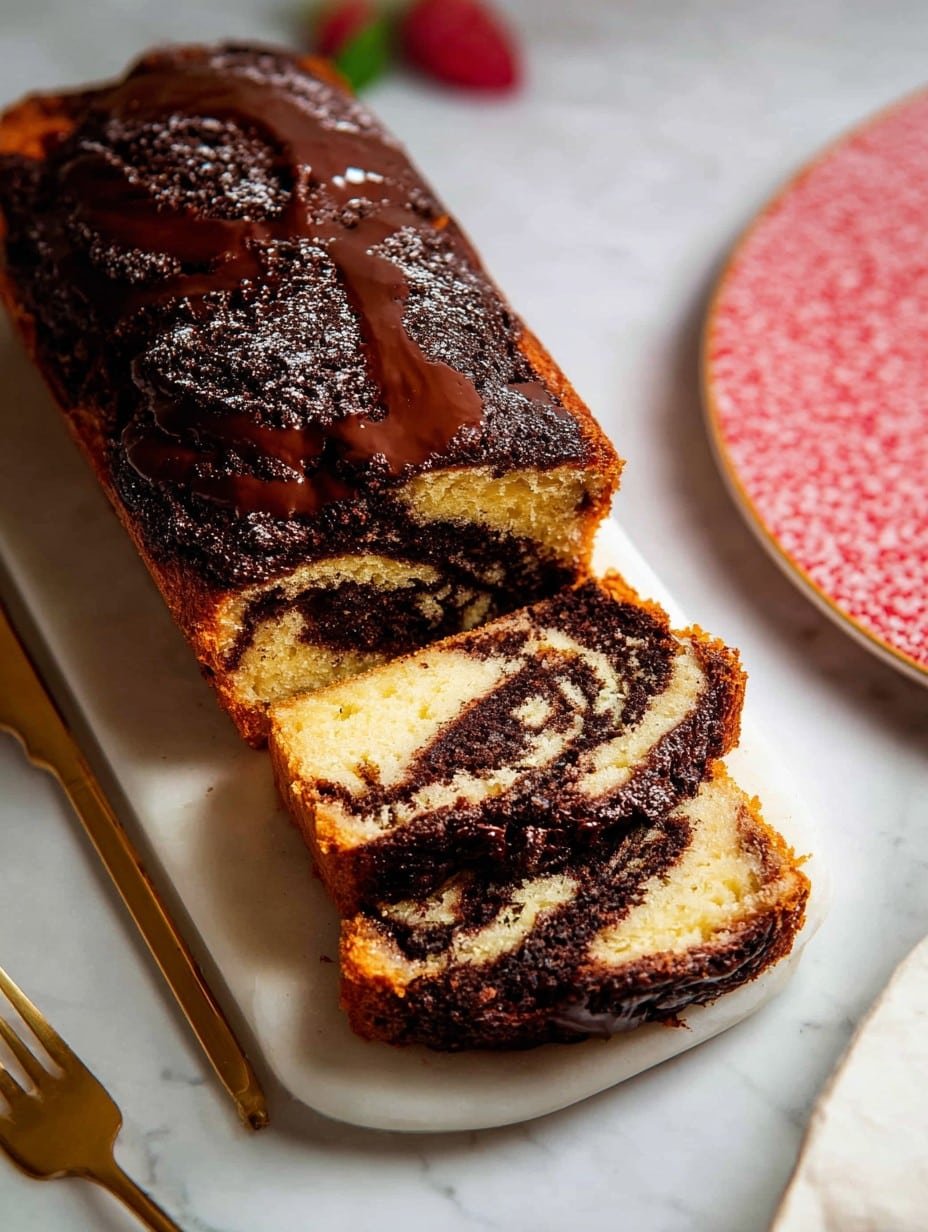
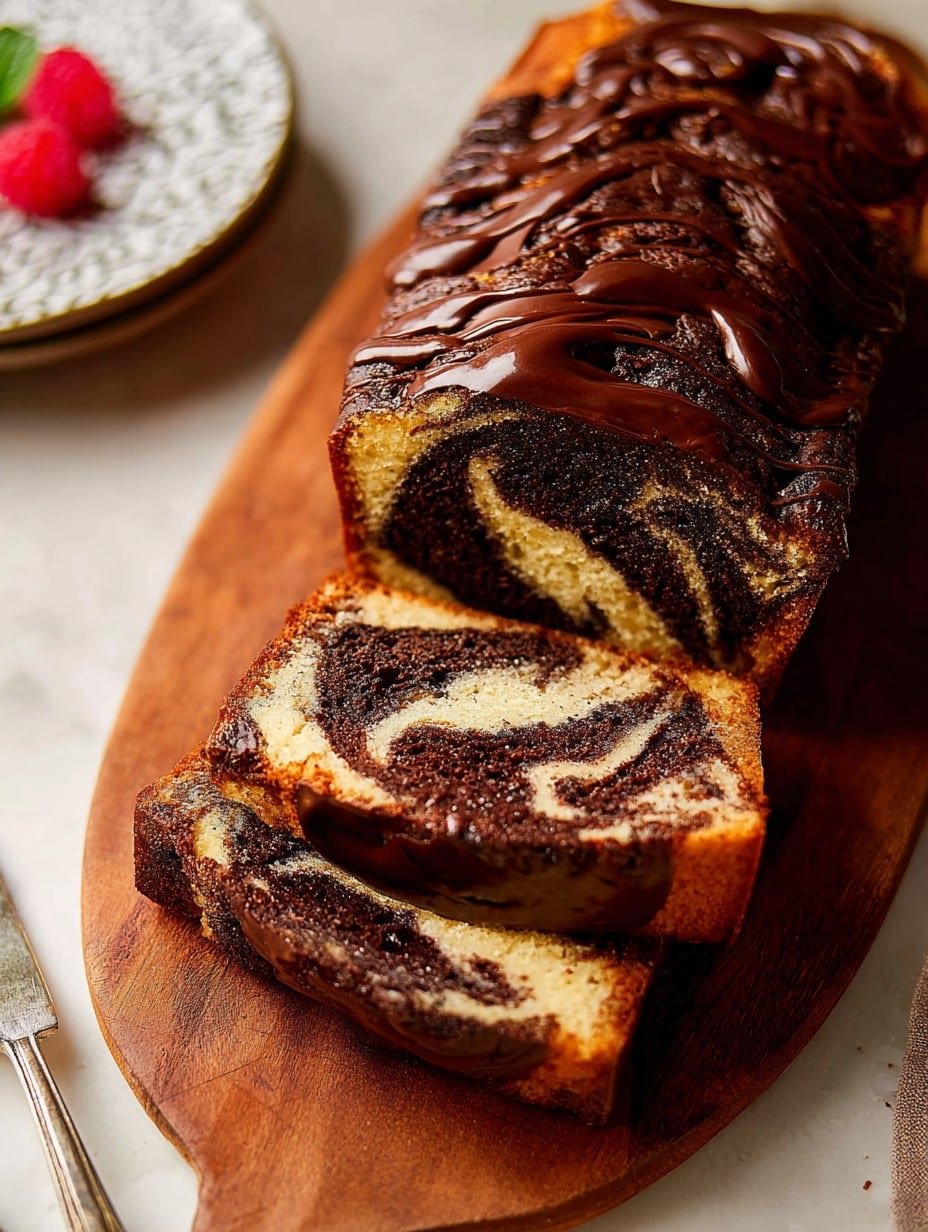
Let Me Tell You About This Marble Cake (and Why My Brother Used to Hide the Last Slice)
You know those days where you need a treat that’s basically a hug in loaf-form? Honestly, I first baked this buttery rich marble loaf cake after a rainy day marathon of baking shows, convinced I could do better (spoiler: my first one wasn’t exactly Bake-Off material; it was more wonky lava lamp than elegant, but tasted fabulous). Now I make it whenever someone’s in a mood at home—which is, let’s just say, somewhat frequent! I can’t help but remember my brother’d hide the last thick heel of this loaf behind the microwave. Never worked, by the way. I always found it.
Why I Keep Coming Back to This (and Maybe You Will, Too?)
I make this when I want something old-school but not, you know, boring. My friends go mad for the chocolate swirls (my cousin once picked through slices just to get the most chocolatey bit; not subtle, mate). If I’m tired or in a bit of a funk, this recipe doesn’t stress me out—no fancy techniques, and honestly, even if you mess up the swirl it still looks kinda artsy. One time I split the batter weird and got more cow print than marble but nobody cared because, butter, right? And the house smells bonkers amazing while it bakes. I probably whip this up for more birthdays than I should (nobody’s complaining, though!)
All the Stuff You’ll Need (with Options!)
- 200g (about 1 cup) unsalted butter, softened – I sometimes melt it if I’m in a rush (contrary to what the fancy bakers say, it still works!)
- 200g granulated sugar (caster sugar too, or honestly—I’ve thrown in brown sugar for a molasses twist when low on supplies)
- 3 large eggs – room temp if you can, but I’ve definitely used cold ones without disaster
- 1 tsp vanilla extract (real or the cheap stuff, but my grandmother swore by Nielsen-Massey)
- 225g plain flour – I use all-purpose flour but bread flour gave it too much chew once. Wouldn’t recommend
- 2 tsp baking powder
- Pinch of salt
- 3 tbsp whole milk (almond or oat work in a pinch, but I like the richness of full fat myself)
- 2.5 tbsp unsweetened cocoa powder (if you’ve only got drinking chocolate, it’s fine; the flavor’s milder but still yum)
How I Actually Make This (Not Always the Same Every Time)
- First, get yourself a standard loaf pan (9×5 inch is the one I use). Line it with parchment or just grease, unless you fancy a pan-scraping challenge later.
- Preheat your oven to 175°C (350°F). Missed this once and, well, had to wait forever for it to bake. Don’t be like me. (Or, you know, do something else while it’s heating!)
- Cream the butter and sugar together until it’s super light and fluffy—about 4-5 minutes with my old hand mixer. If you’re doing it by hand, may the Force be with you. (Seriously though it, works if you’re persistent or annoyed enough.)
- Crack in the eggs, one at a time, beating after each. Toss in your vanilla, too. If it curdles at this stage, don’t panic—it’ll sort itself out in a sec. Or maybe not, but in my experience, it always bakes up fine.
- Mix flour, baking powder, and salt in a bowl. Add this dry mix in two parts to your wet mixture, alternating with the milk. I tend to add extra milk if it looks a bit stiff—but don’t go overboard. You want it to drop off the spoon, not run away.
- Now, scoop out about one-third of the batter into a small bowl. Sift (or, honestly, just toss in) your cocoa powder and mix until it’s a rich chocolate color. If it seems dry, splash in another teaspoon of milk. You want it spreadable.
- Dollop spoonfuls of both batters into your pan, alternating vanilla and chocolate. Now, the fun part—swirl with a knife. Don’t overdo it or you’ll get a muddy-looking cake, unless that’s the look you’re after.
- Bake for 45-55 minutes. I usually check at 45 and poke the middle with a skewer or, once, a half-clean chopstick. If it comes out with just a crumb or two, you’re golden.
- Let it cool in the tin for a bit because it’ll fall apart if you rush, trust me. But don’t leave it in all day or it’ll get soggy bottoms (shout out to those British Bake Off judges).
Some Notes I Wrote in the Margin
- If it looks a bit odd when you’re swirling, relax; the oven works its magic. I actually find it’s better to go a bit lighter with the swirl than you want, as the pattern gets more dramatic as it bakes.
- I sometimes sprinkle a little flaky salt on top before baking for a salty-sweet finish; not everyone in my house agrees it’s needed.
- Letting this loaf sit overnight gives it a moister crumb, but who are we kidding—I usually dig in same day.
Things I’ve Tried (and Whether I’d Do Them Again)
- I added orange zest once, which was bright and zippy, but my brother said it tasted like jaffa cakes—up to you if that’s your jam.
- I tried folding in chopped nuts, but they all sank to the bottom. Maybe coat them in flour first? (I never remember; let me know if you try!)
- Once, in a totally rogue mood, I marbled in strawberry jam. Eh. Looked cool, bit too sweet for me though.
So, What If You Don’t Have All the Equipment?
I swear by my battered old loaf pan, but in a pinch, I’ve made this in a round cake tin (just adjust the time, take a peep after 35 minutes). No electric beaters? Use a sturdy spoon and elbow grease—but maybe have a cup of tea ready after, you’ll need it.

Keeping It Fresh (If It Lasts That Long!)
This stays good wrapped up on the counter about 3 days (air-tight container, or just cover tightly with foil), but, honestly, my family devours it the same afternoon. Freezes fine for about a month—just slice first so you can pull a piece out whenever the mood hits—if you’re smarter than me and remember to label it.
How I Love Serving This Up
Bit of a guilty pleasure here: thick slices, lightly toasted, and a pat of cold salted butter on top. Sundays, I sometimes plop a scoop of vanilla ice cream alongside for extra decadence (my dad stirs his into hot coffee, which sounds odd but actually tastes rather dreamy).
What I Learned the Hard Way (So You Don’t Have To)
- I once yanked the loaf out while it was still piping hot. Ended up with a marbley pile of cake rubble. Now I just wait about 20 minutes before unmolding, even though I’m always impatient.
- Don’t overmix once you add the flour; I know it’s tempting to smooth it out, but it’ll make the loaf a bit tough. Learned that when I was trying to get every lump, but actually, a few are fine.
Real-Life Questions (From People Actually Making This)
- Can I make this dairy-free?
- Sure can! Use a good vegan block butter (like Flora or Miyoko’s) and plant milk. I tried coconut oil once; flavor was a bit weird, but the texture worked… sort of.
- Why is my cake dry?
- Probably baked a wee bit too long. Ovens are sneaky like that. Or maybe there wasn’t enough milk. Try checking early, and hey—maple syrup drizzled on top fixes almost anything.
- Can I double this for a party?
- You can, but it’s better to make two separate loaves. I tried one giant one in a bread tin—took forever, and the edge got overcooked before the middle finished. Oops.
- Is it okay if my swirl is messy?
- It’s better, honestly. It means it’s homemade—and if anyone complains, eat their slice.
- Do you have a favorite cocoa brand?
- Dark Dutch-processed gives the prettiest color, but I’ve even used basic Hershey’s or supermarket cocoa. If you’re curious about what cocoa powders taste like, Sally’s Baking Addiction does a good breakdown.
- Can I see a video?
- There’s a relaxed tutorial over at Cupcake Jemma’s YouTube channel. I don’t follow every step, but she makes it look easy.
One quick detour—my friend Jane once baked this in a muffin tin (because her loaf pan was MIA). Turned out more like marble cupcakes, actually not bad! Gave the edges a nice crunch. Second thought, maybe I’ll try that next time.
Ingredients
- 1 cup unsalted butter, softened
- 1 1/4 cups granulated sugar
- 3 large eggs
- 2 cups all-purpose flour
- 1/2 cup whole milk
- 2 teaspoons vanilla extract
- 1/4 cup unsweetened cocoa powder
- 1 1/2 teaspoons baking powder
- 1/4 teaspoon salt
Instructions
-
1Preheat oven to 350°F (175°C). Grease and line a loaf pan with parchment paper.
-
2In a large bowl, cream together the butter and sugar until light and fluffy.
-
3Beat in eggs one at a time, mixing well after each addition. Stir in the vanilla extract.
-
4In a separate bowl, whisk together the flour, baking powder, and salt. Gradually add dry ingredients to the butter mixture, alternating with milk, beginning and ending with the flour mixture.
-
5Divide the batter in half. To one portion, add cocoa powder and mix well.
-
6Spoon vanilla and chocolate batters alternately into the prepared pan. Swirl gently with a knife for a marbled effect. Bake for 50 minutes or until a toothpick inserted in the center comes out clean. Cool before slicing.
Approximate Information for One Serving
Nutrition Disclaimers
Number of total servings shown is approximate. Actual number of servings will depend on your preferred portion sizes.
Nutritional values shown are general guidelines and reflect information for 1 serving using the ingredients listed, not including any optional ingredients. Actual macros may vary slightly depending on specific brands and types of ingredients used.
To determine the weight of one serving, prepare the recipe as instructed. Weigh the finished recipe, then divide the weight of the finished recipe (not including the weight of the container the food is in) by the desired number of servings. Result will be the weight of one serving.
Did you make this recipe?
Please consider Pinning it!!


