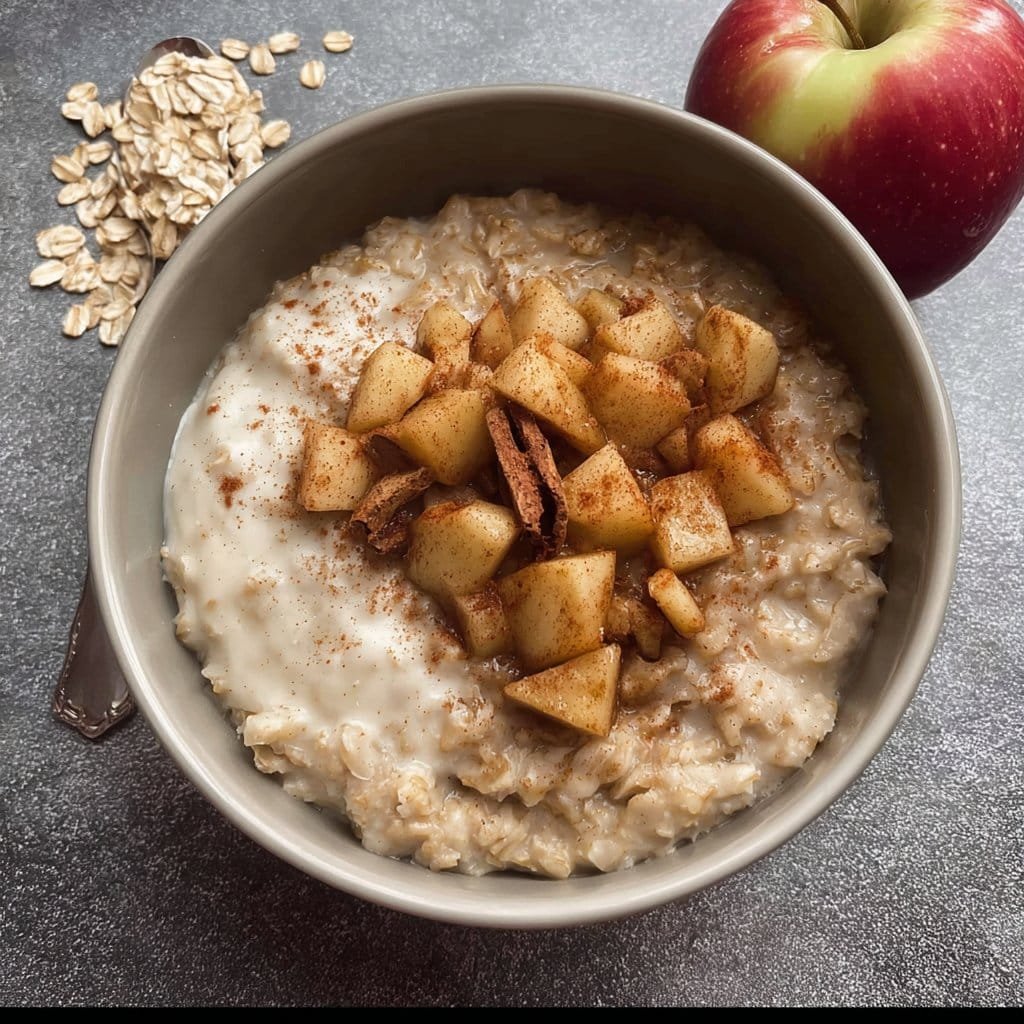
Alright, let me tell you why Apple Oatmeal matters in my house
So, the first time I ever tried to make apple oatmeal, I did it just to use up a bag of sad apples lurking at the bottom of my fridge drawer—you know the kind that somehow escape every snack? Anyway, I ended up loving it way more than I expected, and now it’s the thing I want when the weather turns or when everything feels a bit grey outside. Plus, this recipe makes the kitchen smell like autumn got released from a candle (in the best way possible). My mate once said it was like waking up inside an old storybook, which, honestly, sounds a bit odd but in a good way. Oh, and for the record, my dog also shows up hoping for a taste every single time I stir the pot.
Why you’ll actually like making this (I keep coming back for more)
I make this when mornings are slow (or really when I just want an excuse to avoid emails for an extra 20 minutes). My family goes wild for this because you can customize it—one of them hates raisins (I know!) but everyone else piles them on. It’s just nice. Plus, you barely need to stir. And—confession time—I once messed up and cooked it down way too thick, but nobody seemed to care. Actually, maybe that’s why they liked it more.
What you’ll need (and what to swap if you don’t have it)
- 1 large apple – I usually grab a Pink Lady or Granny Smith, but honestly, anything crisper than a soggy potato will work.
- A cup of rolled oats – If I’m in a hurry, quick oats are fine, but the texture won’t be as fun. Steel-cut oats are so good here, though you’ll need a bit more time and liquid.
- 2 cups milk (any kind, really)—I sometimes use almond milk if I’m feeling fancy or if that’s all I have kicking around.
- 1-2 tablespoons brown sugar or maple syrup—I like dark maple, but white sugar does the job if you’re out of the others.
- 1/2 teaspoon cinnamon (plus a little more if you’re heavy-handed, like me). My gran always insisted on the cheap ground stuff and I never noticed a differnce, to be honest.
- 1 pinch salt—skippable, but it makes the flavor pop.
- Optional: raisins, walnuts, chopped dates, splash of vanilla, pat of butter – play around, it’s your bowl.
How I actually cook apple oatmeal (mostly by feel, but here’s my best attempt at instructions)
- Chop your apple: Core it and dice—not too tiny, not giant chunks either. I honestly just hack away until I get bored. I usually keep the peel (it gets soft!) but peel it if you must.
- Cook the apples first: Throw the apples into a medium pot with a splash (like, just a bit) of water and half the cinnamon. Let them get steamy and soft for about 3-4 minutes, stirring when you remember—I forget all the time and they’re fine.
- Add the oats, milk, sweetener, and salt: Pour everything else in, plus whatever extras you’re using (except maybe nuts, which, actually, are best added at the end for crunch—live and learn!). Give it a good stir.
- Let it bubble: Bring to a low simmer. This is where I sneak a taste. Cook for 5-7 minutes, stirring sometimes. Don’t panic if it looks gloopy; oats magically thicken up off the heat. If it gets too thick, pour in a bit more milk and pretend you meant to do that.
- Tweak and serve: Taste for sweetness; add more sugar or cinnamon if it needs it. I sometimes melt a bit of butter in at the end if it feels like a “treat yo’ self” kind of morning.
What I’ve learned the hard way (notes from my trial & error)
- If you use steel cut oats, you’ll want more liquid and time. Once, I forgot and nearly cracked a tooth. Lesson learned.
- Chopping apples unevenly actually makes for better texture (who knew?).
- I think this tastes better the next day, but it rarely survives that long in my house.
- Sometimes oatmeal gets a little stodgy the next day. A splash of milk before reheating sorts it right out.
Things I’ve tried or swapped in (the good, the bad, the…strange?)
- Chopped pears instead of apples: surprisingly great, though a little less sweet.
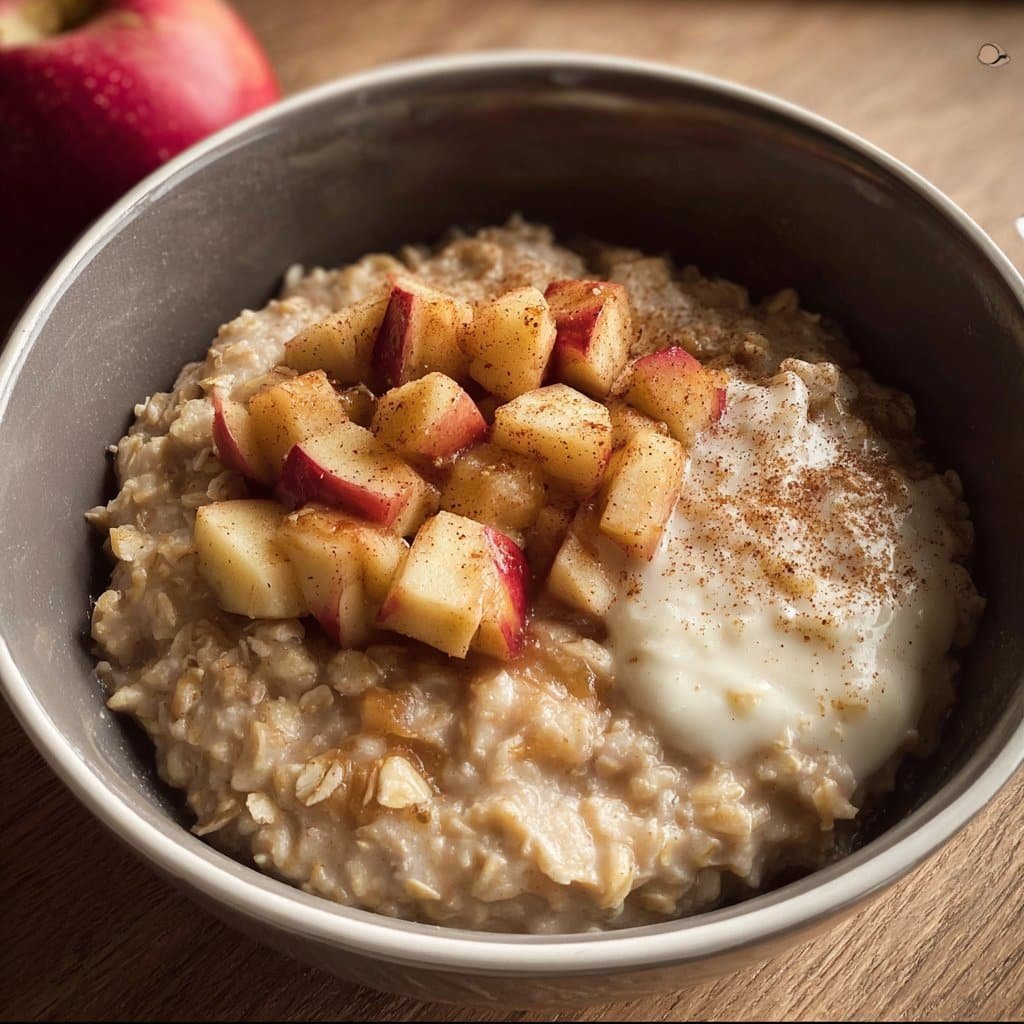
- Adding a scoop of plain Greek yogurt before serving—makes it creamy and tangy.
- Once, I tried banana in place of apple. Honestly, it was kind of a gluey mess. Wouldn’t recommend (unless you really like bananas).
- A spoonful of peanut butter melted in is amazing if you—like me—can’t resist nut butter in inappropriate places.
What you’ll need to make life easier (but here’s a fix if you don’t have it)
I use a big, sturdy saucepan or small Dutch oven—nothing too fancy. Wooden spoon for stirring (although, in a pinch, the handle of a spatula or even a fork works. I’d be lying if I said I’ve never used a chopstick). Sharp-ish knife for the apples, but if all you have is a dull veggie peeler, well, just peel faster.
How to store it (though honestly, I’m not sure you’ll need this)
Stick leftovers in a lidded container in the fridge—it should last a couple days. Mine usually gets eaten before I even think about storage, but if you’re saving it, press a bit of cling film directly on the surface to stop it from drying out. And yeah, it does get thicker over time, so loosen with milk when reheating. (Tip: a microwave works, but watch out for the classic oat explosion—been there more than once.)
How we eat it (but you do you)
I love it hot, with a swirl of extra maple syrup, plus a handful of toasted nuts or seeds on top (sometimes pepitas, sometimes anything crunchy). My sister, bit of a rebel, pours cold milk over it and stirs it all together—with a side of black coffee, which she insists is “the secret.” Sundays sometimes mean a dollop of whipped cream (no shame). Or check this apple oatmeal idea from Cookie and Kate if you want a riff on this.
Things I wish I’d known earlier (my so-called pro tips)
- I once tried to rush the apple softening step and regretted it—the apples stayed oddly crunchy while the oats turned to mush. Don’t be me.
- On second thought, you can use water instead of milk, but it honestly tastes a little sad, so jazz it up with extra cinnamon or dried fruit if you go that route.
- Washing up right after you eat is easier. Dried oatmeal is basically cement—I learned this one the hard way.
- If you happen to run out of brown sugar, try a spoon of honey or even a bit of date syrup (I found this trick on Serious Eats’ oatmeal deep dive).
You asked, I answered (FAQs straight from my kitchen table)
Can I use instant oats?
Sure! But it’ll get super creamy fast, so just keep an eye on the texture to avoid baby-food territory. I’ve done it and it’s fine—just not as hearty.
Is it gluten-free?
As long as your oats are certified GF, you’re golden. Some brands sneak in gluten so check the label if you need it proper gluten-free.
What apples are best?
Honestly, I use whatever’s about to turn. Tart works; sweet works. Once I mixed in a weird yellow one (maybe a Russet?) and nobody even noticed.
Can you freeze it?
Eh… I’ve tried and it looked like the moon when I defrosted it. It still tasted okay, but don’t say I didn’t warn you.
What if I don’t like cinnamon?
Skip it! Try ginger or nutmeg, or just keep it plain and simple. Maybe it’ll become your thing.
Not that it matters, but does anyone else eat it straight out of the pot because they can’t be bothered with more dishes? No judgment. And if you want to deep-dive into oatmeal nerdery, give this oatmeal guide a read—real helpful, I promise.
Ingredients
- 2 cups old-fashioned rolled oats
- 2 medium apples, peeled, cored, and diced
- 3 cups milk (dairy or non-dairy)
- 1 tablespoon honey or maple syrup
- 1/2 teaspoon ground cinnamon
- 1/4 teaspoon salt
- 1 teaspoon vanilla extract
- 1 tablespoon chopped walnuts (optional)
Instructions
-
1In a medium saucepan, combine the milk, salt, and cinnamon. Bring to a gentle simmer over medium heat.
-
2Stir in the rolled oats and diced apples. Reduce heat to low and cook, stirring occasionally, for 10-12 minutes until the oats are tender and the apples are soft.
-
3Remove from heat and stir in the honey (or maple syrup) and vanilla extract.
-
4Divide the oatmeal into bowls and top with chopped walnuts if desired.
-
5Serve warm and enjoy your nourishing apple oatmeal breakfast.
Approximate Information for One Serving
Nutrition Disclaimers
Number of total servings shown is approximate. Actual number of servings will depend on your preferred portion sizes.
Nutritional values shown are general guidelines and reflect information for 1 serving using the ingredients listed, not including any optional ingredients. Actual macros may vary slightly depending on specific brands and types of ingredients used.
To determine the weight of one serving, prepare the recipe as instructed. Weigh the finished recipe, then divide the weight of the finished recipe (not including the weight of the container the food is in) by the desired number of servings. Result will be the weight of one serving.
Did you make this recipe?
Please consider Pinning it!!

