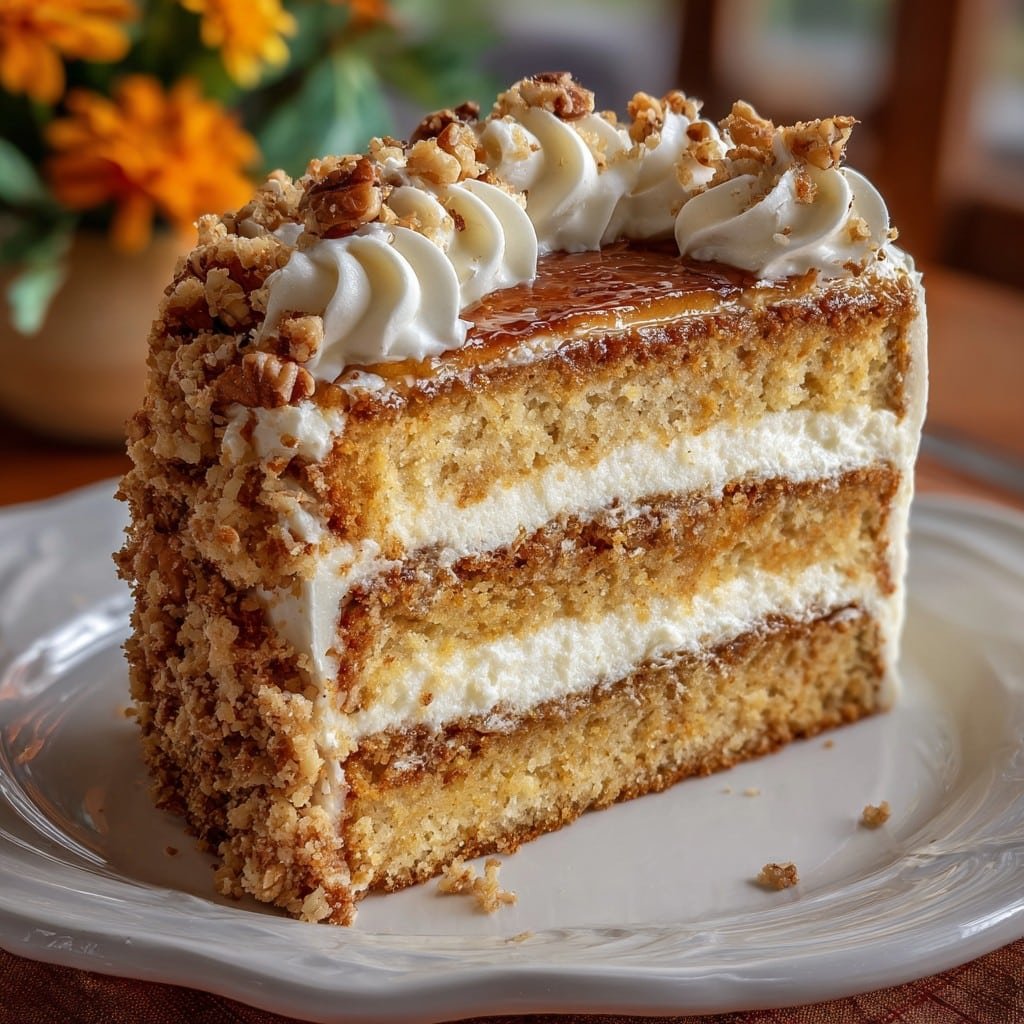
If you’d told me 10 years ago that Thanksgiving would be the time I’d bust out a 3 layer cake (and not, say, a pie or two), I probably would’ve laughed and offered you a second helping of stuffing instead. But here we are, and trust me, this cake’s basically become a family tradition in our house. Truth? I first started making it after my sister’s pecan pie incident of 2016—let’s just say, caramel isn’t always your friend. Now everyone expects my big, fluffy, somewhat lopsided (okay, structurally ambitious) cake. So, get ready to make something that’s messy, decadent, and cheerfully imperfect. It’s all part of the fun.
Honestly, Here’s Why I Keep Making This Cake
I drag out this recipe every Thanksgiving because it’s the sort of dessert that has people hovering in the kitchen, “just checking” if the frosting is thick yet. My family goes nuts for this because it’s three layers (which just feels special) and it soaks up whatever frosting you slather on. Also, some years I run out of patience (or powdered sugar) and just give up on smoothing the sides; somehow, no one’s ever complained. (Ask my cousin, she’s a cake snob.) Plus, you can swap things in and out depending on what’s in your pantry, and it’ll still taste like home.
What You’ll Need—Plus My Usual Substitutions
- 2 1/2 cups all-purpose flour (though I’ve swapped in 1 cup of whole wheat before and it turned out nice and nutty)
- 2 teaspoons baking powder
- 1/2 teaspoon baking soda
- 1/2 teaspoon salt (sometimes I use salted butter instead—just skip this bit if you do)
- 1 cup (225g-ish) butter, softened (Grandma swore by Land O’Lakes, but I just grab what’s on sale)
- 2 cups sugar (white or, if I’m feeling wild, half brown)
- 4 large eggs (room temp, except when I forget and use them straight from the fridge—haven’t noticed a difference, to be honest)
- 1 tablespoon vanilla extract (the real stuff if you have it, but imitation is just fine too)
- 1 cup buttermilk (or, splash a tablespoon of vinegar into regular milk and let it hang out for 10 mins—call it faux buttermilk)
- Frosting of your choice—sometimes I go old school with cream cheese frosting (Sally’s recipe here), or chocolate if it’s a crowd of chocoholics
- Jam or cranberry sauce for layering (optional—but oof, actually amazing with tart cranberry)
Let’s Make Cake! (Don’t Stress If It Gets Messy)
- Get Your Oven Ready: Preheat to 350°F (180°C). Grease three 8-inch cake pans or improvise with mismatched pans—sometimes I do two 9-inchers and split one in half. Also, line the bottoms with parchment if you remember (I forget, and a butter knife usually saves the day).
- Mix Your Dry Stuff: Flour, baking powder, baking soda, salt—use a whisk, or even a fork if that’s all you’ve got handy. Set aside.
- Cream That Butter and Sugar: Beat the butter and sugar together until fluffy and pale, which takes maybe 3–4 min (unless you’re doing it by hand, in which case, maybe go make a cup of tea and come back to it). If you like extra depth, try using half brown sugar.
- Add the Eggs and Vanilla: One egg at a time. It might look a little curdled at first and you’ll wonder if you’ve messed it up, but honestly it always sorts itself out. Vanilla goes in with the eggs, too.
- Alternate the Dry with the Buttermilk: Add about 1/3 of the flour mix, stir, then pour in half the buttermilk (or your fake buttermilk), stir again. Repeat, ending with flour. Don’t overmix. Actually, stop when you still see a tiny bit of flour—trust me.
- Divide and Bake: Pour the batter (lick the spoon, it’s basically a rule) evenly between the pans. Bake for 23–27 min, or until a toothpick poked in the center comes out (mostly) clean. Sometimes I get distracted and let them go a minute too long; they’re still fine.
- Cool All the Way: Let them cool in pans for 10 min (maybe vent about your relatives while you wait), then tip them out on racks. If you try to frost while still warm, well, get ready for slippage.
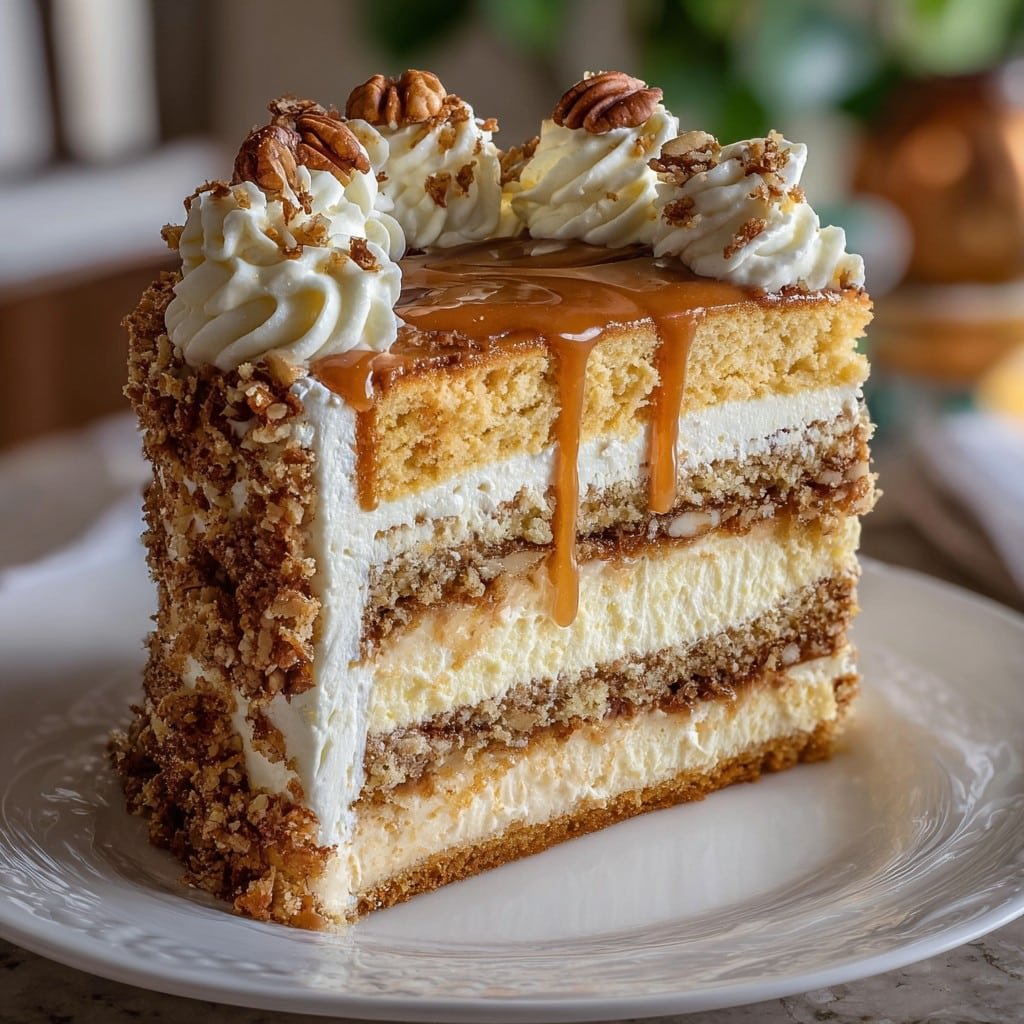
- Layer It Up: Slather frosting on the first cake, add a bit of jam or cranberry sauce if you like, pop on the next cake, repeat. Top with the last layer and go wild with the remaining frosting. Swoops and swirls are totally encouraged. Sometimes my kids decorate with Thanksgiving sprinkles; looks a bit mad but nobody minds.
Notes To Save You From My Past Mistakes
- The fake buttermilk genuinely works, though it smells a touch off until baked.
- Don’t stress if your cake domes—just slice a bit off and eat the scraps (baker’s privilege!).
- Actually, I often drop in cinnamon or nutmeg for a warmer fall flavor. It never hurts.
- If you’re out of eggs, apparently mashed banana will do, but it’s a dense situation—you’ve been warned.
Mixing It Up (Or, How I Got Heavy-Handed With the Jam Once)
Okay, so one year I tried making a pumpkin spice version by subbing in a third of the flour with canned pumpkin. It ended up more like dense bread pudding than cake—still edible, but not what I’d call celebration food. But swapping in orange zest or nuts? Actually lovely. Chocolate chips crowd out the classic vibe but… they vanish anyhow. I sometimes mix leftover cranberry sauce with the frosting for a zingy hit (if you saw how much cranberry I make, you’d do it too).
If You’re Short On Tools, Don’t Fret
You really don’t need fancy cake pans. I’ve used a casserole dish, and it worked fine—just takes longer. No electric mixer? Totally doable by hand; I survived my first two Thanksgivings with a wooden spoon and a lot of elbow grease. And for parchment, a smear of butter and flour does the trick.
How To Keep Your Cake (Though Ours Disappears Fast)
Officially, keep it covered at room temp for up to 2 days, or pop leftovers in the fridge for up to 4–5 days. But honestly, in my house it never lasts more than a day—maybe two if you hide a slice behind the milk. If you have to store it longer, wrap slices in plastic and freeze up to a month. (Not that I’ve ever managed to save a piece that long!)
Bringing It to the Table – Our Traditions
I love serving this after the Big Meal, with good strong coffee or a splash of Irish cream (my mom’s influence—she stopped making her sherry trifle, and this cake became the stand-in). Sometimes we plop a few orange slices or even leftover caramel on top. The leftovers (rare, but still) make a wicked good breakfast. Don’t judge.
What I’ve Learned The Foggy Way
- I once tried rushing the cooling step. Don’t. All your pretty layers will skid sideways. (It looked like the Leaning Tower of Pisa, but uh, stickier.)
- If you forget to line the pans, run a thin knife around the edge and try wiggling gently. Aggression equals crumbs everywhere.
- Bake ahead if you can. It actually tastes better the next day—the flavors get cozy together. (Just be sure to cover it well so it doesn’t dry out!)
- You can never have too much frosting. Unless you run out, in which case, a dusting of powdered sugar “looks intentional.”
Questions I’ve Actually Been Asked (And My Real Answers)
- Can I make this gluten free?
- Yeah, grab a cup-for-cup gluten free flour like Bob’s Red Mill. Haven’t noticed any difference in taste, but the crumb gets a bit more delicate, so go easy flipping layers.
- Why did my cake sink in the middle?
- Probably opened the oven too soon (I do it, too, when I get antsy). Or, maybe used too much liquid. Either way—just fill the dip with extra frosting, and call it a feature!
- Can I make the layers ahead of time?
- Yep, and that’s a sanity saver if you’re cooking for a crowd. Wrap each layer in cling film and stash in the fridge overnight. I swear they’re easier to frost cold.
- Help, I don’t have three pans!
- Use what you’ve got; bake in shifts. Or try those disposable foil pans. On second thought, stacking two thicker cakes and slicing horizontally sort of works, though my layers always come out wonky that way.
- Which frosting is best?
- Highly subjective! Cream cheese is classic, but chocolate is my secret weapon when kids are in the mix. (I sometimes steal Joy the Baker’s buttercream and add a pinch of salt.)
And there you go—a sweet, sturdy, slightly slapdash 3 layer cake that basically yells “holiday.” May your layers stand tall, your frosting be plentiful, and your family at least rinse the dishes (wishful thinking, I know).
Ingredients
- 2 1/2 cups all-purpose flour
- 2 cups granulated sugar
- 1 cup unsalted butter, softened
- 4 large eggs
- 1 cup whole milk
- 2 teaspoons vanilla extract
- 2 1/2 teaspoons baking powder
- 1/2 teaspoon salt
- 2 cups cream cheese frosting
Instructions
-
1Preheat the oven to 350°F (175°C). Grease and flour three 9-inch round cake pans.
-
2In a large bowl, cream together the butter and sugar until light and fluffy.
-
3Add eggs one at a time, beating well after each addition. Mix in vanilla extract.
-
4In a separate bowl, whisk together flour, baking powder, and salt. Gradually add to the wet mixture, alternating with milk, beginning and ending with flour.
-
5Divide batter evenly among the three prepared pans. Bake for 28-30 minutes, or until a toothpick inserted in the center comes out clean. Let cakes cool completely.
-
6Spread a layer of cream cheese frosting between each cake layer, stacking them. Frost the top and sides of the cake. Decorate as desired and serve.
Approximate Information for One Serving
Nutrition Disclaimers
Number of total servings shown is approximate. Actual number of servings will depend on your preferred portion sizes.
Nutritional values shown are general guidelines and reflect information for 1 serving using the ingredients listed, not including any optional ingredients. Actual macros may vary slightly depending on specific brands and types of ingredients used.
To determine the weight of one serving, prepare the recipe as instructed. Weigh the finished recipe, then divide the weight of the finished recipe (not including the weight of the container the food is in) by the desired number of servings. Result will be the weight of one serving.
Did you make this recipe?
Please consider Pinning it!!

