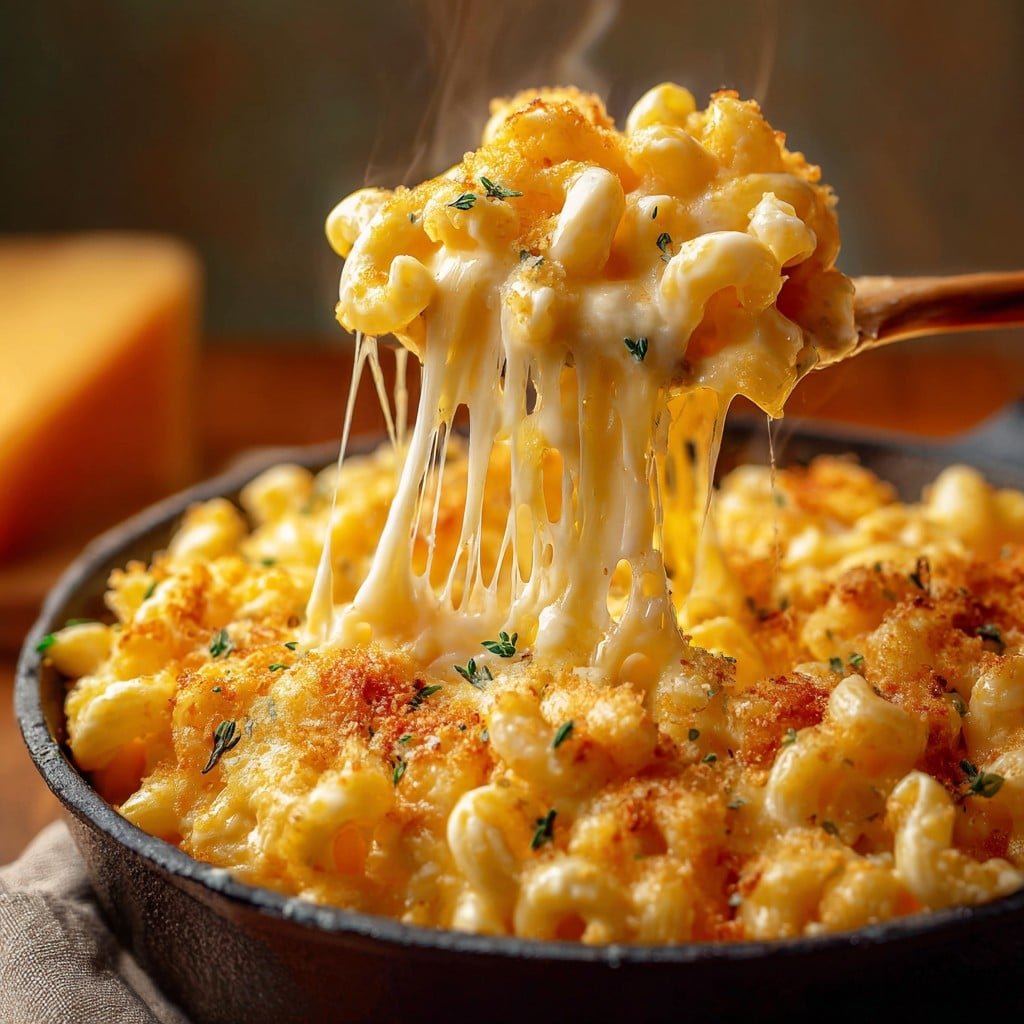
So, Ever Heard of Tini’s Viral TikTok Mac and Cheese?
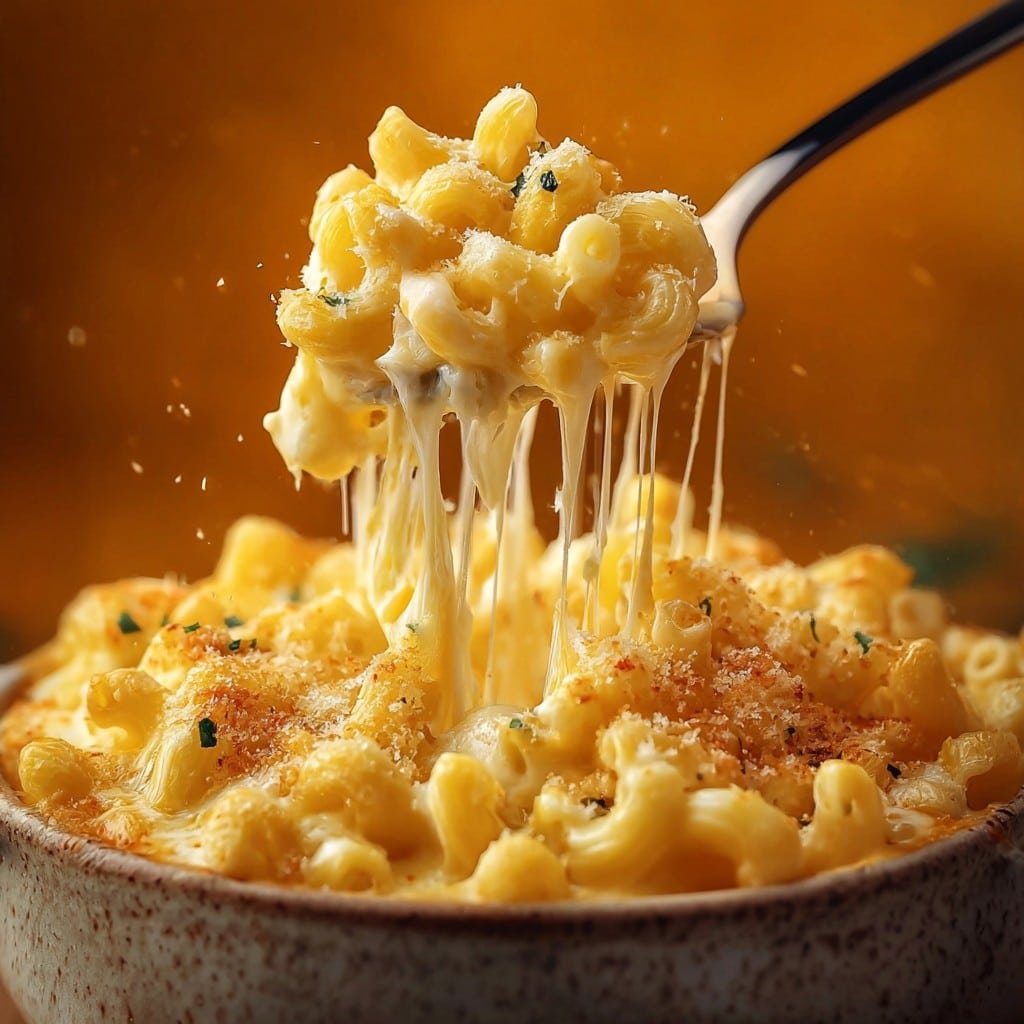
Alright, friend—pull up a chair. If you’ve spent, oh, more than twelve minutes on TikTok lately, you’ve definitely seen Tini’s Mac and Cheese making the rounds. I decided to give it a go after my youngest (the picky one, of course) kept humming that annoyingly catchy TikTok song while holding a suspiciously empty cheese packet. First time I tried making it, I totally underestimated how gooey-cheesy-good it gets—honestly thought I’d ruined it when the sauce bubbled up like a volcano, but hey, that’s half the fun, right? I’m telling you: this is the kind of dish that might just become regular in your rotation, especially when you’re feeling like some comfort with a capital C.
Why I Keep Making This (And Maybe You Will Too!)
I usually make this when the weather’s ugly or when I need to bribe my kids to help tidy up the living room—works like a charm, ha! My family goes absolutely mental for it because it’s creamy but not too thick (which, by the way, took me ages to get right; for months it was either cheese soup or brick-layer cement). Plus, there’s something very soul-hugging about a bubbling tray of mac and cheese on the table. I sometimes even make a little extra because, let’s be honest, cold mac and cheese midnight snacks are practically a rite of passage. (Pro tip: don’t eat it standing by the fridge… your knees will regret it.)
What You’ll Need (And Some Cheeky Substitutions)
- Elbow macaroni – about 400g (but honestly, any short pasta works—shells, penne, I once used fusilli and nobody complained)
- 2 1/2 cups of whole milk (skim is fine too if you fancy, but I think full fat gets it creamier. My grandmother swore by evaporated milk, but I’ve used regular for convenience)
- 2 cups freshly grated sharp cheddar cheese (packaged pre-shredded works in a pinch, but if you have time, grating makes it better, promise)
- 1 cup mozzarella, shredded (actually, Jack cheese tastes awesome here too if you’re out of mozz)
- 4 tablespoons butter (salted or unsalted, doesn’t really matter—sometimes I even mix in a dash of olive oil if I’m running low)
- 3 tablespoons all-purpose flour
- 1 teaspoon mustard powder (or just a spoon of regular yellow mustard. I’ve skipped it before when I couldn’t find it in my slightly-chaotic cupboard—still good!)
- 1/2 teaspoon smoked paprika (regular works too; gives a nice warmth)
- Salt and pepper—to your rebellious heart’s content
- Optional: a handful of panko or any breadcrumbs you’ve got lying around for crunchy topping
- Optional: a pinch of cayenne if you want a kick (my brother complains it’s boring without at least a little heat)
How I Actually Make Tini’s Mac & Cheese (Don’t Worry, You Got This)
- Boil the pasta. Salt the water like it owes you money, then cook the macaroni until just shy of al dente (the box says 8-9 mins, but I usually taste-test around minute seven—can’t help myself). Drain and set aside, but save a bit of the pasta water in case your sauce gets too thick later.
- Make the roux. In a biggish saucepan, melt your butter over medium heat. When it’s foamy, add in the flour and whisk like you’re holding a grudge (about 1-2 mins, until it’s lightly golden, not burnt—did that once, wouldn’t recommend). If it looks weird at this stage, don’t panic. It always does for me.
- Whisk in the milk. Slowly pour in your milk and keep whisking. It’ll seem lumpy, then miraculously smooth out (trust the process).
- Add the cheese and magic. Lower the heat and add cheddar, mozzarella, mustard powder, paprika, and your generous sprinkle of salt and pepper. Stir until cheese is melted into a glossy, dangerous-looking sauce. This is where I usually sneak a taste. Do not burn your tongue—been there, done that.
- Combine pasta and sauce. Mix the cooked pasta into the cheese sauce. Gently fold so every noodle is coated. If it starts looking a bit gluey, splash in that pasta water you saved.
- Pour into a baking dish. (Any ovenproof dish you’ve got works. Sometimes I just use the pan if it’s oven safe!) Sprinkle the top with breadcrumbs, more cheese, or both.
- Bake till bubbly. Into a preheated oven at 180°C (350°F) for 20-25 minutes, until golden and bubbling on top. If you like it extra crispy, give it a minute or two under the broiler. Just keep an eye—stuff goes from golden to charcoal in a heartbeat.
Notes I’ve Learned (Sometimes the Hard Way)
- Never skip salting your pasta water—otherwise, the whole thing tastes kinda meh.
- Once, I added too much cheese thinking “more is more” but… it just turned into a solid cheese brick. Actually, I find it works better if you keep proportions close-ish.
- You can totally assemble it ahead of time—just pop it in the oven when you’re ready
Variations That Actually (Mostly) Work
- I once tossed in crispy bacon bits—amazing, if not exactly health food.
- Broccoli florets (steamed first) add a bit of green and make you feel a tad more virtuous.
- I tried using almond milk once, honestly, it was fine, but a little thin so maybe steer clear unless you like it lighter.
- One time added crumbled blue cheese on top, but wow, that was not a win in my house! Live and learn.
What If I Don’t Have a Fancy Tool?
Look, most recipes will tell you a whisk is essential for the roux. And it is, probably. But more than once I’ve grabbed a fork because everything else was trapped in the dishwasher. It’s a little more effort, but it works in a pinch. Same goes for graters—boxed, microplane, whatever. Just don’t try slicing cheese with a butter knife; trust me, you’ll regret it.
How Do I Store This? (Or, It’s Gone in 24 Hours Anyway)
If you somehow end up with leftovers (not a common problem here!), just bung them in an airtight container in the fridge. Four days, maybe five if you live life on the edge. Reheat with a splash of milk to bring back the creaminess. But honestly, in my flat, there’s never any left over to test this limit.
Serving? Here’s What I Do
You can absolutely serve it as a main, maybe with salad if you’re feeling wild (or actually, just lazy—less dishes that way). I sometimes make it as a side with roast chicken or sausages. My cousin’s family eats it at Thanksgiving, which to me is both genius and slightly blasphemous.
Pro Tips I (Eventually) Figured Out
- I once tried rushing the roux step and just dumped everything in. Sauce was lumpy—don’t do this unless you like surprises in your cheese.
- Grate your cheese at home when you can; honestly, I was skeptical but it melts better. But in a hurry? Shredded bag stuff is fine. No judgment here.
What People Actually Ask Me About This Mac and Cheese
- Can I make it gluten-free? Yep! Use your favourite GF pasta and swap in gluten-free flour for the roux—basically tastes the same.
- What cheese is best? Sharp cheddar is my go-to for punchy flavor; toss in some gruyere if you want it fancy. But, really, use whatever’s in the fridge. (I found this cheese guide here really helpful!)
- Can I freeze leftovers? You can, but the texture gets a bit weird after thawing. I’ve done it, but fresh is worlds better. Here’s a freezer tip I read on Bon Appétit, if you’re curious.
- Is this better the next day? Funny you ask! I think it is, but my husband says I’m nuts.
- Why did my sauce go grainy? Usually means it got too hot, or cheese was added too quickly. No drama—still edible. Or at least, it is in my book.
Final random thought cause hey, life’s short: If you have a pet, watch out, as even my dog once tried to nab a noodle straight form the pan. She now eyes me suspiciously every time the oven beeps.
Anyway. Give Tini’s Viral TikTok Mac and Cheese a try—it’s as much fun as it looks (and even if you make a mess, who cares? That’s half the story).
Ingredients
- 12 oz elbow macaroni
- 2 cups shredded sharp cheddar cheese
- 1 cup shredded mozzarella cheese
- 2 tablespoons unsalted butter
- 2 tablespoons all-purpose flour
- 2 cups whole milk
- 1/2 teaspoon garlic powder
- Salt and pepper to taste
Instructions
-
1Cook the elbow macaroni in a large pot of salted boiling water according to package instructions until al dente. Drain and set aside.
-
2In the same pot, melt the butter over medium heat. Whisk in the flour and cook for 1-2 minutes until slightly golden and bubbly.
-
3Gradually whisk in the milk and continue to cook, stirring constantly, until the mixture thickens, about 3-4 minutes.
-
4Add the shredded cheddar and mozzarella cheeses. Stir until completely melted and smooth.
-
5Season with garlic powder, salt, and pepper. Add the cooked macaroni and stir to coat evenly with the cheese sauce.
-
6Serve hot and enjoy your viral TikTok mac and cheese!
Approximate Information for One Serving
Nutrition Disclaimers
Number of total servings shown is approximate. Actual number of servings will depend on your preferred portion sizes.
Nutritional values shown are general guidelines and reflect information for 1 serving using the ingredients listed, not including any optional ingredients. Actual macros may vary slightly depending on specific brands and types of ingredients used.
To determine the weight of one serving, prepare the recipe as instructed. Weigh the finished recipe, then divide the weight of the finished recipe (not including the weight of the container the food is in) by the desired number of servings. Result will be the weight of one serving.
Did you make this recipe?
Please consider Pinning it!!

