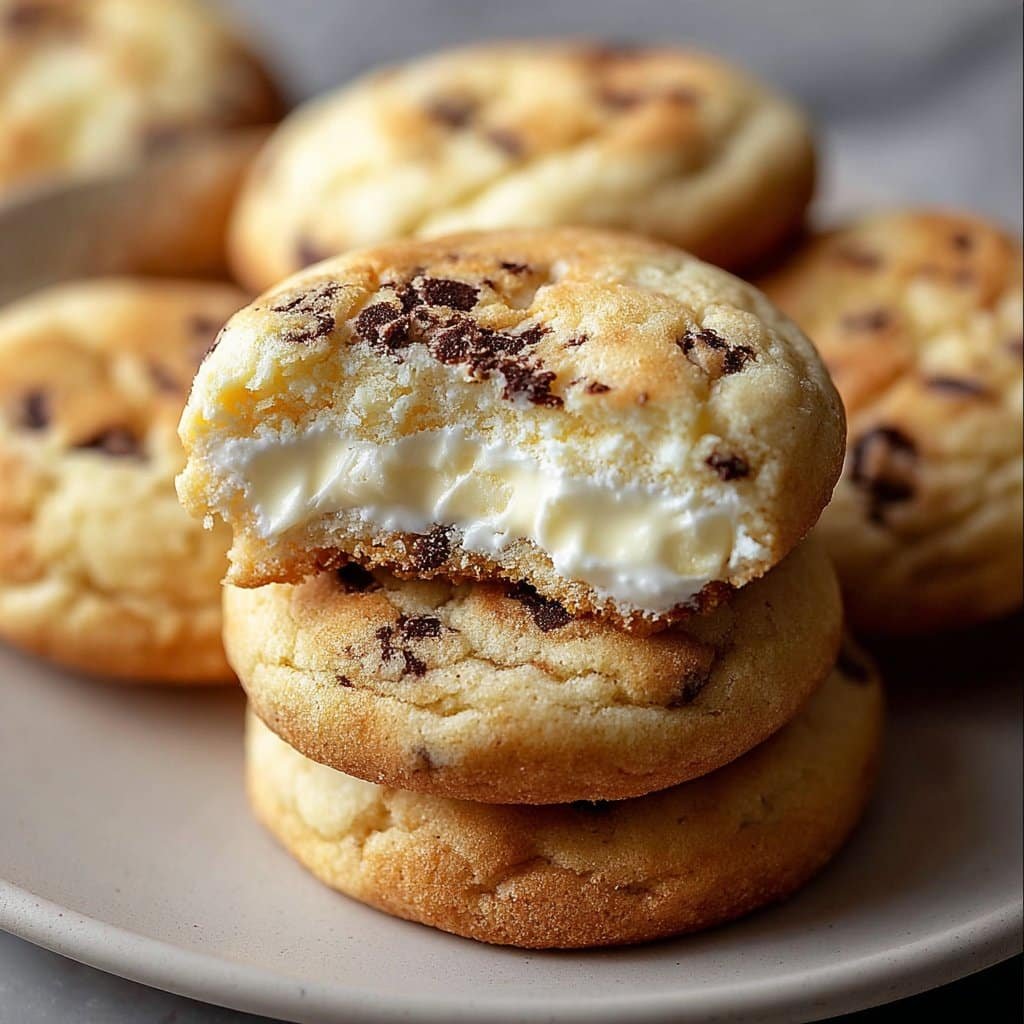
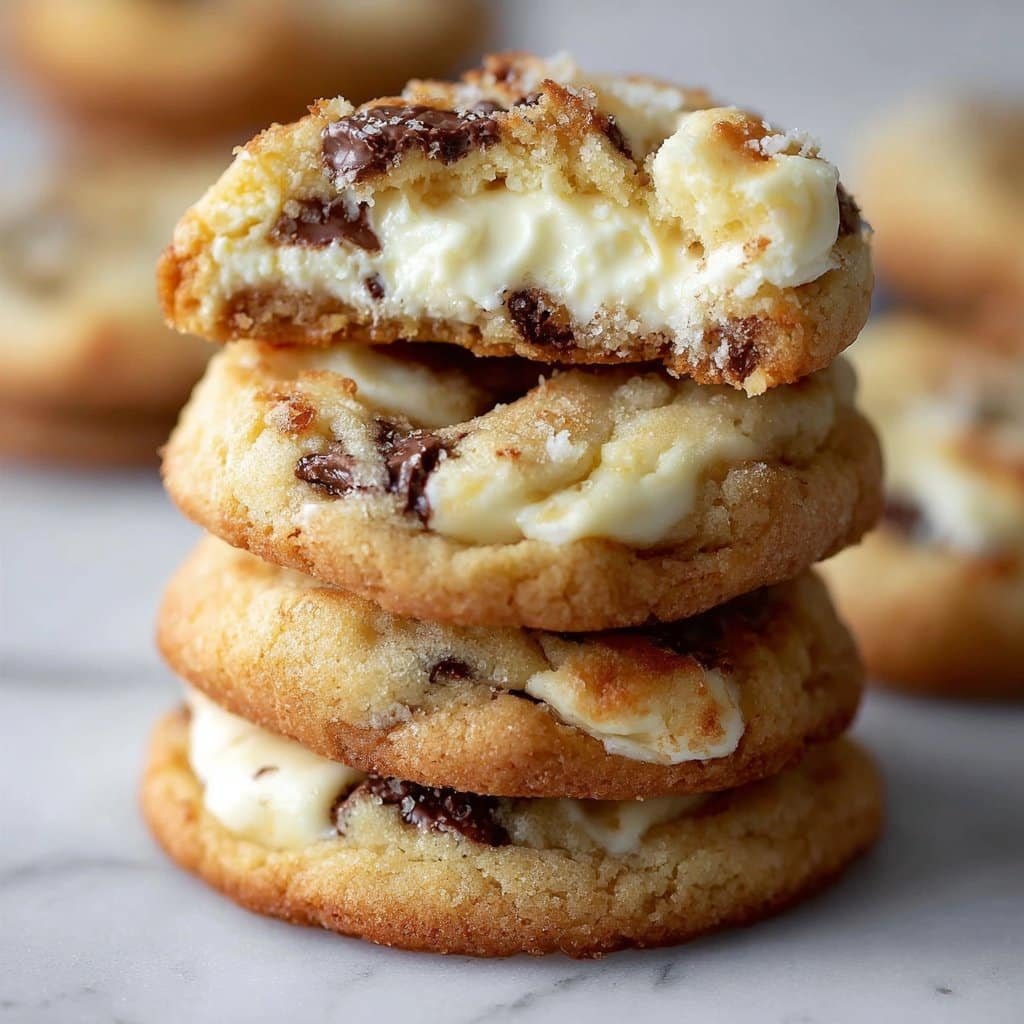
If you’ve ever stood in the middle of your kitchen at 9pm craving cheesecake but realizing you just don’t have the emotional bandwidth for water baths and springform pans… well, same. I remember the first time I made Cheesecake Cookies—I’d seen them floating around Pinterest and honestly thought, that’s too cute to taste good. Obviously I was wrong (happily so). My kids hovered like vultures around the oven, and someone—I won’t say who, but he’s my husband—burned his tongue taste-testing fresh from the tray (classic rookie move).
Why I Keep Making These (And You Might Too)
Honestly? I bake these Cheesecake Cookies whenever I want something that feels a little decadent but doesn’t eat up my whole day. My family goes crazy for them (especially with a cheeky sprinkle of graham cracker crumbs). And if I’m being up front: standard cookies are brilliant but can feel samey after a while—these score that perfect balance between creamy and crumbly. I did have a phase where my filling ran everywhere, but I’ve since learned to chill it a bit (truly saves the day!). Oh, and for some odd reason, they just taste better when I’m in fuzzy socks. Can’t explain it.
What You’ll Need: Ingredients (with a Few Swaps)
- 6 oz (170g) full-fat cream cheese (Or, in a pinch, mascarpone—my aunt insists it’s fancier, but I dunno.)
- Half a stick butter, softened (Salted if you’re daring, or just add a pinch of salt to unsalted.)
- 3/4 cup white granulated sugar (Brown sugar is fine if you like it slightly caramel-tinged.)
- 1 egg (Large, though I sometimes sneak in a medium and no one’s the wiser.)
- 1 tsp pure vanilla extract (McCormick is my go-to, but any works. Just avoid the weird fake stuff if you can.)
- 1.5 cups plain flour (All-purpose works best—don’t mess about with bread flour, I tried, it’s not ideal.)
- 1/2 tsp baking powder
- Pinch of salt
- Optional add-ons: crushed graham crackers for rolling, chocolate chips, or a handful of freeze-dried berries (raspberries are brilliant!)
How I Actually Throw These Together
- Preheat your oven to 350°F (175°C). Don’t skip it—trust me, I used to, but you just end up waiting longer. Line a baking tray with parchment paper or, in a pinch, give it a good butter rub.
- In a roomy bowl, beat the cream cheese and butter together until smooth. I use electric beaters, but a grumpy arm and wooden spoon works in a pinch (boy, was my bicep sore…).
- Add the sugar and beat again until it’s a bit fluffy and you can’t spot any major lumps. This is where I sneak a taste (it’s kind of tradition now).
- Crack in the egg and pour in vanilla. Whisk until smooth; don’t worry if it looks a tad gloopy, that’s normal.
- Tip in your flour, baking powder, and salt. Fold together gently—do this just until it all comes together or you’ll risk tough cookies. On second thought, maybe leave a streak or too; nobody will notice.
- If you’re feeling adventurous, fold in chocolate chips or scatter in crushed berries now. I sometimes sprinkle graham crackers onto a plate and roll the dough balls in that, gives a great crunch!
- Use a good tablespoon (or your hands, no shame in that!) to scoop little balls onto your tray. Space them out—these spread just a smidge. I flatten them with my palm, but if you want a thicker cookie, barely press at all.
- Bake for 10-12 minutes. You want the edges just golden, middles still a bit soft. They always look underbaked, but they firm up as they cool (and who can resist stealing one warm?)
- Let them cool on the tray for a bit—otherwise, they might break. Learned that the hard way, twice.
Notes You’d Only Know After Baking a Few Batches
- Don’t skip the chill if your dough gets sticky—half an hour in the fridge really does wonders. I always groan at the wait but yeah, it’s worth it.
- If you accidentally overbake, just call them “cheesecake biscotti” and act like it was on purpose.
- They taste even better on day two (if you can resist).
Variations I’ve Tried (and Sometimes Regretted…)
- Adding lemon zest is fantastic if you like tang. Turns out my youngest isn’t a fan—so maybe not for picky eaters.
- Trader Joe’s cookie butter swirled in… kind of a knockout, if a bit messy. Worth it, honestly.
- I tried stuffing mini Nutella centers in one batch. Delicious? Absolutely, but the mess was nearly criminal. Still, wouldn’t rule out doing it again on a rainy day.
What You Kind of Need (But Not Always)
- Electric beaters make it easier, but a whisk and some upper body effort gets you there. One time, mine died and I just used a potato masher—bit chaotic but, hey, it worked.
- Parchment paper for the tray. Or butter and a prayer.
- Cooling rack is helpful, but honestly, I’ve used a plate lined with kitchen roll (paper towel) when in a rush.

How I Store ‘Em (Or Try To)
Keep them in an airtight container and they’re good for about 3 days. That said, in my house, they vanish by morning—someone must be sneaking midnight snacks. If you want to freeze, stack between parchment and they’re great for emergencies, aka 9pm cravings.
Serving: What We Actually Do
We love dunking these in tea (or coffee—shoutout Yorkshire Tea if you’re particular), but for a treat, I serve them with a little dollop of whipped cream on the side. At holidays, my mum insists on dusting them with icing sugar “for the photo.” She’s right, it looks lovely.
Things I Wish I’d Known (So Now You Do)
- Don’t try to shape warm cookies—let them hang out on the tray, even if you’re impatient.
- That whole “just eyeball the flour” method? Dangerous—measure, or you’ll get pancake cookies (I’ve done it, wouldn’t recommend.)
- I once tried to skip the cream cheese softening to save time; big mistake, unless you like lumpy dough.
Just Answering Questions (Because I Get ‘Em)
Q: Can I use low-fat cream cheese?
Honestly, you can, but they turn out a bit gummy. If you’re into that, give it a whirl. Full-fat is just more “cheesecakey.”
Q: Do they need the graham cracker coating?
Nope! But it’s fun and adds crunch; if you can’t find grahams, digestive biscuits work a treat.
Q: My dough’s super sticky, help?
Chill it. If you’re impatient (like me sometimes), dust your hands with flour—bit messy, but gets the job done.
Q: Can I double it?
Absolutely, though you’ll be tempted to eat extra dough (we all do it, right?). Sometimes I even freeze half for lazy Sundays.
Oh, and if you’re the sort who likes to geek out on baking science, this post at Sally’s Baking Addiction explains creaming soft butter versus melted better than I ever could. Want more cookie ideas? I always check King Arthur Baking’s recipe index whenever I’m in a rut.
If you try them (and I hope you do), give yourself a pat on the back—these cookies are a proper treat. Maybe even hide one for tomorrow, just in case the rest disappear “accidentally.” There you have it, Cheesecake Cookies—my answer to late-night cravings and bake sales, both.
Ingredients
- 1/2 cup (113g) unsalted butter, softened
- 4 oz (113g) cream cheese, softened
- 1 cup (200g) granulated sugar
- 1 large egg
- 1 tsp vanilla extract
- 1 1/2 cups (180g) all-purpose flour
- 1/2 tsp baking powder
- 1/4 tsp salt
- Powdered sugar, for dusting (optional)
Instructions
-
1Preheat oven to 350°F (175°C) and line a baking sheet with parchment paper.
-
2In a large bowl, beat together the softened butter and cream cheese until smooth and creamy.
-
3Add the granulated sugar and beat until light and fluffy. Mix in the egg and vanilla extract.
-
4In a separate bowl, whisk together the flour, baking powder, and salt. Gradually add the dry ingredients to the wet mixture, mixing until just combined.
-
5Drop tablespoons of dough onto the prepared baking sheet, spacing them about 2 inches apart.
-
6Bake for 10-12 minutes, or until the edges are lightly golden. Cool on the baking sheet for 5 minutes before transferring to a wire rack. Dust with powdered sugar if desired.
Approximate Information for One Serving
Nutrition Disclaimers
Number of total servings shown is approximate. Actual number of servings will depend on your preferred portion sizes.
Nutritional values shown are general guidelines and reflect information for 1 serving using the ingredients listed, not including any optional ingredients. Actual macros may vary slightly depending on specific brands and types of ingredients used.
To determine the weight of one serving, prepare the recipe as instructed. Weigh the finished recipe, then divide the weight of the finished recipe (not including the weight of the container the food is in) by the desired number of servings. Result will be the weight of one serving.
Did you make this recipe?
Please consider Pinning it!!


