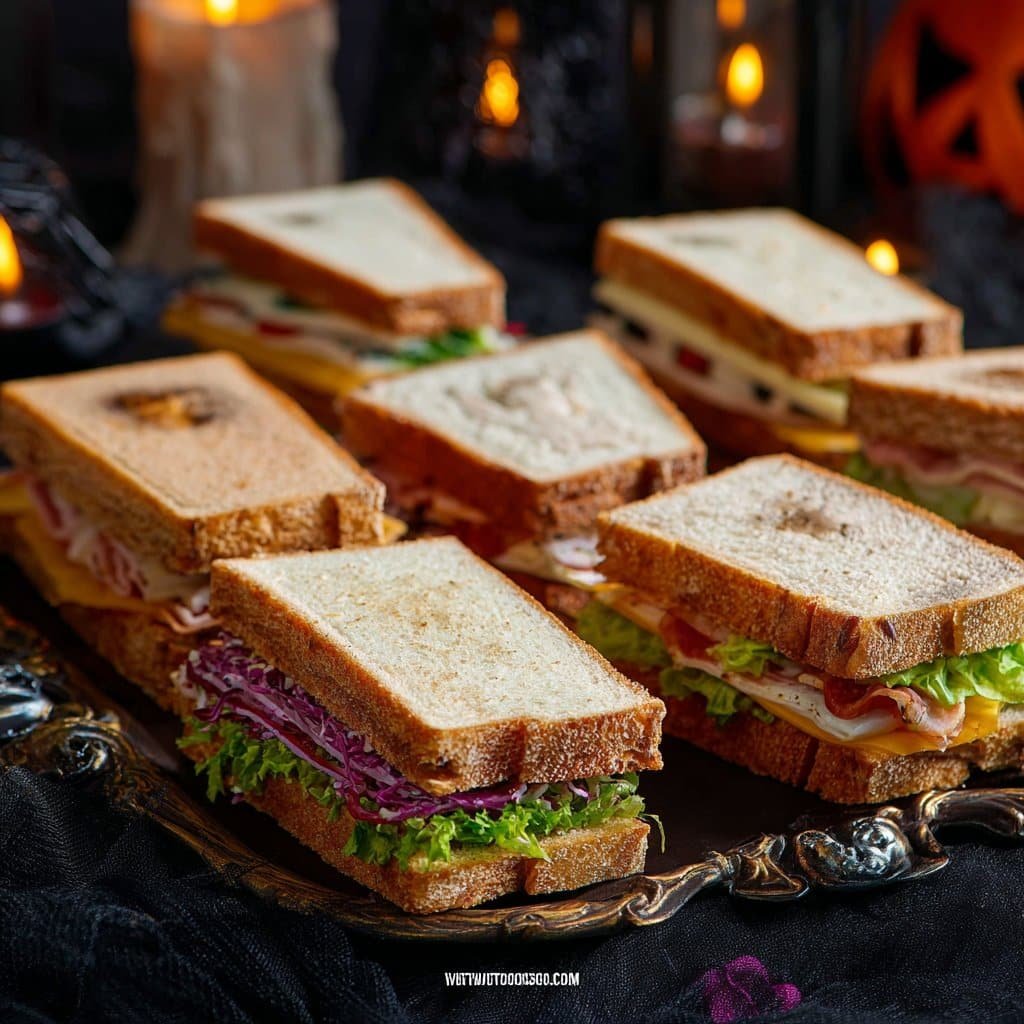
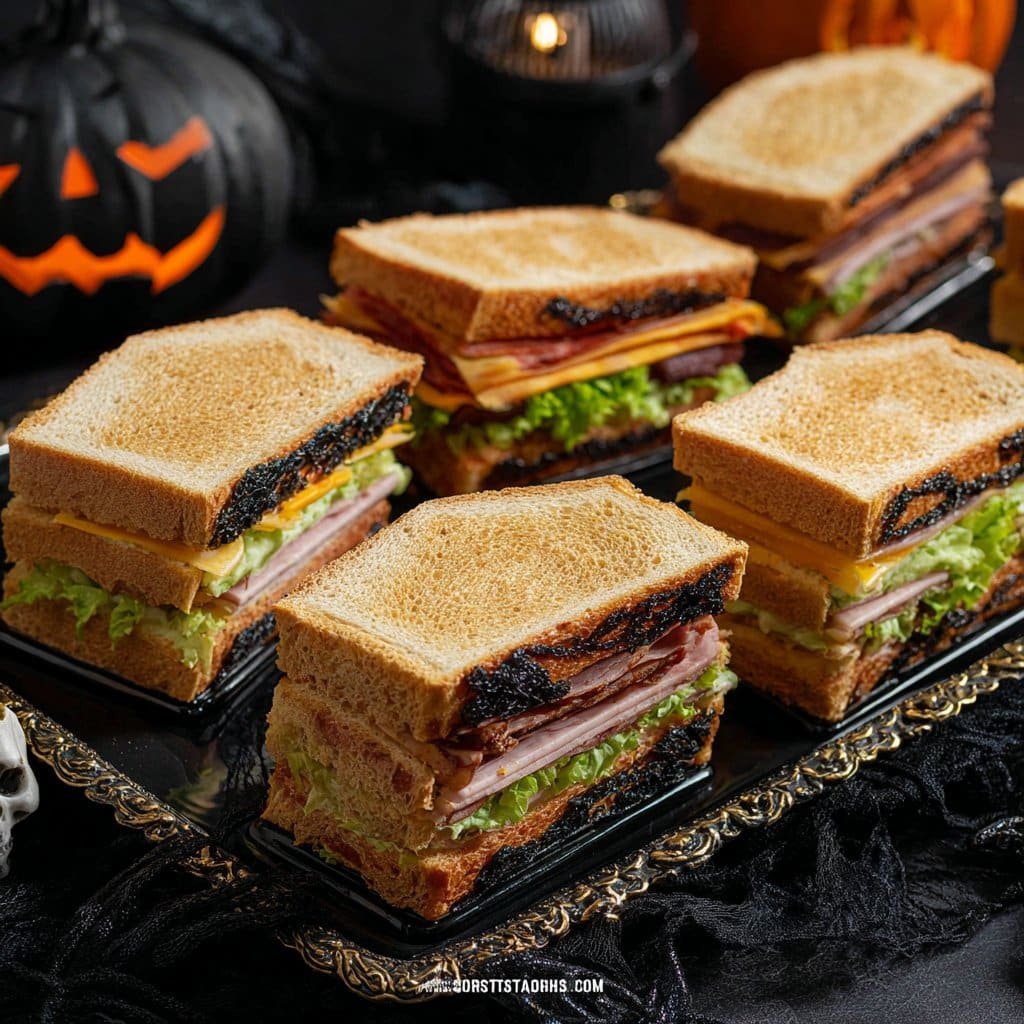
Okay, Let’s Make Coffin Sandwiches (and Maybe a Mess)
If you’ve never made Coffin Sandwiches for Halloween, you’re in for a treat—or, er, maybe a few sideways glances from the neighbors if you go a little wild with the decorations. I remember the first time I made these: my niece looked more horrified than thrilled (mission accomplished, right?), but then she bit in and pretty much wolfed down three. There was mayo everywhere, and the black olives ended up in someone’s hair (not naming names, but you know who you are). I guess that’s just Halloween at our place!
Why You’ll Love This Recipe (Or At Least Laugh at the Results)
I make these any time there’s kids coming over and I’m tired of the same old pizza-mummy thing. My family goes nuts for Coffin Sandwiches because, honestly, you get to eat something that looks like it crawled out of the Addams Family kitchen. Plus, if you’re kind of a perfectionist (guilty), trying to cut perfect coffin shapes will humble you real quick. And don’t get me started on hunting for the right bread—one year I had to use pita because that’s all I could find, but you know what? Still tasted great. (Pro tip: don’t sweat the shape too much; as long as it’s kind of boxy and spooky, you’re good.)
What You’ll Need (Or What I End Up Grabbing Last-Minute)
- 8 slices of sandwich bread (I like white for the ‘coffin’ look, but wheat works, too. Brioche if you’re feeling fancy or just have it laying about.)
- 3 Tbsp mayonnaise (sometimes I mix in a smidge of mustard if I’m feeling rebellious)
- 6 slices ham, turkey, or roast beef (literally, grab what’s in the fridge; my grandmother swore by bologna, but I…prefer to forget those teeth-clenching days)
- 4 slices cheddar or Swiss cheese (I’ll grab whatever is lurking in the cheese drawer—havarti works in a pinch)
- Butter, for toasting (not strictly necessary, but I like the crunch)
- Black olives (for ‘nails’ or ‘eyes’—gotta love the weird looks from the deli worker when you ask for just five)
- Red bell pepper slices (optional, but they’re fun for spooky ‘tongues’)
- Ketchup or Sriracha for ‘blood’—or skip it if the kids aren’t into spicy stuff
How I Make Coffin Sandwiches
- Alright: start by laying out your bread. If you’re fancy, use a coffin-shaped cookie cutter (like this one), but honestly, I usually freehand it with a paring knife. Just kind of eyeball an elongated hexagon—nobody’s grading your geography here. If you mess up, just tell everyone it’s a haunted tomb that’s crumbling with age. That’s what I do.
- Spread a modest smear of mayo (or mustard/mayo blend if you’re feeling spicy) on each coffin slice. Don’t go overboard; soggy bread is Halloween-level scary in a bad way. This is usually where I sneak a taste because—side note—I really like mayo more than I should admit.
- Layer on the cheese and meat. I try to fold the slices in so nothing hangs over the edge, but if there’s a bit sticking out, oh well—extra ‘shroud’ for the coffin, or whatever spooky backstory works for you. Top with the other slice of bread.
- Optional but recommended: lightly butter the outer sides of each sandwich. Heat a skillet or griddle and toast each coffin sandwich for a couple minutes per side, until golden. Don’t walk away—seriously, these go from golden to, ah, ‘charred remains’ before you know it.
- Now the fun part: decorate! Use sliced black olives for eyes or nails. Add a sliver of bell pepper like a forked tongue (or just a tongue, I guess; not all monsters need to be snakes). Draw ‘bloody’ lines with ketchup or Sriracha; I’ve even used beet ketchup one time, but the kids were severely unimpressed. Use toothpicks to hold olives in place if you want.
- Arrange them on a platter—I scatter around a few plastic spiders because that’s how I roll on Halloween. But you can go minimalist, too. (Actually, I think these are fun for any slightly ghoulish party night, not just October 31.)
Notes From the School of Sandwich Hard Knocks
- If you’re using a soft bread, it helps to chill it a bit in the freezer so it cuts cleaner.
- The first time I tried a multigrain loaf, it fell apart faster than you can say ‘monster mash’—so softer, denser bread works best.
- Don’t be afraid to let the kids decorate (as long as you’re prepared for a cleanup that may or may not rival a glitter bomb).
What I’ve Tried That Works (Or…Not So Much)
- Swapping in thinly sliced cucumber instead of cheese? Surprisingly fresh, but not as satisfying.
- Peanut butter and jelly ‘coffin sandwiches’—yep, tried it once. Looks cute, but the ketchup ‘blood’ didn’t exactly work (super gross, actually). Save the ketchup for the savory editions.
- Baking the sandwiches like grilled cheese in the oven. It works if you’re making a bunch, but the edges dry out faster than expected, so I now stick to skillet toasting.
What If You Don’t Have That Tool?
No cookie cutter? No problem—just free-style it with a butter knife. I’ve torn a few slices, but you can patch them up with a little extra cheese. My neighbor once used a play-dough cutter… actually, that didn’t work great, don’t do that.

How To Store It (But Don’t Count On Leftovers)
Honestly, these barely last the hour in my house. But they’ll keep in an airtight container in the fridge overnight; just be warned, the decorations look a little sad after too long. I haven’t tried freezing them (not worth it, in my book), though you could prep the bread and fillings ahead and assemble/decorate last minute. If you figure out a better storage hack, let me know!
Serving It Up: My Way (You Do You!)
I love serving these with a big ol’ bowl of ‘witches’ brew’ punch and a side of bright orange sweet potato fries (see here for my fave recipe). Or, if it’s just adults, I’ll do a haunted cheese board alongside. My family likes to make a game out of ‘design the creepiest sandwich’ (which gets pretty competitive, I’m not gonna lie). And don’t be afraid to just eat these standing over the sink—no judgement.
Pro Tips From Someone Who’s Ruined A Sandwich Or Two
- Don’t rush the toasting. I tried turning the heat up to go faster once—burnt bread, cold cheese, the whole disaster. Low and slow. Well, medium and patient.
- Don’t get too ambitious with the designs unless you’re armed with actual culinary arts skills and not just, like, a vague sense of what a coffin looks like.
- Actually, I find it works better if you assemble everything before decorating; otherwise, decorations tend to slide right off if you’re flipping in the pan. (Learned that the hard way last year.)
FAQ (Because People Do Ask!)
- Can I make these Coffin Sandwiches ahead of time? I do, sometimes—especially if I want to avoid kitchen chaos mid-party. But they’re best decorated fresh. The bread gets a bit chewy if they sit too long.
- How do you cut the bread without squashing it? Pop it in the freezer for about 15 minutes first, THEN slice. Makes a world of difference, at least for me.
- Do the kids actually eat the olives? About half do, half don’t. I just pick ‘em off for the fussy ones.
- Can I use gluten-free bread? Absolutely, though (just warning ya) some brands can fall apart easier—go for the denser ones if you can. I like Schar, but any you like should work.
- Does it have to be toasted? Nope. But I like the crispy edges. You can skip it if you’re in a rush—sandwiches will just be softer.
- What’s the weirdest ingredient you’ve tried? Once put pickled beets on because my cousin dared me. Don’t recommend it—unless you love beets. Then by all means, beet yourself out.
- How many does this make? With 8 slices, you’ll get 4 sandwiches. Double up if you’ve got a hungry crowd (which is every Halloween at my place, it seems).
So there you go—Coffin Sandwiches for Halloween, from my (slightly batty) kitchen to yours. If you want even more Halloween food inspiration, here’s a handy roundup from Delish I keep bookmarked. Have fun, don’t stress, and if you mess up the shapes, well, just call them ‘ancient burial sites.’ Happy haunting!
Ingredients
- 8 slices sandwich bread
- 4 slices cheddar cheese
- 4 slices cooked ham
- 2 tablespoons mayonnaise
- 2 tablespoons butter, softened
- 1 small cucumber, thinly sliced
- 2 cherry tomatoes, sliced
- Olives or black food coloring gel for decoration
Instructions
-
1Preheat a skillet or griddle on medium heat. Cut each slice of bread into a coffin shape using a knife or cookie cutter.
-
2Spread mayonnaise on four bread slices. Add one slice of ham, one slice of cheddar cheese, and a few cucumber slices to each.
-
3Top with the remaining coffin-shaped bread slices.
-
4Butter the outside of each sandwich lightly. Grill sandwiches for 3-4 minutes per side until golden and the cheese is melted.
-
5Transfer sandwiches to a serving plate. Decorate each with cherry tomato slices and use olives or black food coloring gel to draw crosses and coffin details.
-
6Serve warm and enjoy your spooky coffin sandwiches!
Approximate Information for One Serving
Nutrition Disclaimers
Number of total servings shown is approximate. Actual number of servings will depend on your preferred portion sizes.
Nutritional values shown are general guidelines and reflect information for 1 serving using the ingredients listed, not including any optional ingredients. Actual macros may vary slightly depending on specific brands and types of ingredients used.
To determine the weight of one serving, prepare the recipe as instructed. Weigh the finished recipe, then divide the weight of the finished recipe (not including the weight of the container the food is in) by the desired number of servings. Result will be the weight of one serving.
Did you make this recipe?
Please consider Pinning it!!


