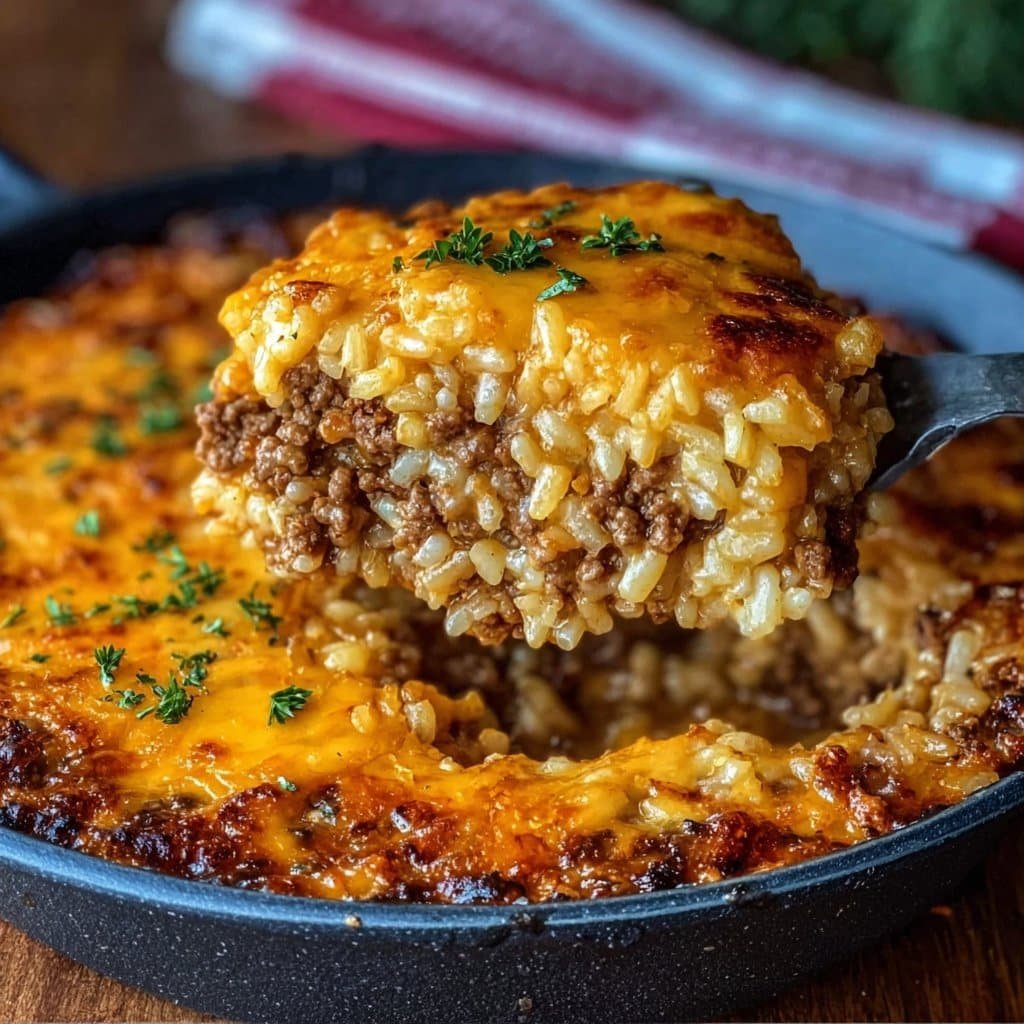
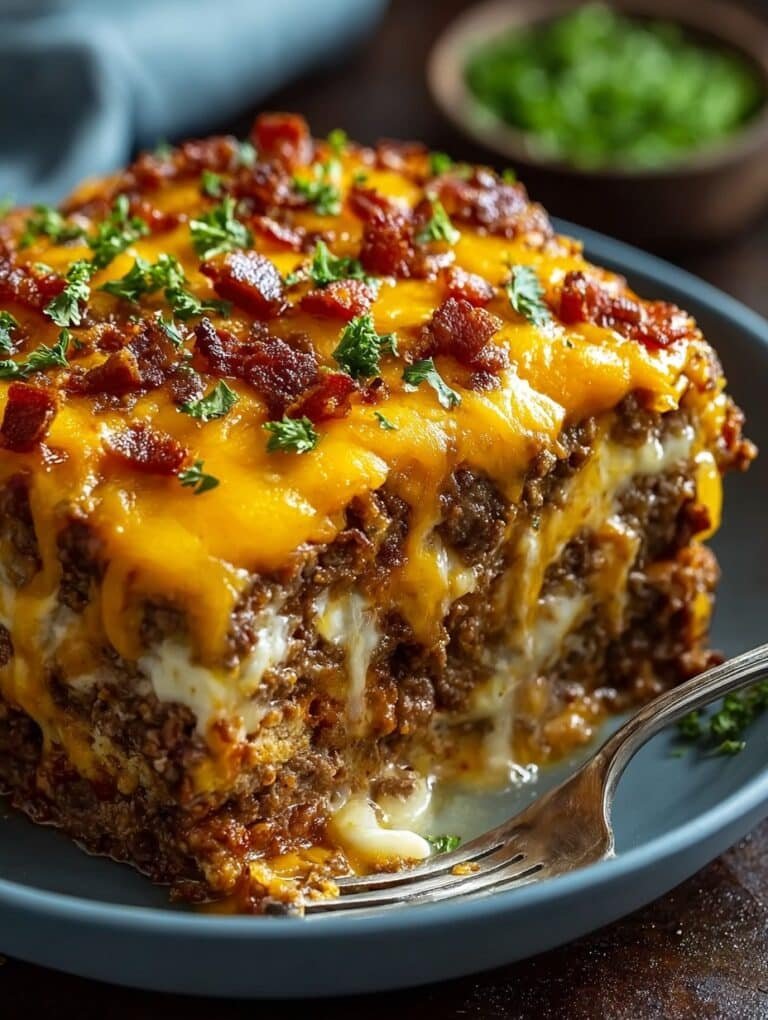
So Let Me Tell You About This Cheesy Ground Beef and Rice Casserole…
Honestly, if you’ve ever wandered into my kitchen around Sunday dinnertime, this is probably what’s popping out of the oven. It’s one of those heartwarming, no-fuss meals I started making years ago when my kids were little and hungry all the time. (Still are, come to think of it.) There’s something a little magical about gooey cheese, savory beef, and fluffy rice coming together in a big old baking dish—my friend Becky calls it “the antidote to a cranky day,” which, yeah, fair!
I have a memory—probably from when I was about ten—of helping my grandma stir a similar concoction in her tiny avocado-green kitchen, and every time I make this, I think of her fussing over getting ‘the edges just crispy enough.’ Spoiler: mine are rarely that crispy, but what can you do?
Why I Always Come Back to This One…
Here’s the thing: I make this when I’ve run out of ideas and patience but still want everyone to leave the table a little happier. My family goes absolutely wild because, well, cheese and beef (do I need to say more?). Plus it’s the kind of dish you don’t need to babysit, which I appreciate on those evenings when I’ve got laundry piling up like a mountain goat’s playground. (Don’t even get me started on folding sheets!)
I used to loathe making casseroles because it seemed like too much effort for something that just gets scooped up and inhaled in ten minutes, but this one–I’d happily make it twice a week. The leftovers, if we ever have any, are almost better the next day—what is it about rice soaking overnight?
What You’ll Need (and What I Sometimes Improvise)
- 1 pound ground beef – I usually grab 80/20, but honestly, anything that’s not shoe-leather lean is fine.
- 1 small onion, chopped – Yellow, white, heck, I’ve used red before and survived.
- 2-3 cloves garlic, minced – Or a spoonful of that jarred stuff if you’re in a hurry (don’t tell my cousin Tim).
- 1 cup uncooked white rice – I like long-grain, but jasmine brings a little extra pizzazz. Brown rice kinda works, but needs more liquid and time.
- 2 cups beef broth – Chicken broth or vegetable stock in a pinch. One time I tried water and regretted it. Just don’t use water, trust me.
- 1 can (14 oz or so) diced tomatoes, with juice – Fire-roasted if you’re feeling ~fancy~ (my teenage daughter’s word, not mine).
- 1-2 cups shredded Cheddar or Colby Jack cheese – Grandma was strict about Tillamook, but any cheddarish blend will do. Sometimes I throw bits of mozzarella in because that’s usually what’s lurking in my fridge.
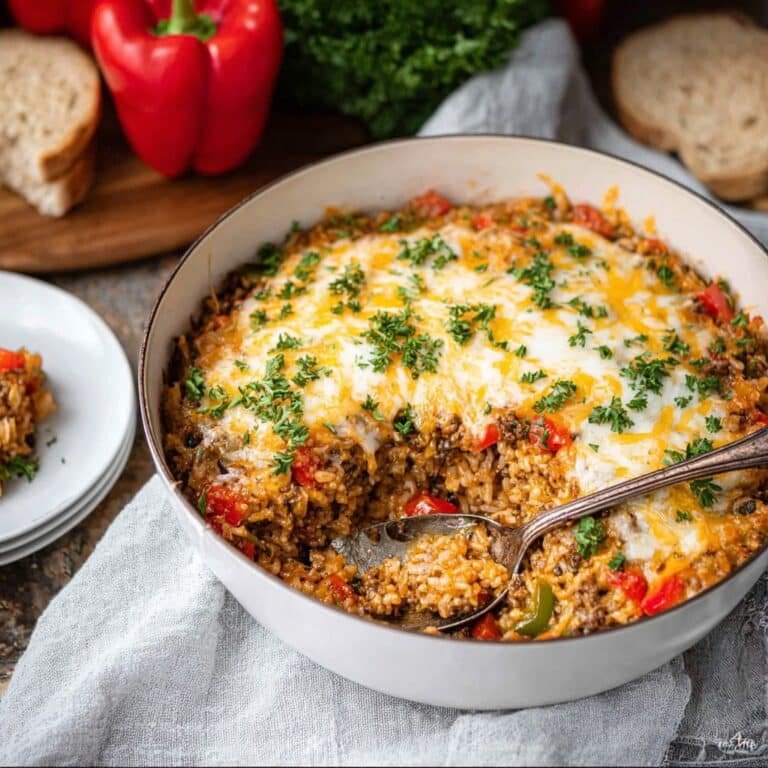
- 1 bell pepper, diced – Red or green. Or skip it, I won’t tell.
- 1 teaspoon paprika – Smoked is nice but regular works.
- Salt and pepper to taste – I’m a bit heavy-handed on pepper, but you do you.
- Optional: a dash of Worcestershire sauce, a teaspoon of dried Italian herbs, a handful of frozen peas (for color, mainly so I can say ‘Look! A vegetable!’).
How I Pull This Casserole Together
- Preheat your oven to 375°F (about 190°C). If you forget and remember halfway through, welcome to the club; just add a few minutes to the baking time.
- In a large skillet, crumble and brown the ground beef over medium heat. Throw in the onions and garlic while it’s still pink—this is where I usually sneak a taste, but raw beef isn’t officially recommended, so, you know, do as I say?
- Drain off extra fat if it looks like a swamp. Add the diced bell peppers and let those get a bit soft. Smells good, right?
- Stir in the dry rice, diced tomatoes (juice and all), beef broth, paprika, and whatever extras you decided on. Season with salt and pepper—don’t be shy.
- Let it simmer for ~5 minutes, not really cooking the rice but just getting things acquainted. (Don’t worry if it looks weird—it’s the rice soaking up flavors now.)
- Pour everything into a 9×13 baking dish. For the love of cheese, don’t forget to spray or butter the dish, or scraping out baked-on rice will haunt you later.
- Sprinkle about half the cheese across the top, cover tightly with foil, and bake for 30 minutes. Go fold half a load of laundry or scroll recipes online while bragging about your domestic skills.
- Remove the foil, stir in a few bits from the corner (or just poke around—I like seeing the melty bits), then scatter the rest of the cheese on top. Back in the oven, uncovered, for another 10-15 minutes, until bubbly and golden. If you want those crispy edges—crank your broiler for a minute, but don’t walk away or you’ll be scraping cheese off with a spoon. Ask me how I know.
- Let it rest for 5-10 minutes before scooping—if you can stand to wait. Otherwise, enjoy molten cheese mouth; I do every time.
Notes: What I’ve Learned by Burning (and Saving) This
- If the rice still seems a bit crunchy? Pour in a splash of broth, cover again, and bake an extra 10 min. I’ve done this at least twice this month.
- Actually, I find it works better if you shred your own cheese (pre-shredded gets weirdly chalky), but bagged is fine if you’re in a rush. I don’t always practice what I preach.
- Doesn’t have to be perfectly layered—my kids don’t even notice if the cheese is clumped in one corner. (They just fight over that piece!)
Experiments—Aka, Variations That (Mostly) Worked
- Once I went wild and tossed in a scoop of salsa instead of tomatoes. Tangy, unexpected, kind of a party move.
- I’ve swapped ground turkey for beef—tastes a bit lighter, still good. Same with ground chicken, but it gets a little dry if you cook it too long. Just keep an eye on it!
- Adding chopped spinach: sneaky healthy, just wilt it down in the pan before mixing.
- Tried to make it with quinoa instead of rice. Nope. It got mushy and weird, so maybe don’t bother unless you’re a quinoa magician?
Gear You Need—Plus My Lazy Person’s Workarounds
- Large skillet or frying pan – Nonstick is nice but not essential.
- 9×13 inch casserole or baking dish – I’ve done it in two smaller dishes before when my big one went walkabout.
- Wooden spoon or spatula – In a pinch, I’ve used a salad server. Life finds a way.
- Aluminum foil to cover—you can use an old cookie sheet if you’re out of foil. Did that once, it did the job!
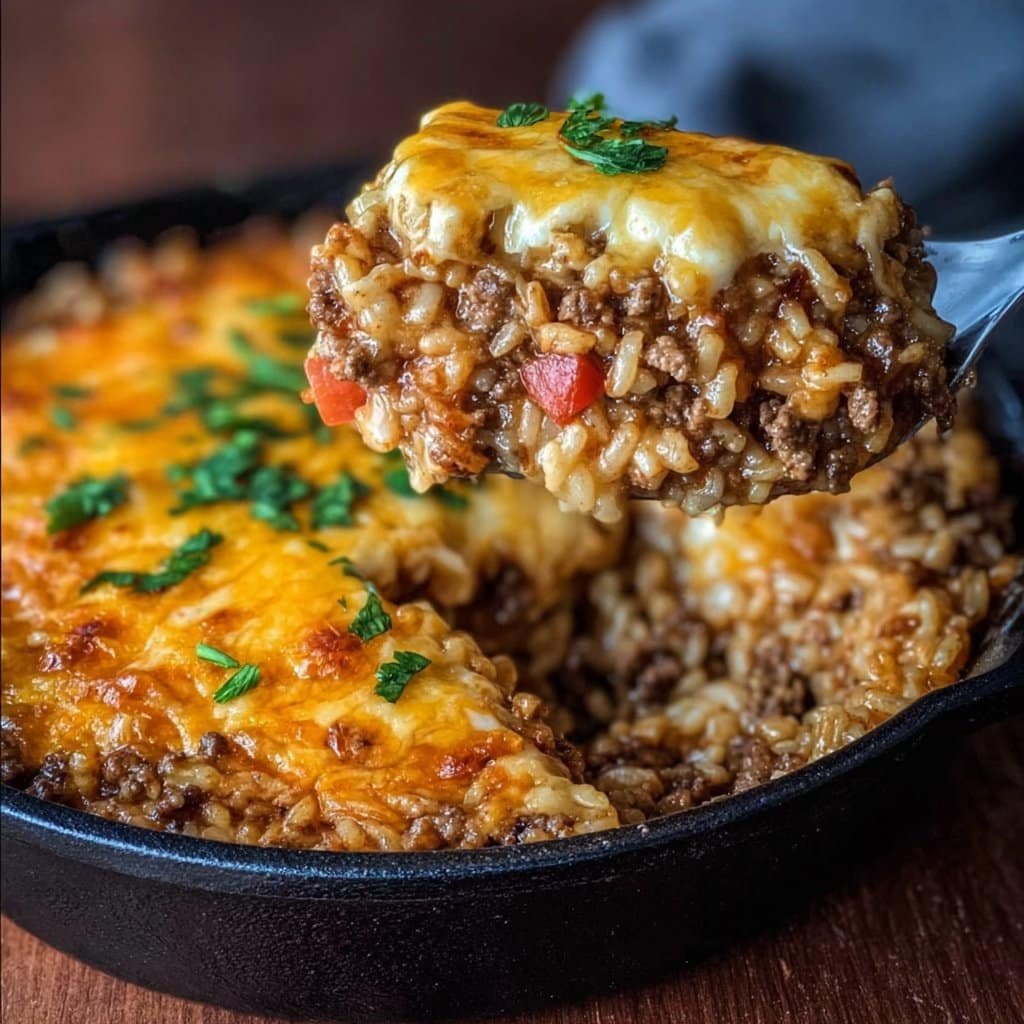
Storing Leftovers (But, Good Luck Needing This)
Pop leftovers in a lidded container in the fridge. Should last 3 days (though honestly, in my house it never lasts more than a day). Microwave or oven reheating both work—if you’re like me, sometimes I just eat it cold straight from the fridge. Oh, and Serious Eats gives good freezer tips if you want to portion and freeze—I’ve done it, but it’s rare.
How I Like to Serve It (And My Weird Tradition)
I usually plop a big scoop right onto plates (or bowls, if I’m being honest). Sometimes with a little handful of chopped green onions or, when I have it, dollops of sour cream on top. My dad always insisted it was best with a little hot sauce too; now my kiddos do the same. On birthdays, we break out tortilla chips and use them as edible shovels—it’s become a strange family rule, but who am I to argue?
What Not to Do—A Few Hard-Learned Pro Tips
- Don’t rush the simmer before baking—one time I chucked it straight from pan to oven while distracted and wound up with crunchy rice islands. Not fun.
- Resist the urge to assemble ahead with uncooked rice; it stays a little gritty even after baking. (Cooked rice works if you’re reimagining leftovers—just bake for less, 15-20 min.)
- I once skipped covering with foil at the start; half the top was fossilized cheese, the rest was raw rice. Huh.
FAQ—Questions I’ve Actually Gotten (and a Ramble)
- Can I make this ahead?
- Yep! But if I’m honest, the texture’s a bit nicer fresh. Still—assemble everything up to the pre-bake point, stash it in the fridge, bake when ready (add 10 minutes or so because it’s cold). Actually, I’ve even left it unbaked overnight and it was fine. Nagi at RecipeTin Eats has more freezer-friendly tips if you’re super into make-ahead casseroles.
- Can I use brown rice?
- Sure, but give it more liquid and time. Or par-cook it a bit first. I always forget and then have to add more broth halfway through baking — not the end of the world, but keep an eye out.
- What if I don’t have beef?
- Pretty much any ground meat works—turkey, chicken, I’ve even heard of folks using lentils (haven’t tried it myself, but if you do, let me know!).
- How spicy can I make it?
- Stir in taco seasoning or diced green chiles for some zip. My brother once dared me to add jalapeños, and it nearly sent my tastebuds running for cover, but if you like heat, go for it.
- Does it freeze well?
- It does, but I think the rice gets a bit mushy when thawed. Not gonna lie, it’s not bad, just a little softer than fresh.
- Is there a vegetarian version?
- I haven’t perfected one, but if you use crumbled tofu or a decent meatless ground, it should work. You might want to sprinkle in extra herbs for flavor punch since beef brings a lot of taste on its own.
And by the way, once when I tried to double this and divide it into two pans, I forgot one in the oven for almost an hour. The dog wouldn’t eat that one. Just goes to show, kitchen timers are a gift and a curse sometimes.
Ingredients
- 1 lb ground beef
- 1 cup long-grain white rice, uncooked
- 2 cups shredded cheddar cheese, divided
- 1 can (10.5 oz) condensed cream of mushroom soup
- 1 cup beef broth
- 1 small onion, chopped
- 1 cup frozen mixed vegetables
- 1 tablespoon olive oil
- 1 teaspoon garlic powder
- Salt and black pepper to taste
Instructions
-
1Preheat oven to 375°F (190°C). Grease a 9×13-inch baking dish with olive oil.
-
2In a large skillet over medium heat, cook ground beef and chopped onion until beef is browned and onion is softened. Drain any excess fat.
-
3Stir in garlic powder, salt, black pepper, cream of mushroom soup, beef broth, rice, and frozen mixed vegetables. Mix well to combine.
-
4Transfer the mixture to the prepared baking dish. Cover tightly with aluminum foil.
-
5Bake in the preheated oven for 30 minutes. Remove foil, sprinkle with 1 1/2 cups cheddar cheese, and bake uncovered for an additional 10 minutes or until cheese is melted and bubbly.
-
6Let casserole rest for 5 minutes before serving. Top with remaining cheese if desired.
Approximate Information for One Serving
Nutrition Disclaimers
Number of total servings shown is approximate. Actual number of servings will depend on your preferred portion sizes.
Nutritional values shown are general guidelines and reflect information for 1 serving using the ingredients listed, not including any optional ingredients. Actual macros may vary slightly depending on specific brands and types of ingredients used.
To determine the weight of one serving, prepare the recipe as instructed. Weigh the finished recipe, then divide the weight of the finished recipe (not including the weight of the container the food is in) by the desired number of servings. Result will be the weight of one serving.
Did you make this recipe?
Please consider Pinning it!!

